
Why Interface a GPS Module with Raspberry Pi?
Adding global positioning capabilities to a single-board computer unlocks a massive range of DIY projects. Whether you are building an off-grid weather station, a stratospheric balloon tracker, a marine navigation display, or a custom fleet management logger, integrating a GPS module with Raspberry Pi is a foundational skill. Unlike USB GPS dongles which can be bulky and draw excessive power, bare UART GPS modules communicate directly with the Pi's GPIO header, offering lower latency, reduced power consumption, and a much smaller physical footprint.
In this beginner guide, we will bypass the fluff and dive straight into the hardware realities, serial configuration, and Python scripting required to extract live latitude, longitude, and altitude data from your satellite receiver.
Choosing Your Hardware: NEO-6M vs. NEO-M8N
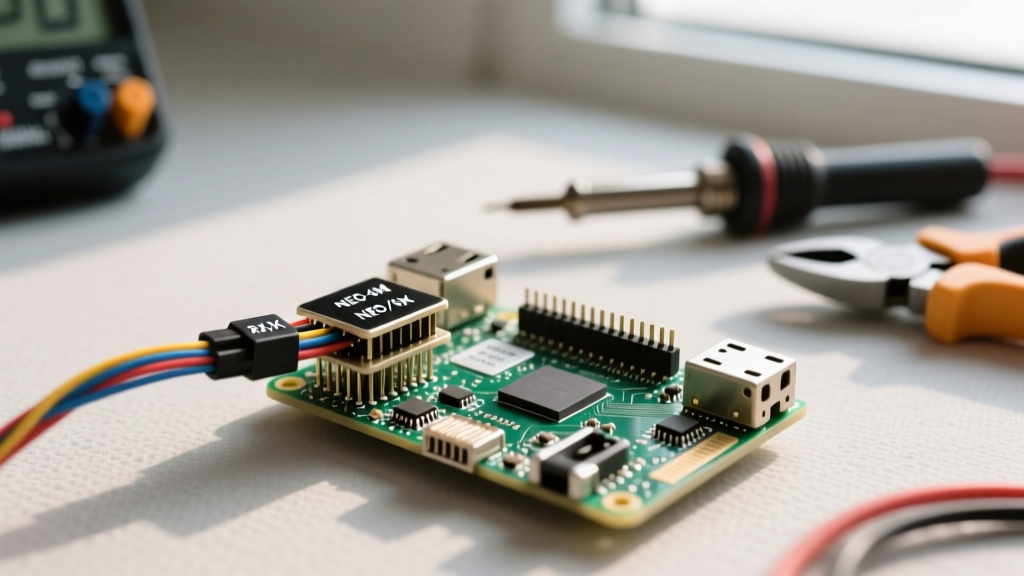
The market is flooded with GPS breakouts, but the vast majority are based on u-blox silicon. The most common beginner module is the GY-NEO6MV2, a cheap breakout board featuring the legacy u-blox NEO-6M chip. While it works perfectly for basic line-of-sight tracking, modern projects often benefit from upgrading to the NEO-M8N or NEO-M9N, which support multiple satellite constellations simultaneously.
Hardware Comparison Matrix
| Feature | NEO-6M (GY-NEO6MV2) | NEO-M8N | NEO-M9N |
|---|---|---|---|
| Constellations | 1 (GPS only) | 2 (GPS, GLONASS) | 4 (GPS, GLONASS, Galileo, BeiDou) |
| Tracking Sensitivity | -160 dBm | -167 dBm | -167 dBm |
| Cold Start Time | ~27 seconds | ~26 seconds | ~24 seconds |
| Approx. Price | $8 - $12 | $15 - $20 | $25 - $35 |
Expert Tip: If you are operating in dense urban canyons or heavy tree cover, the multi-constellation support of the NEO-M8N is worth the extra $7. For open-sky agricultural or balloon projects, the NEO-6M is perfectly adequate.
The 3.3V Logic Rule & Wiring Pinout
Before connecting any wires, you must understand the voltage logic of the Raspberry Pi. The Pi's GPIO pins operate strictly at 3.3V. Feeding a 5V logic signal into the Pi's RX pin will permanently destroy the GPIO controller.
Fortunately, the standard GY-NEO6MV2 breakout board includes an onboard AMS1117-3.3 LDO voltage regulator and logic level shifting resistors. This means you can safely power the board's VCC pin with 5V, while the TX/RX data pins will safely communicate at 3.3V.
Physical Wiring Guide
- VCC to Pi Pin 2 (5V Power) - The board's LDO will step this down to 3.3V for the chip.
- GND to Pi Pin 6 (Ground)
- TXD to Pi Pin 10 (GPIO 15 / RXD) - GPS transmits to Pi's receive pin.
- RXD to Pi Pin 8 (GPIO 14 / TXD) - GPS receives from Pi's transmit pin (optional, only needed if sending configuration commands to the GPS).
CRITICAL WARNING: Never connect the TX pin of a raw 5V Arduino-style GPS shield directly to the Raspberry Pi without a logic level converter or voltage divider. Always verify your specific breakout board's schematic.
Configuring the Raspberry Pi UART
By default, the Raspberry Pi routes its primary hardware UART (/dev/ttyAMA0) to the onboard Bluetooth module on Pi 3, 4, and 5 models. The GPIO pins are instead mapped to the 'mini-UART' (/dev/ttyS0), which can suffer from baud rate drift if the core CPU frequency changes. To ensure stable NMEA parsing, we must configure the OS to expose a stable serial symlink.
Step-by-Step Serial Configuration
- Open your terminal and launch the configuration tool:
sudo raspi-config - Navigate to Interface Options > Serial Port.
- When asked 'Would you like a login shell to be accessible over serial?', select No. (This disables the Linux console output, which would otherwise corrupt your GPS data stream).
- When asked 'Would you like the serial port hardware to be enabled?', select Yes.
- Reboot the Raspberry Pi:
sudo reboot
After rebooting, the OS creates a symlink at /dev/serial0. This symlink automatically points to the correct UART tied to the GPIO pins, regardless of whether the underlying hardware is ttyAMA0 or ttyS0. Always use /dev/serial0 in your Python scripts to ensure cross-compatibility across all Pi models. For more details on UART mapping, refer to the official Raspberry Pi UART documentation.
Understanding NMEA 0183 Sentences
GPS modules do not output clean JSON or simple coordinate pairs. They output raw NMEA 0183 strings at a default baud rate of 9600. If you run cat /dev/serial0 in your terminal, you will see a waterfall of text resembling this:
$GPGGA,123519,4807.038,N,01131.000,E,1,08,0.9,545.4,M,46.9,M,,*47
Decoding the GGA Sentence
- $GPGGA: Global Positioning System Fix Data.
- 123519: UTC Time (12:35:19).
- 4807.038,N: Latitude 48 deg 07.038' North.
- 01131.000,E: Longitude 11 deg 31.000' East.
- 1: Fix Quality (0 = invalid, 1 = GPS fix, 2 = DGPS fix).
- 08: Number of satellites being tracked.
- *47: Hexadecimal XOR checksum for data integrity.
Parsing these strings manually using regex is a recipe for frustration. Instead, we use the industry-standard pynmea2 Python library.
Python Scripting for Live Coordinates
First, install the required dependencies via pip:
pip3 install pyserial pynmea2
Below is a robust Python script designed to read the serial stream, filter for valid GGA sentences, and output clean, decimal-degree coordinates.
import serial
import pynmea2
import time

# Use the stable symlink created by raspi-config
PORT = '/dev/serial0'
BAUD_RATE = 9600

def parse_gps_stream():
    try:
        ser = serial.Serial(PORT, BAUD_RATE, timeout=1)
        print('Listening for GPS data on', PORT)

        while True:
            line = ser.readline().decode('ascii', errors='replace').strip()

            # We only care about GGA sentences for standard lat/lon/altitude
            if line.startswith('$GPGGA') or line.startswith('$GNGGA'):
                try:
                    msg = pynmea2.parse(line)
                    if msg.gps_qual > 0:
                        print(f'--- GPS LOCK ACQUIRED ---')
                        print(f'Latitude:  {msg.latitude:.6f} {msg.lat_dir}')
                        print(f'Longitude: {msg.longitude:.6f} {msg.lon_dir}')
                        print(f'Altitude:  {msg.altitude:.1f} {msg.altitude_units}')
                        print(f'Satellites: {msg.num_sats}')
                        print(f'Time (UTC): {msg.timestamp}')
                        print('-------------------------')
                    else:
                        print('Searching for satellites...')
                except pynmea2.ParseError:
                    # Ignore corrupted checksum lines
                    continue
            time.sleep(0.1)

    except serial.SerialException as e:
        print(f'Serial port error: {e}')
    except KeyboardInterrupt:
        print('Exiting GPS monitor.')

if __name__ == '__main__':
    parse_gps_stream()
Troubleshooting GPS Lock & Cold Starts
The most common reason beginners abandon GPS projects is the 'indoor test' failure. GPS signals operate at extremely low power (around -130 dBm at the Earth's surface) and cannot penetrate concrete, metal roofs, or energy-efficient Low-E glass windows.
The Cold Start vs. Hot Start Reality
When a GPS module is powered on without any prior orbital data (ephemeris), it must perform a Cold Start. It scans all possible frequencies and waits for the almanac download from the satellites, which takes roughly 15 to 30 minutes of uninterrupted open-sky visibility. If you are testing indoors, the module will never achieve a lock, and your Python script will output endless 'Searching' messages.
The CR1220 Battery Backup Trick
Look closely at your NEO-6M breakout board. You will see a small silver coin cell battery holder. This is not for main power; it supplies the V_BCKP pin on the u-blox chip. This pin keeps the Real-Time Clock (RTC) and the SRAM containing the satellite ephemeris alive when main power is disconnected. If you keep a fresh CR1220 battery installed, your module will perform a Hot Start upon booting the Pi, acquiring a GPS lock in under 5 seconds instead of 30 minutes. Always ensure your breakout board has a working backup battery for rapid deployment.
Next Steps: Daemonizing with gpsd
While raw Python parsing is excellent for learning and simple logging scripts, production environments (like a Pi-based marine chartplotter or Home Assistant integration) should use gpsd. The gpsd daemon runs in the background, handles the serial polling, caches the data, and exposes it via a local TCP socket or shared memory, allowing multiple applications to read the GPS coordinates simultaneously without fighting over the serial port lock. For advanced fleet tracking setups, transitioning from raw pyserial to the gpsd client library is the recommended architectural upgrade.