
The Shift to Headless: Why Remote Access Matters
When you first unbox a Raspberry Pi 4 or the newer Raspberry Pi 5, the instinct is to plug in a monitor, keyboard, and mouse. However, dedicating a full KVM (Keyboard, Video, Mouse) setup to a single-board computer is highly impractical for long-term projects. Whether you are building a Pi-hole network ad-blocker, a Home Assistant smart home hub, or a retro gaming console, learning how to remote control Raspberry Pi devices is an essential skill.
Running your Pi 'headless' (without a monitor) saves desk space, reduces power consumption, and allows you to tuck the board inside a media cabinet, a roof space, or a 3D-printed enclosure. In this comprehensive beginner guide, we will explore the three primary methods to remotely manage your Pi: Command Line (SSH), Virtual Desktop (VNC), and Physical Infrared (IR) control for media centers.
Method 1: Command Line Mastery via SSH
Secure Shell (SSH) is the backbone of remote Linux administration. It provides a lightweight, encrypted text-based connection to your Pi over your local network, consuming virtually zero bandwidth.
Enabling SSH via Raspberry Pi Imager
In the past, beginners had to boot the Pi with a monitor, open the terminal, and type sudo raspi-config to enable SSH. Today, the Raspberry Pi Imager handles this before you even flash the SD card.
- Open Raspberry Pi Imager and select your OS (e.g., Raspberry Pi OS Lite for headless servers).
- Click the OS Customisation settings icon (the gear) or press
Ctrl+Shift+X. - Check Enable SSH. For beginners, 'Use password authentication' is easiest, though 'Allow public-key' is vastly more secure for advanced users.
- Set a unique username and password. (Note: The default 'pi' user was deprecated in 2022 for security reasons).
- Configure your Wi-Fi SSID and password so the Pi connects to your network automatically on first boot.
Connecting to Your Pi
Once your Pi boots, you need its IP address. You can find this in your router's admin panel, or by using a network scanner app like Fing on your smartphone. Alternatively, modern Raspberry Pi OS supports mDNS, meaning you can often connect using the hostname directly.
- Windows: Download PuTTY. Enter your Pi's IP address (or
raspberrypi.local), ensure the port is set to 22, and click Open. - macOS / Linux: Open your native Terminal and type
ssh username@raspberrypi.local. - Mobile: Apps like Termius (iOS/Android) provide excellent touch-friendly SSH clients for on-the-go management.
Method 2: Full Desktop Access with VNC
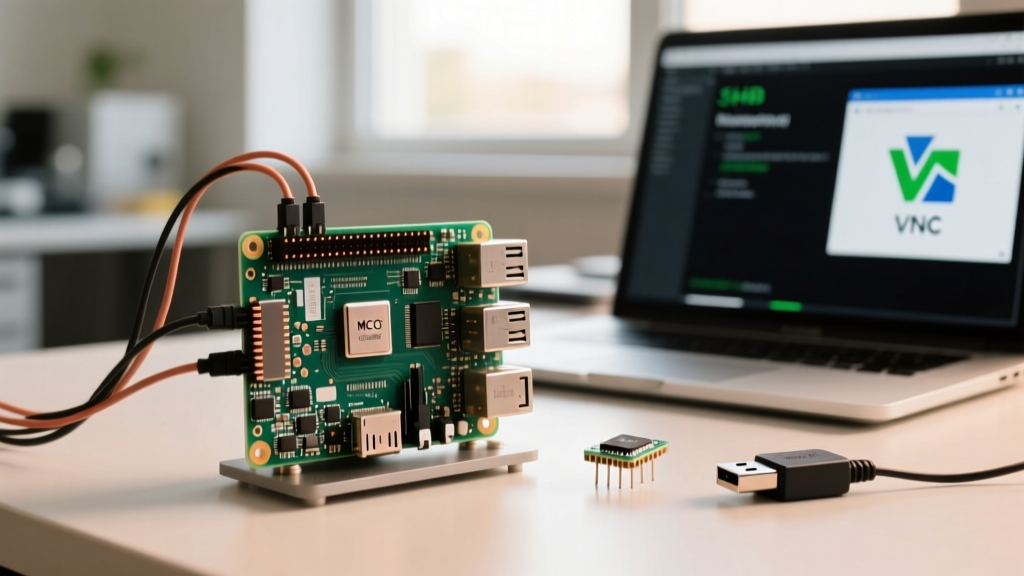
If your project requires a graphical user interface (GUI)—such as configuring Node-RED flows, browsing the web, or managing desktop applications—Virtual Network Computing (VNC) is your best option. VNC transmits pixel data over the network, allowing you to see and interact with the Pi's desktop from your main PC.
Configuring RealVNC and the Headless Resolution Trap
Raspberry Pi OS comes pre-loaded with RealVNC Server. You can enable it via SSH by typing sudo raspi-config, navigating to Interface Options, and enabling VNC.
Critical Troubleshooting Note: A classic beginner trap occurs when trying to VNC into a headless Pi. Because no physical HDMI monitor is detected, the Pi defaults to a tiny 640x480 resolution, or the VNC server fails to start entirely. To force a standard 1080p resolution on a headless Pi 4 or Pi 5, you must edit the kernel command line.
Open your boot configuration file via SSH:
sudo nano /boot/firmware/cmdline.txtAppend the following string to the end of the existing line (do not create a new line):
video=HDMI-A-1:1920x1080@60DReboot the Pi. You can now connect using the RealVNC Viewer application on your main computer using port 5900.
Method 3: Physical Remote Control for Media Centers
Sometimes, 'remote control' doesn't mean accessing the Pi from a laptop; it means controlling it from the couch using a physical remote. If you are building an OSMC or Kodi media center, you have two hardware pathways.
HDMI-CEC vs. GPIO IR Receivers
HDMI-CEC (Consumer Electronics Control): This is the easiest method. If your TV and Pi are connected via a high-quality HDMI cable, CEC allows your standard TV remote to send commands directly to the Pi. In Kodi, this is handled by the libcec library. No extra hardware is required, though some older TVs have buggy CEC implementations.
GPIO Infrared (IR) Receivers: For ultimate reliability, you can wire a 38kHz IR receiver module (like the TSOP38238) directly to the Pi's GPIO pins. Connect the VCC to Pin 1 (3.3V), Ground to Pin 6, and the Data/Out pin to GPIO 18 (Pin 12).
To enable the IR overlay, edit your config file:
sudo nano /boot/firmware/config.txtAdd the following line at the bottom:
dtoverlay=gpio-ir,gpio_pin=18This native kernel overlay replaces the outdated LIRC daemon, providing incredibly low-latency physical remote control for your Pi media center.
Comparison: Which Remote Method Should You Choose?
| Method | Best Use Case | Bandwidth Required | Difficulty |
|---|---|---|---|
| SSH | Servers, Pi-hole, Home Assistant, coding | Extremely Low (<10 Kbps) | Medium (Requires CLI knowledge) |
| VNC | Desktop apps, visual node editors, browsing | High (1-5 Mbps) | Easy (Familiar desktop GUI) |
| Web GUI | Router configs, Cockpit, OctoPrint | Low to Medium | Very Easy (Browser-based) |
| IR / CEC | Kodi, OSMC, RetroPie living room setups | N/A (Local hardware) | Medium (Requires wiring/TV config) |
Critical Troubleshooting: When Your Pi Goes Dark
Nothing is more frustrating than losing connection to a headless Pi tucked behind a TV or in the attic. Here are the most common failure modes and how to resolve them.
Dynamic IP Shifts and DNS Resolution
By default, your router assigns IP addresses dynamically via DHCP. If your Pi reboots, it might grab a new IP, breaking your SSH shortcuts.
Pro-Tip: Always assign a Static IP or a DHCP Reservation for your Pi's MAC address inside your router's admin panel. This ensures your Pi is always found at the exact same address, e.g., 192.168.1.50.
If you lose your Pi on the network entirely, open your PC's command prompt and type arp -a. This will list all devices your computer has recently communicated with, helping you hunt down the Pi's new IP.
Power Throttling and Network Drops
If your SSH session randomly freezes or drops, the culprit is rarely the network itself—it is usually power. The Raspberry Pi 4 requires a solid 5.1V / 3A power supply, while the Pi 5 demands a 27W USB-C PD supply. If the voltage drops below 4.63V under load, the Pi will throttle its CPU and disable power-hungry peripherals like the Wi-Fi chip to save itself.
To check if your Pi has experienced power throttling, run this command via SSH:
vcgencmd get_throttledIf the output returns anything other than throttled=0x0, you need to upgrade to the official Raspberry Pi power supply immediately to maintain stable remote connectivity.
Conclusion
Mastering how to remote control Raspberry Pi hardware transforms it from a clumsy desktop PC replacement into a versatile, deploy-anywhere micro-server. Start with SSH via the Raspberry Pi Imager for your foundational headless setups, leverage VNC when graphical troubleshooting is required, and utilize GPIO IR overlays for living room media centers. By securing your network with static IPs and ensuring robust power delivery, your Pi will remain reliably accessible 24/7.