
Beyond Wi-Fi: Why Hardwired GPIO Matters in Home Automation
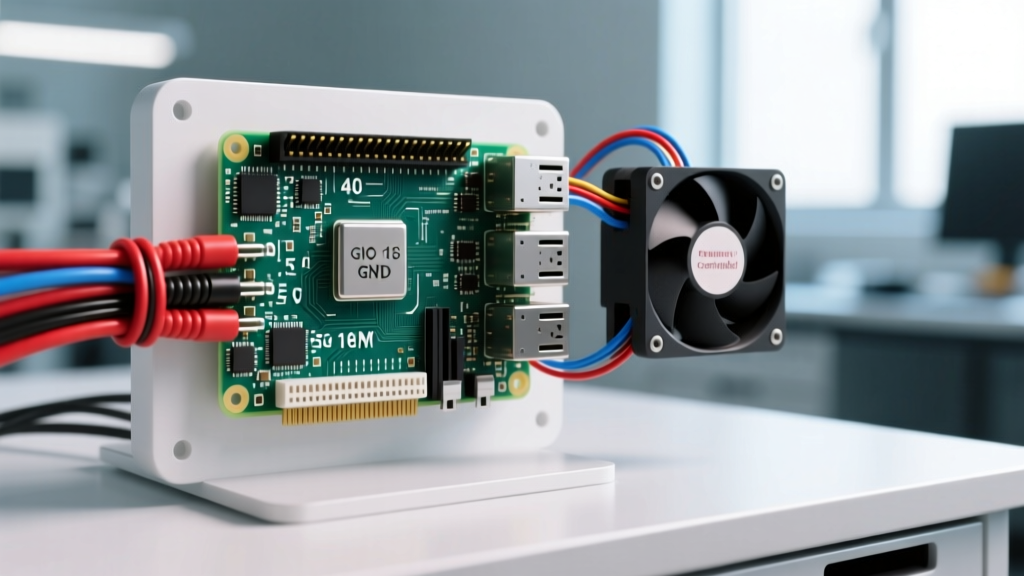
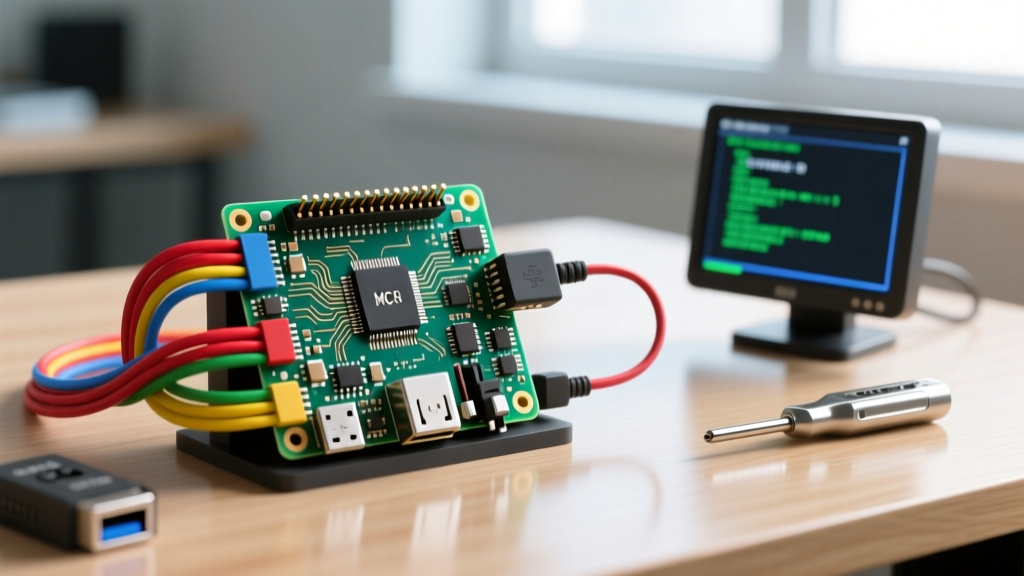
While off-the-shelf smart home ecosystems rely heavily on Wi-Fi and cloud-dependent hubs, advanced DIYers know that true reliability lies in local, hardwired connections. Understanding the Raspberry Pi pinout is the foundational skill for transforming a standard single-board computer into a bulletproof home automation controller. Whether you are building a custom Home Assistant node, an MQTT sensor gateway, or a localized security system, direct GPIO integration eliminates wireless latency and network dropouts.
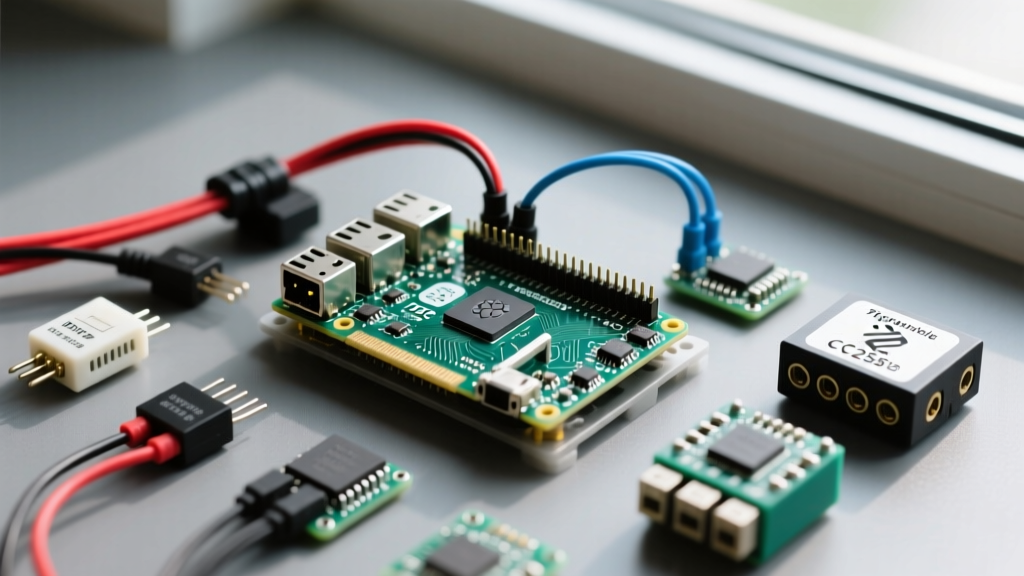
However, the 40-pin header is not just a playground for blinking LEDs. It is a complex intersection of I2C buses, UART serial lines, SPI interfaces, and strict voltage tolerances. Misinterpreting the Raspberry Pi pinout when integrating environmental sensors, RF transceivers, or relay boards can lead to catastrophic hardware failure. This guide provides a deep-dive, electrically rigorous approach to mapping your smart home peripherals to the Pi's GPIO.
Decoding the Mapping: BCM vs. Physical vs. Board
Before wiring a single sensor, you must align your software addressing with your physical wiring. The Raspberry Pi pinout is documented in three distinct numbering schemes, which causes endless confusion for beginners migrating from Arduino ecosystems.
- Physical (Board) Numbering: Simply counts pins 1 through 40, starting from the top-left (Pin 1, 3.3V) and zig-zagging down. This is strictly for physical identification.
- BCM (Broadcom SOC Channel): This maps to the internal GPIO numbers of the Broadcom BCM2711 (Pi 4) or BCM2837 (Pi 3) chips. For example, Physical Pin 3 is BCM GPIO 2.
- WiringPi: A legacy mapping system that is now deprecated and should be entirely avoided in modern smart home Python or C++ scripts.
Expert Rule: Always design your smart home schematics using Physical pins for the wiring diagram, but write all your Python (via gpiozero or RPi.GPIO) and Node-RED scripts using BCM numbering. The interactive tool at pinout.xyz remains the gold standard for cross-referencing these layers in real-time.
The 3.3V Logic Trap: Protecting Your Pi from 5V and 12V Peripherals
The most common cause of death for Raspberry Pis in smart home setups is ignoring the 3.3V logic limit. Every GPIO pin on the Raspberry Pi pinout operates at 3.3V logic and is directly connected to the Broadcom SoC. Feeding a 5V signal from an Arduino, a 5V PIR motion sensor, or a 12V garage door relay feedback line into a Pi GPIO pin will instantly fry the SoC's input buffer, permanently destroying that pin or the entire board.
Safe Interfacing for Relays and High-Voltage Sensors
When integrating 5V relay modules to control HVAC dampers or irrigation valves, never power the relay coil directly from the Pi's 3.3V pins, and never trust '3.3V tolerant' claims on cheap optocoupler boards without verifying the schematic.
For bulletproof isolation, use a PC817 optocoupler or a SN74AHCT125 level shifter. The PC817 uses light to bridge the gap between your Pi's 3.3V GPIO output and the 5V/12V relay circuit, providing complete galvanic isolation. Furthermore, always place a 1N4007 flyback diode in reverse parallel across any relay coil to suppress inductive voltage spikes that can otherwise arc back and corrupt the Pi's power rail.
Wiring I2C Environmental Sensors (BME280 / SHT31)
For monitoring indoor air quality, temperature, and humidity, I2C is the superior protocol. The Raspberry Pi pinout dedicates specific pins to the primary I2C bus (I2C1):
- Pin 3 (BCM GPIO 2): SDA (Serial Data)
- Pin 5 (BCM GPIO 3): SCL (Serial Clock)
When wiring a BME280 sensor for a Home Assistant MQTT node, ensure your breakout board has built-in pull-up resistors (usually 4.7kΩ or 10kΩ) to 3.3V. If you are soldering raw SMD sensors, you must add these pull-up resistors manually; otherwise, the I2C bus will float, resulting in intermittent Remote I/O error messages in your Python logs.
Use the terminal command sudo i2cdetect -y 1 to verify the sensor's hexadecimal address (typically 0x76 or 0x77 for the BME280) before attempting to integrate it into your automation daemon.
UART Configuration for Zigbee and RF Gateways
While USB Zigbee dongles are popular, they often suffer from USB 3.0 interference and require messy extension cables. A superior approach for custom smart home enclosures is wiring a UART-based RF module (like the RFM69HW for 868MHz/433MHz) or a UART Zigbee coordinator (like an Ebyte E72 module) directly to the Pi's serial pins.
- Pin 8 (BCM GPIO 14): TXD (Transmit)
- Pin 10 (BCM GPIO 15): RXD (Receive)
Troubleshooting UART Bootloops and Console Lockouts
By default, the Raspberry Pi routes the Linux serial console to the UART pins. If you connect an RF module to these pins and boot the Pi, the kernel boot logs will flood the RF module, potentially corrupting its firmware or causing massive RF noise. You must disable the serial console while keeping the serial hardware enabled.
On Raspberry Pi OS, run sudo raspi-config, navigate to Interface Options > Serial Port, select No for the login shell, and Yes for the serial port hardware. For headless Home Assistant OS deployments, you must edit the config.txt file on the boot partition to include enable_uart=1 and add dtoverlay=disable-bt to detach the Bluetooth module, which otherwise hijacks the primary UART on Pi 3 and Pi 4 models.
Comprehensive Smart Home GPIO Allocation Table
To prevent peripheral conflicts in complex Home Assistant nodes, use this allocation framework. This table reserves specific pins based on their hardware capabilities and alternate functions.
| Physical Pin | BCM GPIO | Smart Home Function | Technical Notes & Constraints |
|---|---|---|---|
| 3 / 5 | 2 / 3 | I2C Bus 1 (Sensors/OLED) | Requires 3.3V pull-ups. Shared bus limit: ~10mA. |
| 8 / 10 | 14 / 15 | UART (RFM69 / Zigbee) | Must disable serial console. 3.3V logic only. |
| 12 / 32 / 33 | 18 / 12 / 13 | PWM (LED Dimming / Fans) | Hardware PWM capable. Ideal for MOSFET-driven 12V LED strips. |
| 19 / 21 / 23 | 10 / 9 / 11 | SPI0 (RFID RC522 / SPI TFT) | High-speed bus. Keep wires under 10cm to prevent signal degradation. |
| 7 / 11 / 13 | 4 / 17 / 27 | Digital In (PIR / Door Contacts) | Enable software pull-downs in code to prevent floating ghost triggers. |
Power Budgeting: The Hidden Limits of the 5V Pins
Pins 2 and 4 on the Raspberry Pi pinout provide 5V power. It is tempting to use these to power a cluster of smart home sensors, a 5V relay board, and an OLED display simultaneously. However, these pins are fed directly from the Pi's USB-C power input, after the onboard polyfuse.
If you are using a standard 3A (15W) USB-C power supply, and the Pi 4 consumes roughly 3.5W to 6W under load, you only have about 9W (roughly 1.8A) of headroom left for the 5V pins. Exceeding this will trip the polyfuse, causing the Pi to brownout and reboot, taking your entire smart home offline. For power-hungry peripherals like 5V solenoid locks or high-torque stepper motors, always use an external 5V buck converter wired directly to your main 12V/24V smart home power supply, sharing only the common ground (GND) with the Pi.
Final Safety Protocols for 24/7 Smart Home Nodes
Integrating hardware via the Raspberry Pi pinout requires a mindset shift from temporary breadboard prototyping to permanent infrastructure deployment. Always use screw-terminal HATs or custom PCBs with proper strain relief for sensor wires. Enclose your Pi in a grounded, fire-retardant DIN-rail enclosure if it is living inside a main electrical panel. By respecting the voltage limits, properly isolating inductive loads, and correctly mapping the BCM channels, your Raspberry Pi will serve as the unshakeable core of your local smart home for years to come.