
Deploying a local smart home hub is the ultimate step toward true home automation, and the Raspberry Pi remains the undisputed champion for this task. However, as your device count grows, a naive installation will quickly lead to system instability, corrupted databases, and unresponsive automations. This comprehensive project tutorial walks you through building a rock-solid, production-grade Home Assistant for Raspberry Pi setup, moving beyond basic SD card installations to enterprise-grade storage and power management.
Hardware Selection: Pi 4 vs. Pi 5 for Smart Home Hubs
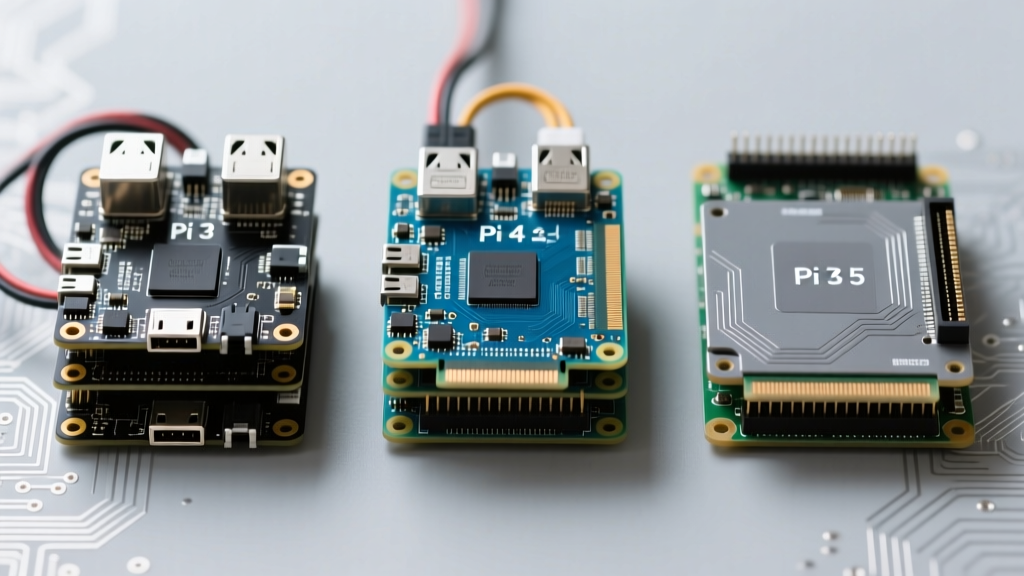
Choosing the right single-board computer (SBC) is the first critical decision. While the Raspberry Pi 4 Model B has been the community standard for years, the Raspberry Pi 5 introduces significant architectural changes that directly impact Home Assistant performance, particularly regarding I/O bottlenecks and database query speeds.
| Feature | Raspberry Pi 4 Model B (4GB/8GB) | Raspberry Pi 5 (4GB/8GB) |
|---|---|---|
| Boot Storage | USB 3.0 to SATA/NVMe Enclosure | Native PCIe 2.0 x1 (M.2 NVMe HAT) |
| Power Requirement | 5.1V / 3.0A (15W) | 5V / 5A (27W USB-C PD) |
| Thermal Output | Moderate (Passive/Low-profile active) | High (Requires active cooling fan) |
| Database Performance | Good (USB 3.0 bottleneck) | Excellent (Direct PCIe lane) |
For a new build in 2026, the Raspberry Pi 5 (8GB) is highly recommended. Home Assistant's MariaDB or SQLite database relies heavily on random read/write I/O. The Pi 5's native PCIe lane allows you to connect an M.2 NVMe SSD directly, bypassing the USB 3.0 controller bottleneck that plagues the Pi 4. If you already own a Pi 4 with 8GB of RAM, it remains a highly capable hub, provided you upgrade from a microSD card to a USB-attached SSD.
The SD Card Trap: Why You Must Boot from SSD
The most common cause of Home Assistant failure on a Raspberry Pi is SD card corruption. Home Assistant is incredibly write-heavy. Every time a temperature sensor updates, a smart bulb changes state, or an automation logs an event, the system writes to the database. A standard consumer microSD card (like the SanDisk Ultra) is designed for sequential read/writes (like recording video), not the relentless random micro-writes of a database.
Expert Insight: Most users experience catastrophic SD card failure within 6 to 14 months of running Home Assistant. The filesystem will suddenly remount as read-only, or the Pi will fail to boot entirely, displaying a rainbow square or kernel panic.
The NVMe Upgrade Path
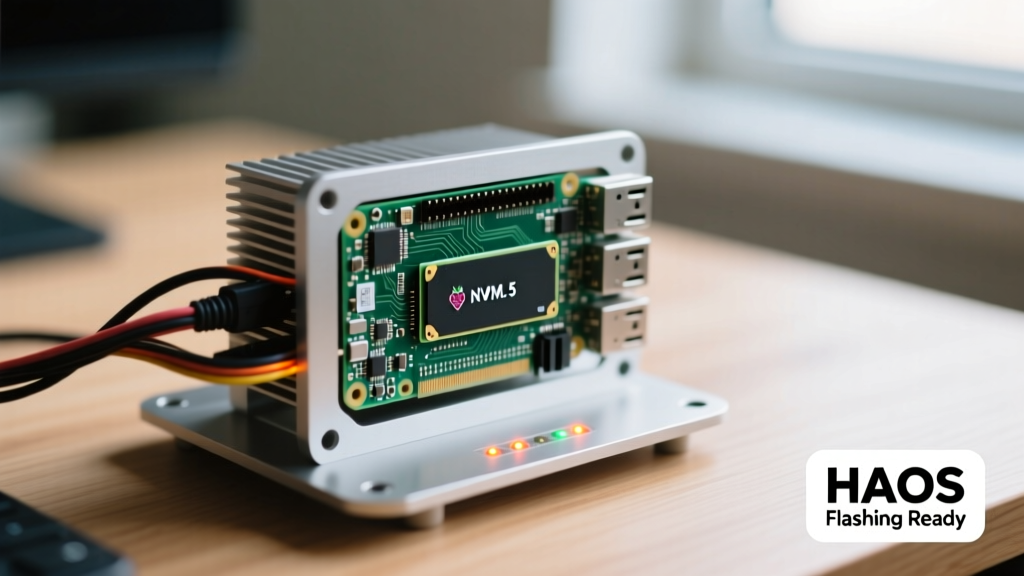
To achieve true reliability, you must boot Home Assistant OS (HAOS) from a solid-state drive. For the Raspberry Pi 5, utilize the official Raspberry Pi M.2 HAT+ or the Argon ONE M.2 NVMe Case, paired with a reliable 256GB or 512GB NVMe drive like the Western Digital SN570. For the Pi 4, use a USB 3.1 to NVMe enclosure (such as those based on the RTL9210B chipset) connected to one of the blue USB 3.0 ports.
Step-by-Step: Flashing Home Assistant OS (HAOS)
Home Assistant offers multiple installation methods (Container, Supervised, Core), but Home Assistant OS (HAOS) is the only method that provides the full Supervisor experience, allowing you to manage Add-ons (like Node-RED, Frigate, or Mosquitto MQTT) via the web UI.
- Download and install the Raspberry Pi Imager on your PC or Mac.
- Insert your target SSD/NVMe drive into your computer via a USB adapter.
- Open Raspberry Pi Imager, click Choose Device, and select your specific Pi model (e.g., Raspberry Pi 5).
- Click Choose OS, navigate to Other specific-purpose OS > Home assistants and home automation > Home Assistant, and select the HAOS build for your Pi's architecture (usually Pi 4/400 or Pi 5).
- Crucial Step: Click the Gear icon (or 'Edit Settings') to pre-configure your hostname, enable SSH (using password or key), and input your WiFi credentials. This allows for a true headless setup.
- Write the image to the drive, safely eject, and install it into your Pi.
Upon first boot, the Pi will expand the filesystem and initialize the Docker containers. This process takes anywhere from 5 to 20 minutes. You can monitor the boot sequence by plugging in an HDMI monitor; wait until you see the 'Home Assistant CLI' prompt before attempting to access the web interface at http://homeassistant.local:8123.
Power Supply and Thermal Management
Power brownouts are the silent killer of Raspberry Pi smart home hubs. When the Pi experiences an undervoltage event, it will aggressively throttle the CPU and, more importantly, restrict power to the USB ports. If your Zigbee dongle or external SSD is connected via USB, a brownout will cause the device to randomly disconnect, leading to 'device offline' errors in Home Assistant.
Pi 4 vs Pi 5 Power Dynamics
- Raspberry Pi 4: Requires a strict 5.1V / 3.0A power supply. Do not use standard phone chargers, as they often drop to 4.8V under load, triggering the yellow lightning bolt undervoltage warning.
- Raspberry Pi 5: Requires a 27W USB-C Power Delivery (PD) supply capable of negotiating 5V at 5A. If you plug a standard 5V/3A charger into a Pi 5, the firmware will detect the lack of 5A PD capability and hard-limit the USB ports to 600mA. This is not enough to reliably power an external SSD and a Zigbee dongle simultaneously.
Thermally, the Pi 5 runs significantly hotter than the Pi 4. You must use an active cooling solution. The official Active Cooler or the Ice Tower cooler are mandatory to prevent thermal throttling during heavy database compactions or when running local AI models for security cameras.
Post-Installation: Zigbee Radios and Network Topology
A smart home hub is only as good as its radios. While WiFi and Thread are important, Zigbee remains the backbone of low-power smart home sensors. When integrating Zigbee into your Pi-based Home Assistant setup, you have two primary hardware choices:
- Home Assistant Connect ZBT-1 (formerly SkyConnect): Excellent for beginners, supports Thread/Matter multiprotocol, and integrates seamlessly.
- Sonoff Zigbee 3.0 USB Dongle Plus ('P' Version): The community favorite. Ensure you buy the 'P' version (CC2652P chip) rather than the 'E' version (EFR32MG21). The CC2652P chip offers vastly superior stability and range when paired with Zigbee2MQTT.
ZHA vs. Zigbee2MQTT Decision Matrix
Once your radio is plugged into a USB 2.0 port (use a USB 2.0 extension cable to move it away from the Pi's USB 3.0 and HDMI interference), you must choose your software stack. Refer to the official ZHA integration documentation for native support details.
- ZHA (Zigbee Home Automation): Built natively into Home Assistant. Easier to set up, requires fewer Add-ons, and handles 95% of standard devices perfectly. Best for users who want a plug-and-play experience.
- Zigbee2MQTT (Z2M): Runs as a separate Add-on and bridges devices to HA via MQTT. It supports a vastly larger database of obscure and region-specific Zigbee devices, offers deeper parameter tweaking, and allows you to retain your mesh network even if you migrate your HA hardware in the future.
Troubleshooting Common Pi-Based HA Failures
Even with an SSD and proper power, you may encounter issues. Here is how to diagnose the most common Pi-specific Home Assistant failures:
1. The 'Database Locked' Error
If your automations are delayed and the logs show SQLite database locking, your storage I/O is bottlenecked. If you are still using an SD card, migrate immediately. If you are on an SSD, ensure the USB-to-SATA/NVMe bridge supports UASP (USB Attached SCSI Protocol). Without UASP, the translation layer causes massive I/O latency.
2. Random Zigbee Dongle Disconnects
If your Zigbee network drops entirely and requires a Pi reboot to fix, you are likely suffering from USB power starvation or 2.4GHz interference. Always use a 1-meter USB 2.0 extension cable for your Zigbee dongle. The Raspberry Pi's USB 3.0 bus and HDMI ports emit massive amounts of 2.4GHz RF noise, which will completely deafen your Zigbee coordinator if plugged directly into the board.
3. System Freezes During Backups
Home Assistant's automated backups can spike CPU and RAM usage. On a 4GB Pi, this can trigger the Linux OOM (Out of Memory) Killer, terminating core Docker containers. If you experience random reboots or frozen UI states during scheduled backup times, configure your backups to occur at 3:00 AM and consider upgrading to an 8GB model, or offload your backup destination to a network NAS rather than writing directly to the Pi's local NVMe drive.
By prioritizing NVMe storage, strict USB-C PD power delivery, and proper RF isolation for your radios, your Raspberry Pi will transform from a fragile hobby project into an enterprise-grade smart home appliance capable of running flawlessly for years.