
The Anatomy of an Arduino Remote System
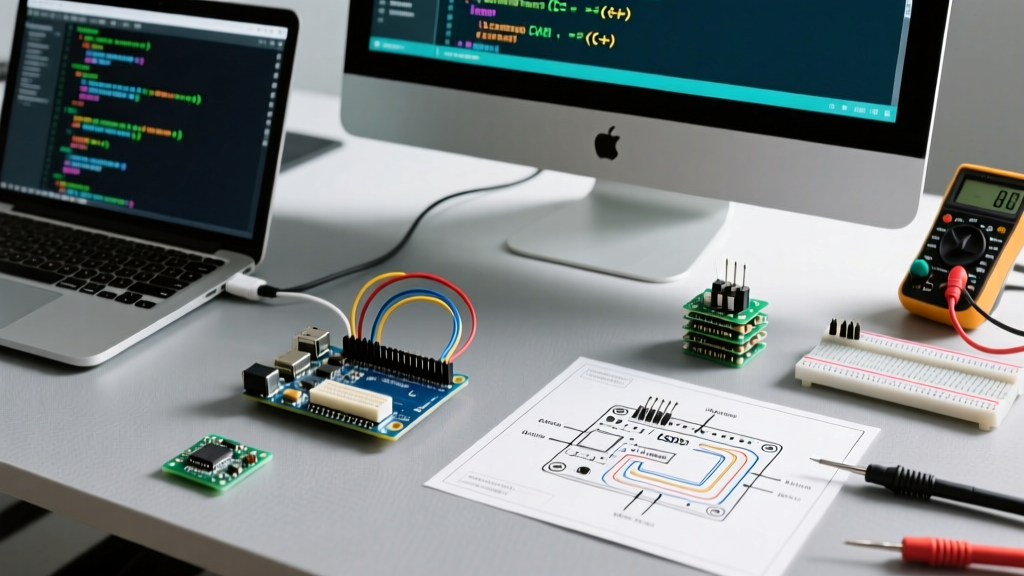
When makers discuss an Arduino remote setup, they are rarely talking about a single monolithic device. Instead, they are referring to a wireless control ecosystem comprising three distinct layers: the transmitter (the physical remote), the transmission medium (light or radio waves), and the receiver (the microcontroller circuit). Understanding how an Arduino remote works requires peeling back the abstraction layers of popular libraries and examining the raw physics and protocols that govern wireless data transfer.
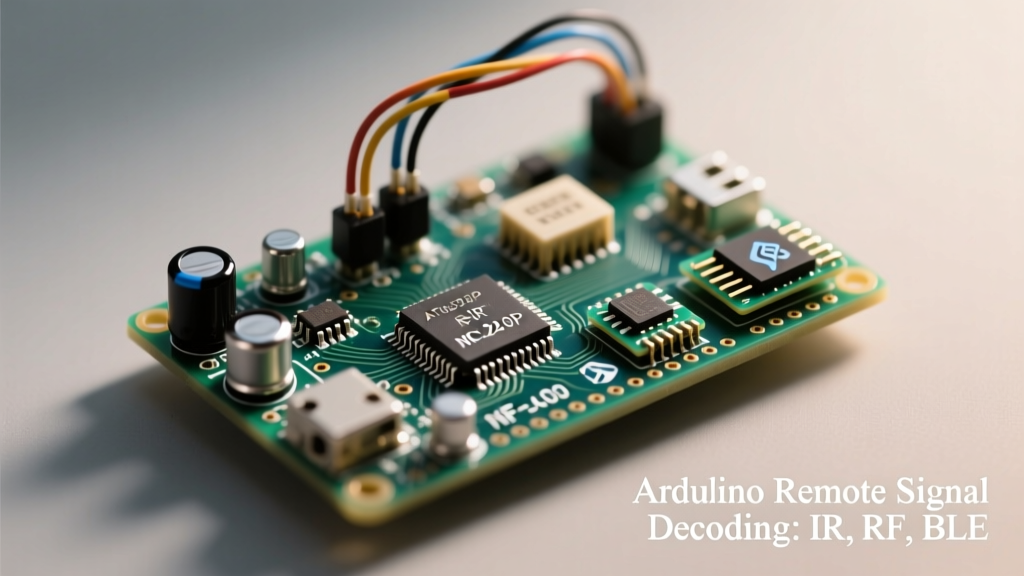
Whether you are building a motorized camera slider, a smart home lighting rig, or a remote-controlled rover, selecting the right wireless topology is critical. In this concept explainer, we will deconstruct the three dominant technologies used in Arduino remote projects: Infrared (IR), Sub-GHz Radio Frequency (RF), and Bluetooth Low Energy (BLE).
Infrared (IR): Line-of-Sight Optical Pulses
Infrared is the oldest and most ubiquitous remote control technology, popularized by consumer television remotes in the 1980s. An IR Arduino remote relies on modulated light pulses in the near-infrared spectrum, typically centered around a 940nm wavelength.
The 38kHz Carrier Wave and Demodulation
A common misconception is that IR remotes simply flash an LED on and off. In reality, to prevent ambient sunlight and incandescent bulbs from triggering false positives, the IR LED is pulsed at a specific carrier frequency—almost universally 38kHz. This means the LED turns on and off 38,000 times per second during an active burst.
The Arduino does not read this 38kHz carrier directly; doing so would overwhelm the ATmega328P's processing capabilities. Instead, we use a demodulating receiver module, such as the TSOP38238. This IC contains a photodiode, an automatic gain control (AGC) circuit, and a bandpass filter tuned to 38kHz. When it detects the carrier, it outputs a clean, inverted logic LOW to the Arduino's digital pin. When the carrier stops, it outputs a logic HIGH.
According to SparkFun's IR Communication Tutorial, the receiver module effectively strips away the 38kHz carrier wave, leaving only the macro-level envelope of the signal for the microcontroller to measure.
Protocol Decoding: The NEC Standard
Once the envelope is isolated, the Arduino must decode the protocol. The most common is the NEC protocol. A standard NEC transmission consists of a 32-bit payload structured as follows:
- AGC Burst: A 9ms pulse followed by a 4.5ms space to signal the start of the frame.
- Address & Command: 16 bits for the device address and 16 bits for the command (including an 8-bit logical inverse for error checking).
- Bit Encoding: Uses pulse-distance encoding. A logical '0' is a 562.5µs pulse followed by a 562.5µs space. A logical '1' is a 562.5µs pulse followed by a 1.6875ms space.
Libraries like Arduino-IRremote utilize hardware timers and pin-change interrupts to measure these microsecond intervals without blocking the main loop().
Sub-GHz RF: Penetrating Walls with Radio Waves
When line-of-sight is a limitation, makers pivot to Sub-GHz Radio Frequency remotes, typically operating at 433.92 MHz or 315 MHz. These are the cheap, key-fob style remotes used for garage doors, wireless weather stations, and smart outlets.
Amplitude Shift Keying (ASK) and OOK
Low-cost 433MHz Arduino remote modules utilize Amplitude Shift Keying (ASK), and more specifically, On-Off Keying (OOK). In OOK, the presence of the RF carrier wave represents a logical '1', and the absence represents a logical '0'. Because these modules lack sophisticated baseband processors, the microcontroller must handle the entire software stack.
Antenna Physics and Range Optimization
A frequent point of failure in DIY RF remote projects is the antenna. Out of the box, cheap 433MHz RX/TX modules have no antenna, limiting their range to a few centimeters. To achieve the theoretical 100+ meter range, you must solder a quarter-wave monopole antenna. For 433.92 MHz, the optimal wire length is exactly 17.3 cm (calculated using the formula: 7500 / f_MHz cm). Adding this simple straight wire can increase receiver sensitivity by over 20dB.
For robust data transmission over noisy OOK channels, developers use libraries like VirtualWire or RadioHead, which implement Manchester encoding and Cyclic Redundancy Checks (CRC) to ensure the Arduino remote commands are not corrupted by local RF interference.
Bluetooth Low Energy (BLE): The Modern HID Approach
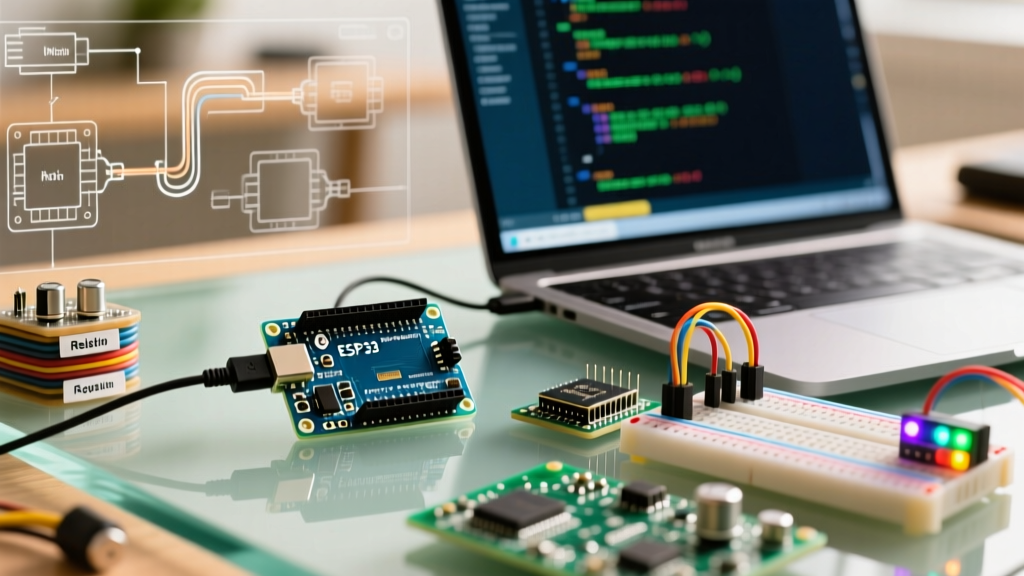
For complex Arduino remote applications requiring high bandwidth, bi-directional feedback, or smartphone integration, Bluetooth Low Energy (BLE) is the modern standard. While the classic ATmega328P (Arduino Uno) lacks native BLE, boards based on the ESP32 or the Arduino Nano 33 BLE have shifted the paradigm.
GATT Services and HID over GATT
Unlike IR and raw RF, BLE remotes do not send raw binary pulses. They operate on the Generic Attribute Profile (GATT). An Arduino remote built with an ESP32 can emulate a standard Bluetooth keyboard or gamepad using the HID over GATT Profile (HOGP). This means your custom-built Arduino remote can natively control a smart TV, a PC, or a mobile device without requiring a custom receiver application on the target device.
Power Consumption and Coin Cell Viability
BLE is designed for extreme power efficiency. An ESP32 transmitting short HID reports can be put into deep sleep between button presses, waking only via external GPIO interrupts. This allows an Arduino remote to run for months or even years on a single CR2032 coin cell, a feat impossible with continuous Wi-Fi or raw 433MHz ASK transmitters.
Comparative Analysis: Choosing Your Remote Topology
Selecting the right technology depends entirely on your environmental constraints and data requirements. Below is a decision matrix for Arduino remote implementations.
| Feature | Infrared (IR) | 433MHz RF (ASK) | Bluetooth Low Energy |
|---|---|---|---|
| Line of Sight Required? | Yes (Strict) | No (Omnidirectional) | No (Penetrates walls) |
| Typical Range | 5 - 10 meters | 20 - 100+ meters | 10 - 50 meters |
| Bi-Directional? | No | Rarely (Requires dual modules) | Yes (Native ACKs) |
| Protocol Complexity | Low (Hardware demodulated) | Medium (Software encoded) | High (Stack/GATT managed) |
| Target Device Compatibility | Custom Arduino Receiver | Custom Arduino Receiver | Native PC/Phone/TV HID |
| Approximate Module Cost | $1.00 - $2.00 | $2.00 - $4.00 | $5.00+ (Requires ESP32/BLE MCU) |
Interrupts and Timing: The Software Bottleneck
A critical concept often overlooked by beginners building an Arduino remote receiver is the reliance on hardware interrupts. Whether you are measuring the 562µs spaces of an NEC IR signal or the Manchester-encoded bits of a 433MHz RF module, the timing tolerance is incredibly tight.
If your Arduino sketch uses delay() or blocking functions like Serial.readString() while waiting for a remote signal, you will drop bits, resulting in corrupted payloads and failed checksums. Professional Arduino remote implementations attach the receiver's data pin to an interrupt-capable pin (e.g., Pin 2 or 3 on the Uno). As noted in the official Arduino attachInterrupt() documentation, the Interrupt Service Routine (ISR) records the exact micros() timestamp of every rising and falling edge into a circular buffer, deferring the actual protocol decoding to the main loop only when a complete frame is detected.
Summary
Building a reliable Arduino remote is an exercise in applied physics and real-time software engineering. IR remains unbeatable for simple, line-of-sight appliance control due to its low cost and hardware demodulation. Sub-GHz RF excels in outdoor or multi-room environments where range and wall penetration are paramount, provided you respect antenna physics and software encoding. Finally, BLE offers a modern, bi-directional, and low-power paradigm for advanced makers willing to navigate the complexities of GATT profiles. By understanding the underlying concepts of carrier waves, modulation, and interrupt-driven decoding, you can design remote control systems that are robust, responsive, and perfectly tailored to your project's needs.