
The "Series" Misconception: Why We Actually Wire Sockets in Parallel
If you are searching for how to wire sockets in series, we need to clear up a critical terminology issue before you touch a single wire. In residential and commercial AC wiring, you never wire standard wall sockets in a true electrical series.
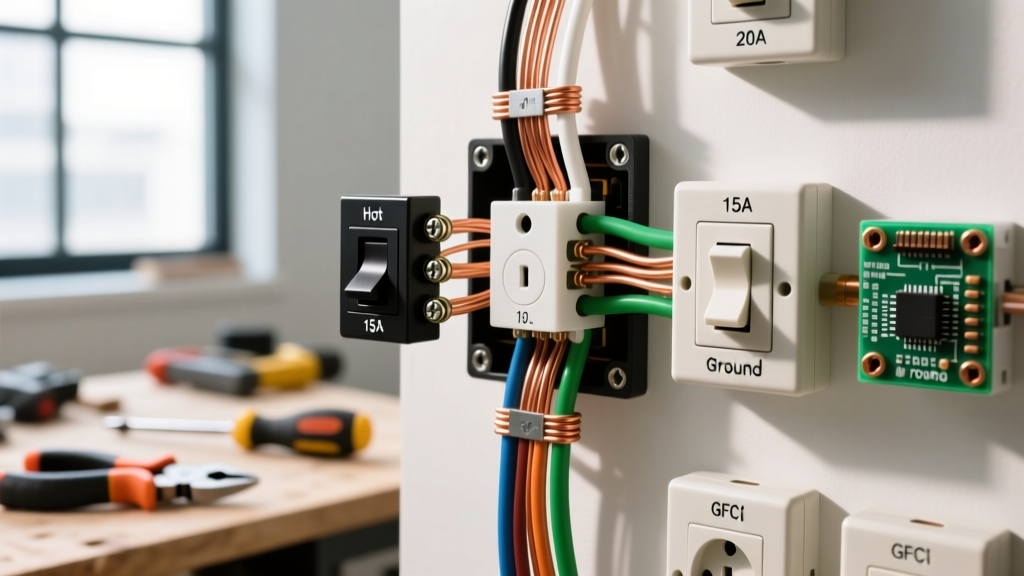
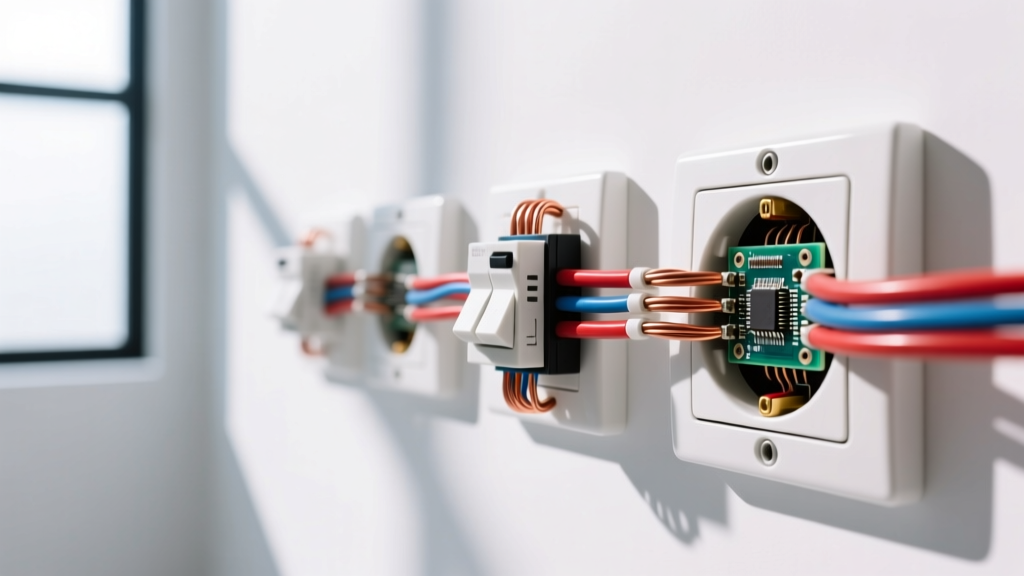
When laypeople ask about "series wiring" for outlets, they are actually referring to daisy-chaining—running power from the breaker panel to the first receptacle, and then jumping from that receptacle to the next, and the next. Electrically, this is wired in parallel.
Here is the physics of why true series wiring is a disaster for 120V AC mains: In a series circuit, voltage divides across the loads based on their resistance. If you wired two sockets in true series and plugged in a 100W lamp (high resistance) and a 1500W hair dryer (low resistance), the 120V would split unevenly. The lamp might receive 110V and the hair dryer 10V. Worse, if you unplugged the lamp, the circuit would physically break, instantly killing power to the hair dryer.
By wiring sockets in parallel (daisy-chaining), every receptacle receives the full 120V nominal (typically 114V–126V measured), and the current (amps) divides among the plugged-in devices. The National Electrical Code (NEC), specifically NFPA 70, mandates parallel branch circuits for standard receptacles to ensure predictable voltage and safe overcurrent protection.
Tools, Materials, and Wire Sizing
Before opening a junction box, ensure your materials match your breaker size. Mixing 14 AWG wire on a 20-amp breaker is a severe fire hazard and an immediate code violation.
| Breaker Size | Wire Gauge (Copper NM-B/THHN) | Receptacle Rating | Typical Application |
|---|---|---|---|
| 15 Amp | 14 AWG (or 12 AWG) | 15A (NEMA 5-15R) | Bedrooms, living rooms, lighting |
| 20 Amp | 12 AWG (Minimum) | 20A (NEMA 5-20R) or 15A | Kitchens, bathrooms, garages, outdoors |
Required Tools & Materials:
- Wire: 12/2 or 14/2 NM-B (Romex) for indoor dry locations; THHN in conduit for wet locations.
- Receptacles: Commercial-grade duplex receptacles (e.g., Leviton 5320-W for 15A or 5242-W for 20A). Avoid builder-grade 50-cent outlets; commercial spec-grade units have thicker internal contacts and better clamping yokes.
- Wire Strippers: Calibrated for 12 and 14 AWG solid copper.
- Torque Screwdriver: Insulated, inch-pound rated (crucial for modern NEC compliance).
- Wago 221 Lever-Nuts or Ideal Wire-Nuts: For pigtailing.
- Non-Contact Voltage (NCV) Tester & Digital Multimeter.
Working on branch circuits involves lethal 120V/240V AC energy. Before removing any cover plate:
- De-energize: Turn off the corresponding breaker at the main panel. Apply a lockout/tagout (LOTO) device if others are in the home.
- Verify Dead: Test your NCV tester on a known live circuit first to prove it works. Then, test the target outlet. Finally, use a multimeter set to AC Volts (≥200V range) to measure Hot-to-Neutral and Hot-to-Ground. Both must read 0.0V.
- AHJ Authority: Local codes may require a licensed electrician for new circuit runs. Always defer to your local Authority Having Jurisdiction (AHJ).
Step-by-Step: Wiring Multiple Sockets on One Circuit
The most robust, code-compliant method for daisy-chaining sockets is pigtailing. While you can use the receptacle's internal jumpers to pass power through (feed-through), pigtailing ensures that if one receptacle is removed or fails, the downstream sockets do not lose their neutral or hot connection. This satisfies NEC 300.13(B) regarding neutral continuity.
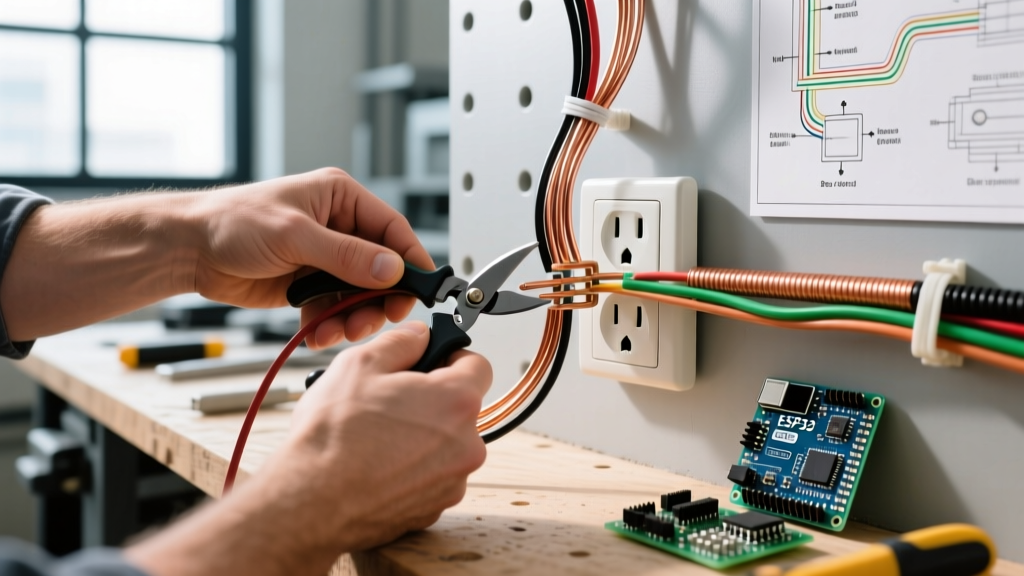
- Prepare the Box and Wires: Strip the outer NM-B jacket, leaving at least 1/4 inch of jacket inside the box. Strip exactly 3/4 inch of insulation from the black, white, and bare copper wires using your calibrated strippers. Do not nick the copper conductor.
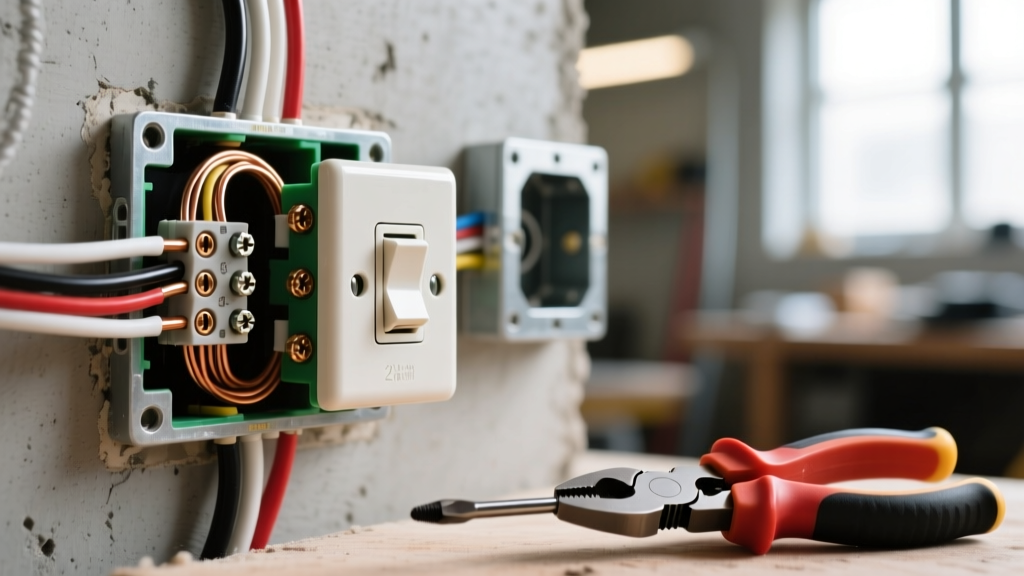
- Terminate the Ground (Bare/Green): Gather all bare copper ground wires in the box (the incoming line, the outgoing load to the next socket, and a 6-inch pigtail). Connect them using a wire nut or Wago lever-nut. Connect the free end of the bare copper pigtail to the green grounding screw on the receptacle yoke. Torque to the manufacturer's spec (typically 12-14 in-lbs).
- Terminate the Neutral (White): Gather all white neutral wires (line, load, and a 6-inch white pigtail). Twist and cap them together. Connect the free end of the white pigtail to either of the silver terminal screws on the receptacle. Ensure no bare copper is exposed outside the screw head, and the insulation jacket isn't caught under the screw plate.
- Terminate the Hot (Black): Gather all black hot wires (line, load, and a 6-inch black pigtail). Twist and cap them together. Connect the free end of the black pigtail to either of the brass (gold) terminal screws on the receptacle.
- Check the Breakable Fins: Look at the side of the receptacle between the two brass screws and the two silver screws. There are small metal connecting fins (tabs). Leave these tabs intact for a standard daisy-chain. (You only break these tabs if you are splitting the receptacle for a switched half-hot or a multi-wire branch circuit).
- Seat the Device: Carefully fold the wires into the back of the box. Push the receptacle flush against the drywall or plaster ring. Secure it with the provided #6-32 mounting screws. Use a torpedo level to ensure the yoke is perfectly plumb.
The Most Common Botch (and How to Avoid It)
The Botch: Relying on the receptacle's internal yoke jumper to carry the neutral current to downstream devices, instead of pigtailing the white wires.
The Symptom: A homeowner unplugs a vacuum cleaner from the first socket in the daisy-chain, and the socket physically shifts, breaking the internal neutral strap connection. Suddenly, the TV plugged into the downstream socket loses power. Worse, on a Multi-Wire Branch Circuit (MWBC), breaking or relying on an improperly bonded neutral can cause a 240V condition across downstream 120V appliances, instantly destroying electronics and risking fire. OSHA electrical safety guidelines and the NEC strictly enforce neutral continuity to prevent these exact catastrophic failure modes.
The Fix: Always use a wire nut or lever-nut to join the line neutral, load neutral, and a dedicated pigtail that goes directly to the receptacle's silver screw. The receptacle should only carry its own load, not act as a splice block for the rest of the circuit.
Verify and Test
Never assume a wired circuit is correct just because the wires are under the screws. Once the breaker is re-energized at the panel, perform the following tests with a digital multimeter set to AC Volts (600V max rating):
| Test Points | Multimeter Probes | Expected Reading (120V System) | What it Proves |
|---|---|---|---|
| Hot to Neutral | Black to Short Slot / White to Long Slot | 114V – 126V AC | Circuit is live and properly stepped down. |
| Hot to Ground | Black to Short Slot / Bare to Ground Hole | 114V – 126V AC | Grounding path is continuous back to the panel. |
| Neutral to Ground | White to Long Slot / Bare to Ground Hole | 0.0V – 1.5V AC | Neutral and ground are properly bonded at the main panel only, with no stray voltage. |
If you read ~120V on Neutral-to-Ground, you have a lost neutral or a cross-wired connection upstream. De-energize immediately and re-check your white wire splices.
Frequently Asked Questions
Can I wire 120V outlets in a true series circuit?
No. True series wiring divides the voltage across the connected loads. If you wire two 120V sockets in series, a plugged-in device will only receive a fraction of the required voltage, leading to motor stall, overheating, and equipment damage. Furthermore, unplugging a device from the first socket will break the circuit, killing power to the second socket. Always wire AC receptacles in parallel (daisy-chained).
How many sockets can I daisy-chain on a 20-amp breaker?
The NEC does not specify a hard limit on the number of receptacles on a single residential 15A or 20A general lighting branch circuit. However, standard practice and voltage drop calculations dictate a maximum of 8 to 10 receptacles per 15A circuit, and 10 to 13 per 20A circuit. If you are running a 100-foot wire run, you must upsize to 10 AWG to prevent voltage drop, regardless of the number of sockets. Commercial occupancies (per NEC 220.14) require calculating loads at 180VA per receptacle strap, which mathematically limits a 20A circuit to roughly 13 sockets.
Do I need to pigtail the ground wire on every socket?
Yes, pigtailing the bare copper ground is mandatory best practice and required by code if the box is metal. For plastic (non-metallic) boxes, you can technically use the receptacle's internal ground strap to pass the ground through to the next box, but pigtailing all grounds together with a dedicated pigtail to the green screw is the professional standard. It ensures that removing the receptacle for painting or replacement does not compromise the equipment grounding conductor (EGC) path for downstream devices.
What happens if I break the brass fin tab by mistake?
The brass fin tab connects the top and bottom hot terminals. If you accidentally snap it off with your needle-nose pliers, only half of the duplex receptacle will have power. The downstream sockets will still work (assuming you pigtailed the hot wire), but the socket you are working on will only provide 120V to the top or bottom plug, depending on which screw you landed your black pigtail on. You will need to replace the receptacle; do not attempt to bridge the broken tab with a piece of bare wire, as this creates an uninsulated shock hazard inside the box.