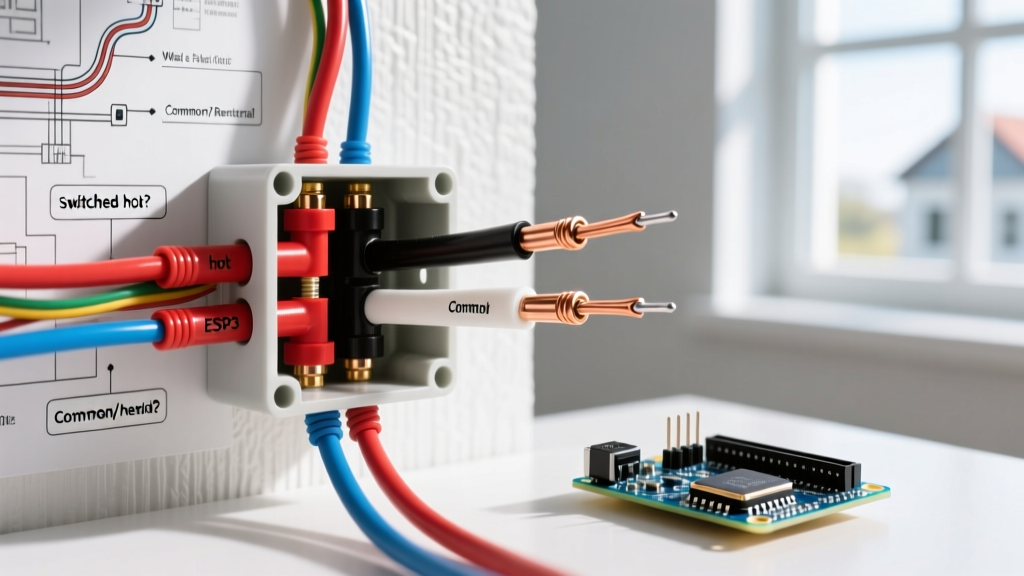

Decoding the "Common" in Your Renovation
When planning a home renovation, tearing into drywall often reveals a tangled history of past electrical work. As you map out your rough-in plans for smart home upgrades, new lighting layouts, or HVAC replacements, you will inevitably encounter a confusing piece of industry jargon. Homeowners and DIYers frequently ask: in electrical wiring what is the common? The answer is not a single, universal definition. Instead, the term "common" shifts its meaning depending on whether you are looking at a standard switch loop, a 3-way switch configuration, or a modern smart thermostat.
Understanding these distinctions is critical for renovation planning. Misidentifying a common wire can lead to tripped breakers, fried smart home hubs, or dangerous shock hazards. This guide breaks down the three distinct faces of the "common" wire and provides actionable, code-compliant strategies for integrating them into your 2026 remodel.
The Three Faces of the "Common" Wire
1. The Neutral Wire (The Return Path)
In standard 120-volt AC branch circuits, the "common" is most frequently used as a colloquial term for the neutral wire. While the black (or red) hot wire delivers current from the panel to the load, the white neutral wire serves as the common return path back to the transformer.
Renovation Impact: If you are upgrading to smart switches (like the Lutron Caseta or Kasa Smart lines), these devices require a continuous 120V circuit to power their internal Wi-Fi or Zigbee radios. This means they need both a hot wire and a neutral (common return) at the switch box. In homes built before 1985, switch loops were often wired using only a 2-wire cable (hot and switched-hot), meaning no neutral is present in the wall box.
2. The Common Terminal on 3-Way Switches
When wiring a hallway or staircase with two control points, you use 3-way switches. On the physical switch mechanism (such as the Leviton 5603-2W), the "common" refers to the single dark-colored (usually black or dark brass) screw terminal.
Renovation Impact: The common terminal connects to either the line (power source) or the load (the light fixture). The two lighter brass screws are for the "traveler" wires. When replacing old 3-way switches during a remodel, failing to identify and tag the wire connected to the original common screw will result in a switch that only works from one location.
3. The "C-Wire" (Common Wire) for HVAC Thermostats
In low-voltage (24V) HVAC control wiring, the "C-wire" stands for Common. It provides the continuous 24-volt AC return path needed to power smart thermostats like the Ecobee SmartThermostat or Google Nest Learning Thermostat.
Renovation Impact: Older homes typically only ran 4-wire thermostat cables (R, W, Y, G). Without a C-wire, smart thermostats attempt to "steal" power by trickling current through the heating relay, which can cause HVAC contactors to chatter or fail prematurely. Planning to pull a new 18/5 or 18/8 thermostat cable during your rough-in phase is a mandatory step for modern renovations.
Renovation Matrix: Identifying Your Common Scenario
Use this decision matrix during your demolition and rough-in planning phases to determine what "common" means for your specific project zone.
| Renovation Scenario | What "Common" Means | Standard Wire Color | Action Required for 2026 Upgrades |
|---|---|---|---|
| Adding Smart Light Switches | Neutral Return Path | White (120V) | Verify neutral in box; pull new 14/2 NM-B if missing. |
| Replacing 3-Way Hallway Switches | Line or Load Connection | Black or Red (120V) | Tag the wire on the dark screw before removing old switch. |
| Installing Smart HVAC Thermostat | 24V AC Transformer Return | Blue or Black (Low Voltage) | Pull new 18/5 cable from furnace control board to wall. |
| Wiring a Subpanel or 240V Outlet | Neutral Bus Bar Tie | White or Gray | Ensure neutral and ground bars are separated in subpanels. |
Code Compliance: The NEC Neutral Requirement
When planning your renovation, you must adhere to the National Electrical Code (NEC). According to NFPA 70 (National Electrical Code), specifically Article 404.2(A), a neutral (common return) conductor is now required at nearly all switch locations. This code update was driven entirely by the proliferation of smart home technology and LED lighting, which require constant power or suffer from voltage ghosting.
Pro-Tip for Remodelers: Even if your local jurisdiction is still enforcing an older NEC cycle, treat the neutral requirement as mandatory. Pulling a 14/2 NM-B (Romex) cable instead of a 12/2 or 3-wire setup during a gut renovation costs pennies per foot but future-proofs the home for the next decade of smart home integrations.
How to Fish a New "Common" Neutral in Finished Walls
If your renovation involves upgrading switches in finished walls where the drywall is staying intact, you cannot simply rip open the studs. You must "fish" a new cable to bring the common neutral down from the ceiling fixture or up from the basement. Here is the professional workflow:
- Locate the Source: Open the ceiling fixture box. Identify the bundle of white neutral wires. You will splice your new 14/2 NM-B cable here.
- Drill the Top Plate: Use a flexible drill bit (like the Klein Tools 56415 15-Foot Flex Shaft) attached to a right-angle drill. Drill through the top plate of the wall stud directly above the switch box.
- Feed the Glow Rod: Push a fiberglass glow rod (such as the Gardner Bender GTR-400) down from the ceiling cavity into the wall bay.
- Pull the Cable: Attach the new 14/2 cable to the glow rod using electrical tape and a pulling lubricant like Yellow 77. Gently pull the cable up into the ceiling cavity, make your wire-nut connections, and push the new neutral down into the switch box.
Testing and Verification Tools
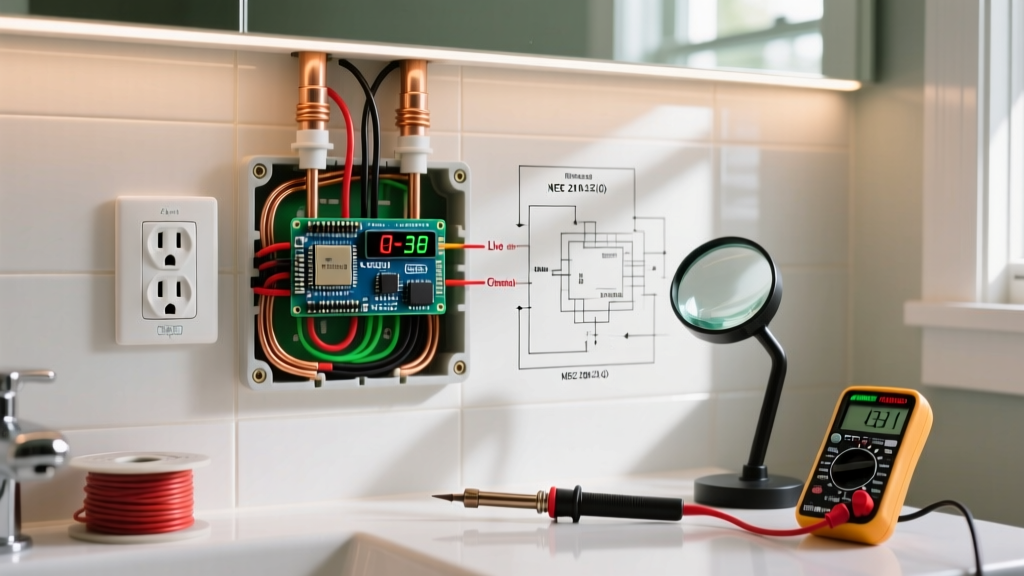
Never assume wire colors are correct, especially in older homes where previous owners may have used white wire as a switched-hot without re-identifying it with black tape. To safely identify the common, neutral, and hot wires, invest in professional testing gear:
- Non-Contact Voltage Tester (NCVT): The Klein Tools NCVT-3 ($35) detects live AC voltage without stripping insulation. Use this to confirm the power is off at the breaker before touching any terminals.
- True-RMS Multimeter: The Fluke 117 ($200) is the industry standard. Set it to AC Voltage. Place one probe on the suspected hot wire and the other on the suspected common/neutral. A reading of 120V confirms the circuit loop. Testing between neutral and ground should read 0V to 2V under no-load conditions.
Budgeting for Common Wire Upgrades
When drafting your renovation budget, account for the labor and materials required to correct missing common wires. According to the U.S. Department of Energy, smart home upgrades yield significant energy savings, but the upfront wiring costs must be factored in.
- Materials: A 250-foot spool of 14/2 Southwire NM-B costs approximately $95. Low-voltage 18/5 thermostat wire costs about $45 for a 250-foot spool.
- Labor (Electrician): Expect to pay $75 to $125 per hour for a licensed electrician to fish new neutral wires through finished walls. A standard single-story drop takes 1.5 to 3 hours ($150–$375).
- The Workaround: If fishing a wire is structurally impossible (e.g., blocked by fire blocks or plaster-and-lath walls), budget for neutral-free smart switches. The Lutron Caseta PD-5S-DV ($70 per switch) does not require a neutral common, saving you hundreds in drywall repair and fishing labor.
Safety First: OSHA and De-Energization
Working with the common neutral carries the same lethal risks as working with the hot wire. A shared neutral (multi-wire branch circuit) can carry return current from an adjacent circuit that is still turned on. Always lock out and tag out (LOTO) the main panel breakers, and verify with a multimeter before beginning any rough-in work. For comprehensive safety protocols regarding electrical de-energization, always consult OSHA's Electrical Safety Guidelines before commencing demolition.
Final Thoughts for Your Remodel
Answering the question "in electrical wiring what is the common" requires looking at the specific device you are installing. Whether you are ensuring a 120V neutral return for a smart switch, mapping the dark screw on a 3-way toggle, or pulling a 24V C-wire for your HVAC, proper planning during the rough-in phase will save you from tearing into freshly painted drywall later. Map your circuits, test with a True-RMS multimeter, and always pull an extra conductor for future-proofing.