
The Definitive Material Guide to Surface Raceways
When retrofitting older buildings, finishing basements, routing power across exposed masonry, or upgrading commercial workspaces, tearing open drywall is rarely the most efficient or cost-effective option. This is where a raceway for electrical wiring becomes an indispensable solution. Surface-mounted raceways allow electricians and advanced DIYers to route conductors safely, cleanly, and in full compliance with the National Electrical Code (NEC) without the mess of demolition and patching.
However, selecting the correct raceway involves much more than picking a plastic channel at the hardware store. As of the 2026 NEC adoption cycles, inspectors are heavily scrutinizing fill capacities, material ratings, and the separation of power and data lines. This guide breaks down the exact materials, sizing mathematics, and installation workflows required for a professional-grade surface raceway installation.
Material Comparison Matrix: Choosing Your Raceway
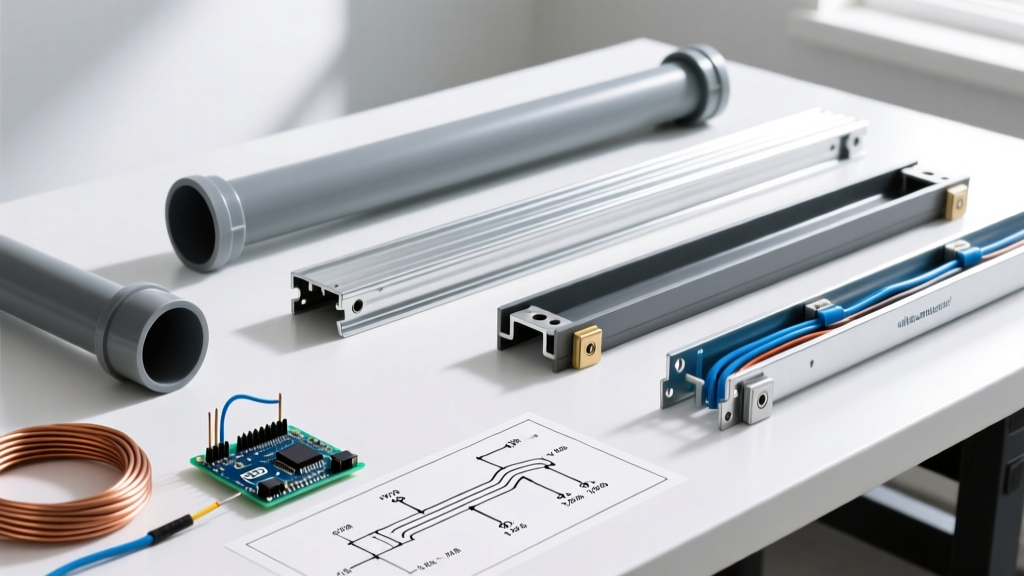
Not all raceways are created equal. The environment, aesthetic requirements, and physical stress factors will dictate which material you should deploy. Below is a comparison of the three primary raceway categories used in modern electrical installations.
| Material Type | Top Industry Model | Best Use Case | Est. Cost (2026) | NEC Article |
|---|---|---|---|---|
| Nonmetallic (PVC) | Legrand 3100 Series | Residential retrofits, home offices, drywall surfaces | $1.25 - $1.80 / ft | Article 388 |
| Surface Metal (Steel) | Wiremold V700 / B700 | Commercial shops, garages, industrial workbenches | $3.50 - $4.20 / ft | Article 386 |
| Extruded Aluminum | Panduit ALR Series | Cleanrooms, data centers, high-end architectural | $4.50 - $6.00 / ft | Article 386 |
| Latching Flexible | Panduit LCC2X2 | Uneven walls, curved surfaces, temporary setups | $2.80 - $3.40 / ft | Article 388 |
Note: Always verify the specific UL listing of the raceway. Standard indoor PVC will fail UV exposure tests and become brittle within 18 months if used in sunlit solariums or exterior overhangs. For exterior applications, you must source UV-stabilized rigid PVC (R-Type PVC) per NFPA NEC Article 352.
Sizing and the 40% Fill Capacity Rule
The most common reason surface raceway installations fail inspection is overfilling. According to NEC Chapter 9, Table 1, the combined cross-sectional area of all conductors in a raceway must not exceed 40% of the raceway's total interior area when pulling three or more wires. This prevents heat buildup and allows for future wire additions without replacing the entire channel.
Real-World Sizing Calculation
Let us calculate the requirements for running a standard 20A branch circuit (four 12 AWG THHN wires: Black, White, Red, Green) through a surface PVC raceway.
- Find Wire Area: Per NEC Chapter 9, Table 5, the cross-sectional area of a single 12 AWG THHN wire is 0.0133 square inches.
- Total Wire Area: 4 wires × 0.0133 sq in = 0.0532 square inches.
- Apply 40% Rule: Divide the total wire area by 0.40 to find the minimum raceway area required. (0.0532 / 0.40 = 0.133 square inches).
- Select Raceway: A standard 3/4-inch by 3/4-inch Legrand 3100 raceway has an interior area of roughly 0.42 square inches. Since 0.42 is well above the 0.133 minimum, this size is perfectly compliant and leaves ample room for heat dissipation.
Pro-Tip on Heat Deration: If you exceed the standard wire count and pack the raceway tightly, you must apply the ampacity derating factors found in NEC Table 310.15(C)(1). For example, running 7 current-carrying conductors in a single raceway channel requires you to derate the wire ampacity to 70%, meaning a 20A circuit on 12 AWG wire would legally need to be protected at a lower threshold, or you must upsize to 10 AWG wire.
Power vs. Data Separation: The 2026 Enforcement Reality
A frequent edge case in remodel wiring is the temptation to run 120V AC power and low-voltage Cat6A or HDMI cables in the same surface raceway to save space. Under OSHA Wiring Methods Standards and NEC Article 725.136, this is a direct violation unless specific conditions are met.
Electromagnetic interference (EMI) from AC power will induce noise on data lines, causing packet loss and degraded network speeds. To run both in a single surface raceway profile, you must use a raceway with a continuous, physical metal or rigid plastic divider barrier (such as the Wiremold 5000 series with a snap-in divider). The power must be on one side of the barrier, and the data on the other, with the barrier running the entire length of the run. Never rely on simply keeping the wires on opposite sides of an open channel.
Step-by-Step Pro Installation Workflow
Proper mounting ensures the raceway does not peel off the wall over time, especially when subjected to the thermal expansion of the wires inside.
1. Surface Preparation and Layout
Do not rely on painted drywall for heavy adhesive mounting. If using a steel Wiremold V700, mechanical fasteners are mandatory. Use a laser level to snap a chalk line. For PVC raceways, wipe the wall surface with isopropyl alcohol to remove drywall dust and oils, which will compromise adhesive bonds.
2. Cutting and Deburring
Never use standard wood-cutting saws on PVC raceways; they will shatter the plastic and leave jagged edges that can slice wire insulation during pulling. Use a fine-tooth hacksaw (32 TPI) or a specialized ratcheting PVC cutter like the Klein Tools 50548. After cutting, use a reaming tool to remove interior burrs. A single missed burr can strip the insulation off a THHN wire as it is pulled through, creating a hidden short-circuit hazard.
3. Mounting Strategy: Adhesive vs. Mechanical
- Adhesive (PVC/Latching): Use 3M VHB (Very High Bond) tape, specifically the 4941 or 5952 series. Standard double-sided foam tape will fail within 6 months as the adhesive dries out. Apply the VHB tape in continuous strips, press firmly for 60 seconds, and allow 24 hours of cure time before pulling wires.
- Mechanical (Metal/Aluminum): Pre-drill the back of the metal raceway with a 3/16-inch cobalt bit. Mount to wall studs using #8 or #10 flat-head sheet metal screws. Ensure the screw heads sit completely flush; a protruding screw head inside the channel will damage wire jackets.
4. Pulling the Conductors
For runs longer than 15 feet or those with more than two 90-degree bends, apply a UL-listed cable pulling lubricant like Polywater J. This reduces friction and prevents the jacket from stretching or tearing. Always use a fish tape with a smooth, rolling eyelet to lead the wires.
Common Failure Modes and Edge Cases
Even experienced installers make mistakes when dealing with surface raceways. Watch out for these specific failure modes:
- Thermal Expansion Warping: PVC expands at a rate of approximately 0.5 inches per 10 feet of length for every 30°F temperature change. If you install PVC raceway tightly end-to-end in a cold basement and the room heats up in the summer, the channel will buckle and pop off the wall. Always leave a 1/8-inch expansion gap between straight sections, covered by a snap-on flat elbow or coupling.
- Grounding Continuity in Metal Raceways: Surface metal raceways (Article 386) can serve as the Equipment Grounding Conductor (EGC) only if the entire run is listed for grounding and all couplings are tightly fastened. If the raceway is painted, or if a section is loose, ground continuity is broken. Best practice in 2026: Always pull a dedicated green grounding wire inside the metal raceway to guarantee a reliable fault path.
- Cover Snap-Fatigue: Repeatedly snapping and unsnapping the PVC cover to add wires will eventually wear out the retention clips. If you anticipate frequent changes (like in a prototyping lab or IT closet), specify a hinged-cover raceway (e.g., Legrand Wiremold Hinged Series) rather than a snap-on lid.
Essential Tool Kit for Raceway Installations
To execute a clean, code-compliant installation, ensure your tool bag includes the following specialized items:
- Panduit CT-150 or equivalent duct cutter: For clean, burr-free cuts on flexible and latching raceways.
- Flat-head nylon spudger: For prying off snap-on covers without gouging the wall paint or cracking the PVC lip.
- Wire pulling compound (Polywater J or Ideal 31-000): Essential for reducing friction on long pulls.
- Digital caliper: To measure the exact interior dimensions of the raceway before calculating fill capacity, as manufacturing tolerances can vary slightly by brand.
- Non-contact voltage tester & Tone Generator: To verify existing lines and trace low-voltage data cables before drilling into walls for raceway anchors.
Final Thoughts
A properly specified and installed raceway for electrical wiring is a hallmark of professional craftsmanship. It provides a safe, code-compliant pathway for conductors while preserving the structural integrity of the building. By respecting the 40% fill rule, enforcing strict power/data separation, and selecting the correct material for the environment, you ensure a system that is both highly functional and built to last for decades.