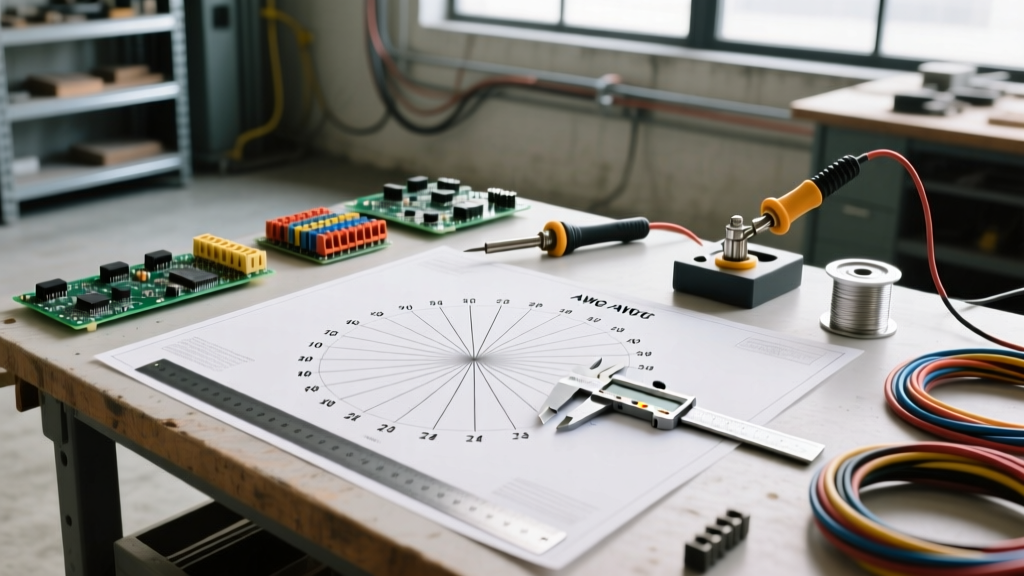

When planning a home electrical project, selecting the correct wire gauge is non-negotiable. However, many DIYers and even seasoned handymen fall into a common trap: relying on digital or printed wire gauge charts that are not scaled to actual size. A monitor's pixel density or a printer's default scaling settings can easily distort a visual chart by 15% to 30%, leading to catastrophic misidentifications. Confusing 12 AWG with 14 AWG because a screen-scaled image looked 'close enough' can result in overloaded circuits, melted insulation, and severe fire hazards.
The Danger of Screen-Scaled Wire Charts
The American Wire Gauge (AWG) system is logarithmic, meaning the physical diameter changes exponentially between gauges. For instance, the difference between 14 AWG and 12 AWG is only about 0.0167 inches in bare solid diameter. On a standard 1080p monitor, a visual representation of these wires might only differ by a single pixel. When you attempt to use an on-screen 'actual size wire gauge chart' by holding your wire up to the display, you are ignoring the browser's zoom level, the operating system's display scaling (often set to 125% or 150% on modern laptops), and the physical DPI of your specific panel.
Similarly, if you print a chart from a website without explicitly selecting 'Print at 100% scale' or 'Actual Size' in your printer dialogue box, the software will automatically shrink the document to fit the margins. A 10 AWG wire held up to a shrunk printout will incorrectly align with the 12 AWG or 14 AWG circles, leading you to believe you have a thinner wire than you actually do.
How to Verify 1:1 Print Scaling (The Paperclip Test)
If you are printing an actual size wire gauge chart from a reputable source like the Southwire Wire Size Chart documentation, you must verify the scale before trusting it. Most professional engineering PDFs include a 'scale verification line' or a standard dimension box at the bottom of the page.
- Locate the Reference Line: Find the 1-inch or 10-millimeter reference line on the printed chart.
- Measure with a Ruler: Use a high-quality machinist ruler or digital calipers to measure the reference line. If it is off by even 1/32nd of an inch, discard the printout.
- The Paperclip Benchmark: A standard, unwound Gem-style paperclip is manufactured from 16 AWG to 18 AWG steel wire (typically around 0.035 to 0.047 inches). While not a substitute for calipers, it can serve as a quick sanity check against the smallest gauges on your chart to ensure the print hasn't been drastically reduced.
Solid vs. Stranded: The Outer Diameter Discrepancy
A true actual size wire gauge chart must differentiate between solid core and stranded wire. The AWG rating strictly defines the cross-sectional area of the conductive metal, not the outer physical footprint. Because stranded wire consists of multiple smaller wires bundled together, the interstitial air gaps between the strands mean that a stranded wire will always have a slightly larger overall bare diameter than a solid wire of the exact same AWG.
For example, a 12 AWG solid copper wire has a bare diameter of exactly 0.0808 inches. A 12 AWG stranded copper wire (typically 7 or 19 strands) has a bare diameter of approximately 0.092 inches. While this 0.011-inch difference seems negligible, it becomes a major factor when calculating conduit fill capacity or when pushing wires through tight, pre-drilled holes in framing studs. Furthermore, once you add insulation—such as THHN or XHHW-2—the overall diameter expands significantly, which must be accounted for when selecting cable glands or conduit bodies.
Comprehensive Actual Size Wire Gauge Chart Data
Rather than relying on flawed visual circles, use the exact dimensional data below. You can verify your wire's gauge by measuring the bare copper conductor with digital calipers and comparing it to this chart. This data aligns with the specifications outlined in the NFPA 70 National Electrical Code (NEC).
| AWG Size | Bare Solid Diameter (in) | Bare Stranded Diameter (in) | THHN Overall OD (in) | Max Ampacity (60°C) | Common Home Application |
|---|---|---|---|---|---|
| 14 AWG | 0.0641 | 0.0725 | 0.100 | 15 Amps | Lighting circuits, low-draw receptacles |
| 12 AWG | 0.0808 | 0.0920 | 0.116 | 20 Amps | Kitchen/bathroom receptacles, general outlets |
| 10 AWG | 0.1019 | 0.1160 | 0.145 | 30 Amps | Electric dryers, window AC units, water heaters |
| 8 AWG | 0.1285 | 0.1465 | 0.180 | 40 Amps | Electric ranges, EV chargers (Level 2) |
| 6 AWG | 0.1620 | 0.1840 | 0.220 | 55 Amps | Main subpanels, heavy-duty EV chargers |
NM-B (Romex) Jacket Dimensions for Box Fill
Homeowners rarely run individual THHN wires through conduit; they run Non-Metallic Sheathed Cable (NM-B), commonly known by the brand name Romex. When using an actual size wire gauge chart for home projects, you must also consider the flat, oval profile of the NM-B jacket, which dictates how many cables can fit through a single bored hole in a wooden stud (NEC Article 300.4) and how they impact box fill calculations.
- 14/2 with Ground NM-B: Approximately 0.33 inches wide by 0.20 inches thick.
- 12/2 with Ground NM-B: Approximately 0.41 inches wide by 0.24 inches thick.
- 10/2 with Ground NM-B: Approximately 0.49 inches wide by 0.28 inches thick.
Attempting to staple two 12/2 NM-B cables tightly together in a single joist bay can trap heat, effectively derating the wire's ampacity. Always maintain physical spacing or use properly sized running boards when bundling is unavoidable.
Matching Wire Gauges to Terminals and Lugs
Knowing the exact physical size of your wire is only half the battle; you must also match that physical size to the correct mechanical lugs and breaker terminals. Manufacturers like Cerro Wire and Square D design their terminal screws and pressure plates to clamp down on a specific range of wire diameters.
Failure Modes: Undersized Lugs and Over-Torquing
If you strip a 10 AWG wire and attempt to force it into a lug rated only for 12-14 AWG, you will likely fray the outer strands or fail to seat the wire fully. Conversely, if you place a 14 AWG wire into a lug designed for 10-8 AWG and tighten the screw, the pressure plate will not make adequate contact with the conductor. Under load, this loose connection creates high resistance, leading to localized heating, 'cold flow' of the copper, and eventually, an arc fault that can ignite surrounding wood framing.
Pro Tip: Never rely on 'feel' when tightening terminal screws. The NEC now mandates specific torque values for most terminations (110.14(D)). Invest in a calibrated torque screwdriver, such as the Klein Tools 690, and set it to the exact inch-pound rating printed on the breaker or receptacle schematic. Over-torquing a 12 AWG stranded wire can easily shear the individual copper strands, reducing the effective cross-sectional area and creating a hidden bottleneck for current flow.
Pro Tips for Measuring Wire in the Field
When you are on a job site or deep in a crawl space without a printed actual size wire gauge chart, you need reliable field methods to identify mystery wires.
- Use Digital Calipers: A cheap pair of digital calipers is the most valuable tool in an electrician's pouch for this task. Strip back exactly 1 inch of insulation, close the caliper jaws on the bare copper (ensuring you are measuring the solid core or the outer envelope of the strands without compressing them), and compare to the chart data above.
- The Wire Stripper Notch Test: High-quality wire strippers (like the Klein 11055) are machined to precise tolerances. If a bare solid wire fits snugly into the '12' stripping hole without binding, and is too loose in the '14' hole, you have positive identification. Never use the cutting jaws to gauge wire size, as they are not precision-machined for measurement.
- Check the Jacket Stamp: By code, all NM-B and THHN wire must have the AWG size, voltage rating, and material (CU or AL) printed or embossed on the outer jacket. Use a damp rag to wipe away drywall dust or paint; the ink is usually indelible and will reveal the true gauge without needing physical measurement.
By abandoning inaccurate visual charts and relying on hard dimensional data, you ensure that every termination, conduit run, and breaker installation in your home project meets the highest standards of safety and code compliance.