
The Hidden Infrastructure of Your Renovation
When planning a kitchen remodel, finishing a basement, or adding a primary suite, it is easy to focus on aesthetics like quartz countertops and hardwood flooring. However, the success and safety of your project rely heavily on what hides behind the drywall. Understanding electricity wiring basics is not just about passing a municipal inspection; it is about future-proofing your home, preventing catastrophic electrical fires, and ensuring your modern appliances operate without tripping breakers. According to the Electrical Safety Foundation International (ESFI), electrical malfunctions cause over 50,000 home fires annually. A well-planned rough-in phase mitigates these risks entirely.
This guide strips away the jargon and provides a highly specific, actionable framework for mapping, selecting, and installing residential wiring during your next renovation, fully aligned with the latest National Electrical Code (NEC) standards adopted through 2026.
Decoding NM-B Cable: Gauges, Colors, and Applications
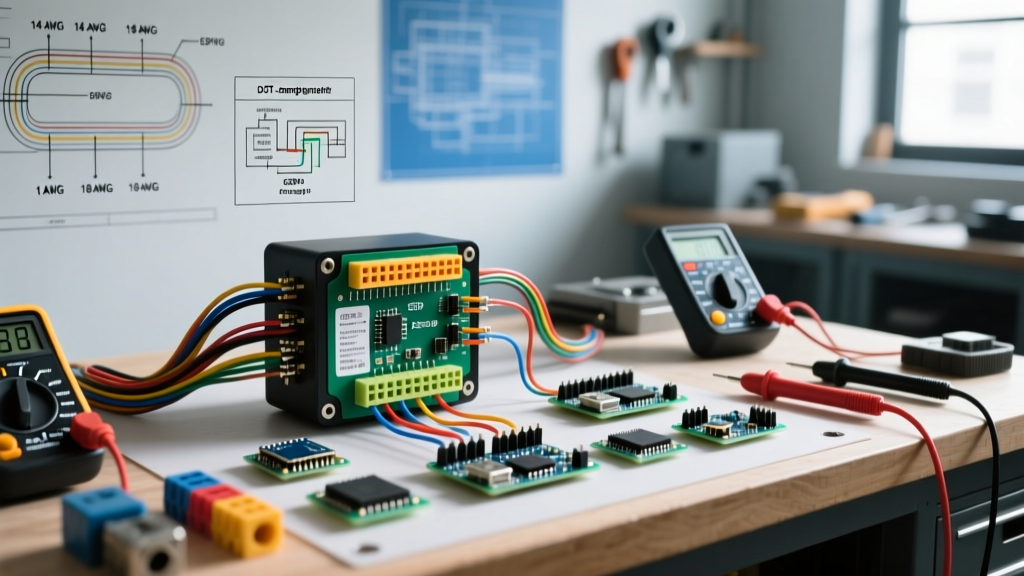
Non-Metallic Sheathed Cable (NM-B), commonly referred to by the brand name Romex, is the lifeblood of residential interior wiring. Selecting the correct gauge (wire thickness) and matching it to the appropriate circuit breaker is the most critical electricity wiring basic you must master. Using an undersized wire on an oversized breaker is a primary cause of thermal melting and structural fires.
For modern renovations, we highly recommend using Southwire's SIMpull NM-B cable. Its proprietary jacket reduces pulling friction by up to 30%, saving significant time when fishing wires through existing walls during remodels.
| Cable Type (NM-B) | Jacket Color | Wire Gauge | Max Breaker Size | Renovation Application |
|---|---|---|---|---|
| 14/2 with Ground | White | 14 AWG | 15 Amps | General lighting circuits, bedroom/bathroom exhaust fans, low-draw receptacles. |
| 12/2 with Ground | Yellow | 12 AWG | 20 Amps | Kitchen small-appliance circuits, bathroom GFCI outlets, garage workbenches, dining rooms. |
| 10/2 with Ground | Orange | 10 AWG | 30 Amps | Electric water heaters, standard electric clothes dryers (note: 4-wire 10/3 is now standard for new dryer installs). |
| 6/2 with Ground | Black | 6 AWG | 50 Amps | Electric ranges, induction cooktops, Level 2 EV charging stations (40A continuous load). |
Circuit Mapping: The Modern Renovation Standard
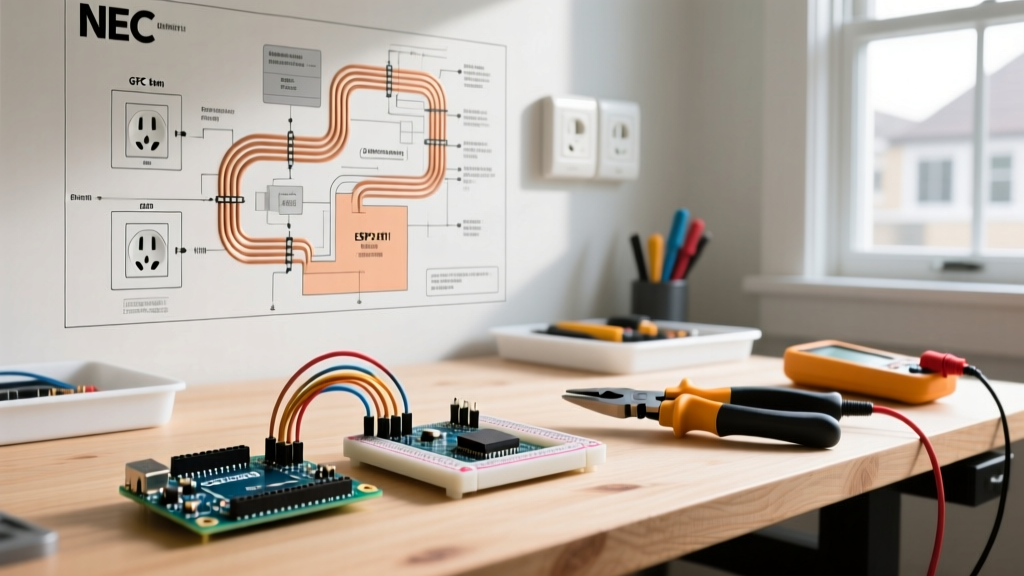
Older homes often feature 'spaghetti wiring,' where a single 15-amp circuit powers the lights and outlets for an entire floor. Modern renovation planning requires dedicated circuit mapping. The National Electrical Code (NEC) mandates specific circuit separations to prevent overloads.
Kitchen and Bathroom Small-Appliance Circuits
NEC Article 210.11(C)(1) requires at least two 20-amp small-appliance branch circuits for kitchen receptacles. These circuits must be wired with 12/2 NM-B and cannot supply lighting or outlets in other rooms. If you are installing a 1500W microwave and a 1200W coffee maker on the same countertop, they must be split across these two distinct circuits to prevent nuisance tripping.
AFCI and GFCI Mandates
Protection devices are no longer optional. Ground Fault Circuit Interrupters (GFCIs) protect against shock in wet areas, while Arc Fault Circuit Interrupters (AFCIs) detect dangerous sparking in damaged wires.
- GFCI Requirements: All 125V, 15A and 20A receptacles in kitchens, bathrooms, garages, crawlspaces, unfinished basements, and outdoors. Use 20A Tamper-Resistant (TR) GFCI receptacles in kitchens and baths.
- AFCI Requirements: Almost all 120V, 15A and 20A branch circuits supplying outlets in living rooms, bedrooms, hallways, and closets. For renovations, the easiest way to achieve this is by installing AFCI combination breakers in the main panel rather than using AFCI receptacles at the first outlet.
Appliance-Specific Wiring Requirements for 2026
As homes transition toward electrification, your renovation must account for high-draw appliances that older panels and wiring schemes simply cannot handle.
- Induction Cooktops: A standard 36-inch induction cooktop draws between 40 and 50 amps. You must run a dedicated 6/2 NM-B (or 6/3 if the manufacturer specifies a neutral) on a 50-amp double-pole breaker. Do not reuse old 40-amp range circuits without verifying the wire gauge inside the junction box.
- Level 2 EV Chargers: A 48-amp continuous EV charger requires a 60-amp breaker (NEC dictates continuous loads cannot exceed 80% of breaker capacity). This requires 4 AWG copper THHN wire in conduit, or 4/2 NM-B cable if run through protected framing cavities.
- Smart Panels and Solar Readiness: If you are upgrading your main service panel, install a 200-amp or 400-amp panel with a 'solar-ready' busbar layout, ensuring you have physical space for future bidirectional breakers.
The Rough-In Workflow: Step-by-Step Execution
The rough-in phase occurs after framing is complete but before insulation and drywall. Precision here saves hours of finish work.
- Mark the Layout: Use a laser level and a lumber crayon to mark outlet and switch locations on the studs. Standard code requires switches at 48 inches to the center of the box, and receptacles at 12 inches to the center. Kitchen backsplash outlets should be roughly 44 inches from the subfloor.
- Drill the Studs: Use a 3/4-inch spade bit or auger bit to drill holes through the center of the studs. Keep holes at least 1-1/4 inches from the edge of the stud to prevent drywall screws from piercing the cable later. If you must drill closer, nail-on steel protective plates (nail plates) are mandatory.
- Pull the Cable: Unroll your SIMpull NM-B and feed it through the bored holes. Leave at least 12 inches of extra cable protruding from each electrical box.
- Secure the Cable: Staple the cable to the stud within 8 inches of the electrical box, and every 4.5 feet thereafter. Use insulated cable staples to avoid crushing the outer sheath and damaging the internal THHN insulation.
- Make Up the Boxes: Strip the outer sheath using a specialized NM cable ripper (never use a utility knife, which frequently nicks the ground wire). Push the wires into the back of the box, ensuring at least 1/4 inch of the outer sheath enters the box cavity.
Budgeting: Material vs. Labor Costs
Understanding the financial breakdown of electrical work helps you decide which tasks to DIY and where to hire a licensed professional. Prices below reflect national averages for 2026.
| Renovation Electrical Task | Estimated Material Cost | Estimated Pro Labor Cost | DIY Viability |
|---|---|---|---|
| Rough-in new 20A kitchen circuit | $85 - $120 | $250 - $400 | High (If panel access is easy) |
| Install 200-Amp Main Panel Upgrade | $800 - $1,400 | $1,500 - $2,500 | None (Utility/Licensed Pro only) |
| Add 5 Recessed LED Can Lights | $150 - $250 | $400 - $650 | Moderate (Requires attic access) |
| Run 50A EV Charger Circuit | $250 - $400 | $600 - $1,200 | Moderate to Hard (Conduit bending) |
Essential Tools for the DIY Renovator
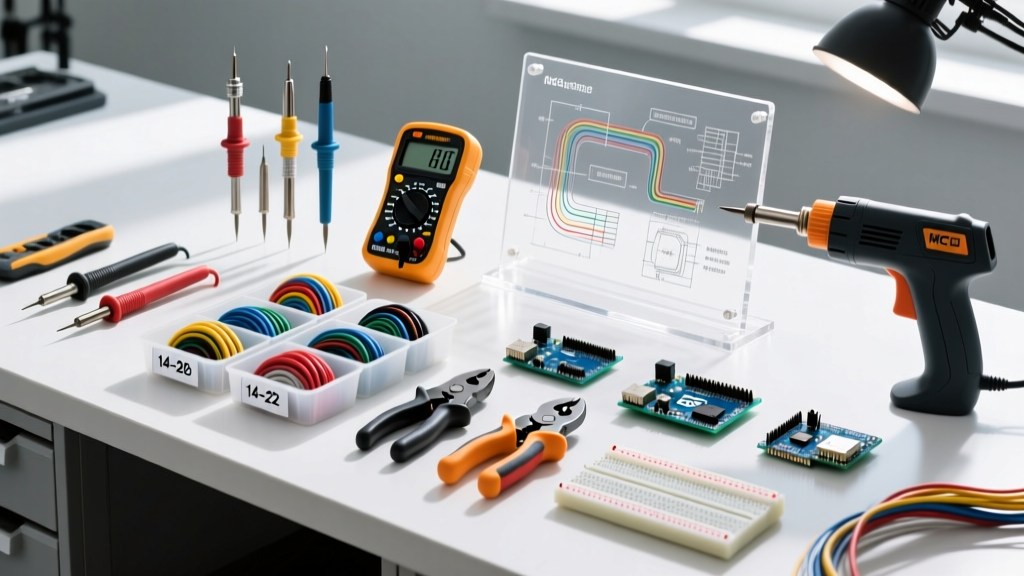
Executing electricity wiring basics safely requires specialized tools. Do not rely on generic household toolkits.
- Wire Strippers: The Klein Tools 11063W 8-Inch Wire Stripper is the industry standard. It cleanly strips 10-20 AWG solid and stranded wire without nicking the copper, which creates weak points and hotspots.
- Non-Contact Voltage Tester: The Milwaukee M12 2207-20 dual-range voltage detector is essential for verifying a circuit is dead before touching any terminals. Always test on a known live source first to confirm the tool's battery is functioning.
- Cable Ripper: The Gardner Bender SE-21 internal cable ripper safely slits the NM-B jacket without slicing the internal wire insulation.
- Torpedo Level: A magnetic 9-inch torpedo level ensures your electrical boxes are perfectly plumb before you nail them to the studs, preventing crooked faceplates later.
When to Call a Licensed Electrician
While mastering electricity wiring basics empowers you to handle rough-ins, branch circuit extensions, and fixture swaps, certain tasks demand professional intervention. The U.S. Consumer Product Safety Commission (CPSC) strongly advises against DIY work on main service entrances, sub-panel installations, and any work requiring utility meter removal. Furthermore, if your renovation requires pulling a municipal electrical permit, many jurisdictions legally require a licensed master electrician to perform or directly supervise the final panel terminations. Always check with your local building department before closing up walls; unpermitted electrical work can void your homeowner's insurance policy in the event of a fire.