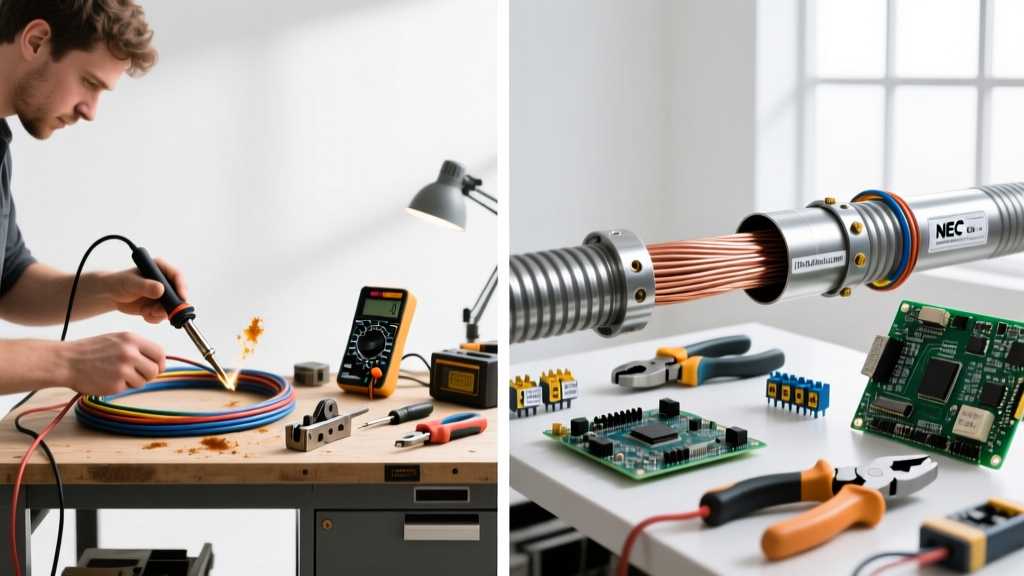

"Metal Clad (MC) cable offers superior physical protection and a clean, industrial aesthetic for exposed runs. However, unforgiving bending radii and strict termination codes make it a frequent point of failure for amateur electricians."
The Appeal and Reality of Metal Clad Armor
When homeowners plan to finish a basement, wire a detached workshop, or run exposed conduit-style lighting, they often look past standard NM-B (Romex) and consider electrical mc cable. Metal Clad cable provides a robust, galvanized steel or aluminum interlocking armor that protects internal THHN/THWN-2 conductors from physical damage, rodents, and accidental impact. From a visual standpoint, it delivers a premium, commercial-grade look that many DIYers covet for industrial-chic interiors.
However, the transition from stripping non-metallic sheathing to working with armored cable introduces a steep learning curve. The decision to tackle electrical MC cable as a DIY project versus hiring a licensed professional hinges on your understanding of National Electrical Code (NEC) Article 330, specialized tooling requirements, and the severe consequences of improper termination. This guide breaks down the technical realities, costs, and failure modes of MC cable installation to help you decide who should pull the wire.
Anatomy of Electrical MC Cable: Standard vs. MC-AP
Before bending any armor, you must understand what you are handling. Standard MC cable contains individual insulated conductors, a bare copper grounding wire, and a wrapping layer of paper or polymer. The armor itself is not approved as an equipment grounding conductor (EGC) in standard configurations.
Conversely, modern Southwire MC-AP (Armor Protected) cable utilizes a specialized interlocking aluminum armor combined with a full-size aluminum grounding conductor. When paired with specific MC-AP listed fittings, the armor and the grounding wire work in parallel to provide a redundant, highly effective ground path. DIYers frequently buy standard MC but attempt to use it in continuous grounding applications without the proper fittings, resulting in failed inspections and potential shock hazards.
Tooling and Material Costs: The DIY Budget Reality
Professional electricians amortize the cost of specialized MC tools across hundreds of jobs. For a DIYer wiring a single room, the upfront tooling investment can erase any perceived labor savings. Below is a breakdown of the required tooling for a safe, code-compliant installation.
| Tool / Material | DIY Approach & Cost | Professional Standard | Purpose & Failure Mode |
|---|---|---|---|
| Armor Stripping | Hacksaw / Dremel ($20) | Klein Tools 53788 MC Stripper ($65) | DIY cutting often scores the THHN insulation or leaves sharp internal burrs that slice wires over time. |
| Bending | Hand-bending / Knee-bending (Free) | MC Hickey Benders ($45 - $90) | Hand-bending kinks the armor, violating NEC bending radius rules and damaging internal conductors. |
| Fittings | Generic Set-Screw ($1.50/ea) | Arlington MC200 Compression ($3.00/ea) | Set-screws can slip or fail to bite the armor securely, compromising the ground path and pull-out resistance. |
| Anti-Short Bushings | Often Forgotten or Lost | Redhead Plastic Bushings ($0.10/ea) | Missing bushings allow the sharp, cut edge of the steel armor to short against the hot wire. |
NEC Code Hurdles: Where DIYers Fail with Metal Clad
The National Electrical Code (NFPA 70) outlines strict parameters for MC cable in Article 330. Inspectors are notoriously unforgiving regarding these three specific violations:
1. The Bending Radius Limitation (NEC 330.24)
You cannot simply bend MC cable around a tight corner stud. The NEC mandates that the inner edge of any bend must not be less than 10 times the external diameter of the cable for smooth armor, and 7 times for interlocking armor. For a standard 1/2-inch MC cable, this means maintaining a minimum 5-inch bend radius. DIYers who force the cable around 90-degree corners without a hickey bender will kink the armor, permanently damaging the internal paper wrap and potentially pinching the conductors.
2. Support and Securing Intervals (NEC 330.30)
MC cable must be secured at intervals not exceeding 6 feet. Furthermore, it must be fastened within 12 inches of every outlet box, junction box, or fitting. While Romex can be stapled with standard cable staples, MC cable requires specific metal or plastic MC cable straps. Using standard nail-in Romex staples on MC cable is an immediate code violation and a physical danger, as the nail can easily puncture the armor and the live conductors inside.
3. Anti-Short Bushings (NEC 330.12)
When you cut the metal armor, the resulting edge is razor-sharp. NEC 330.12 requires the installation of an insulating bushing (commonly called a "redhead" due to its standard red plastic color) between the conductors and the armor edge before the fitting is tightened. DIYers frequently lose these tiny bushings or skip them entirely, creating a latent short-circuit hazard that can arc to the metal armor if the wire shifts.
Termination Techniques: Set-Screw vs. Compression Fittings
The point where the MC cable enters the electrical box is the most critical failure point in the entire system. Arlington Industries and other manufacturers produce two primary types of fittings: set-screw and compression.
Set-Screw Fittings: These rely on a small grub screw that tightens down onto the metal armor to hold it in place and establish a ground bond. While cheaper, they require precise torque. If a DIYer under-tightens the screw, the cable can pull out under stress. If over-tightened, the screw can strip the soft aluminum armor or deform the steel, compromising the connection.
Compression Fittings: Professionals almost exclusively use compression fittings (like the Arlington MC200) for exposed runs. These fittings slide over the cable and tighten via a threaded nut that compresses an internal ring around the armor. This provides a 360-degree grip, superior pull-out resistance, and a much more reliable grounding bond without risking damage to the internal wires. The slight premium in cost is entirely justified by the elimination of termination failures.
The Verdict: When to DIY and When to Hire a Pro
Deciding whether to install electrical MC cable yourself requires an honest assessment of your mechanical aptitude and the scope of the project.
When DIY is Viable
- Short, Exposed Drops: If you are running a single, short drop of MC cable down a masonry wall to a new receptacle in an unfinished basement, the learning curve is manageable.
- Tool Access: You are willing to invest in a proper rotary MC stripping tool and a hickey bender rather than using a reciprocating saw.
- Standard Fittings: You are using standard steel-armored MC with a dedicated green ground wire and plastic anti-short bushings.
When to Call a Licensed Electrician
- Whole-Home or Commercial Rewiring: Pulling hundreds of feet of MC cable through commercial studs requires professional bending techniques and specialized uncoiling setups to prevent armor twisting.
- MC-AP Installations: If you are utilizing MC-AP (Armor Protected) cable to eliminate the need for pulling a separate ground wire, the termination fittings must be installed to exact manufacturer tolerances to ensure the armor is bonded. A mistake here leaves your circuit ungrounded.
- Tight Radius Bends: Navigating complex joist bays, tight crawlspaces, or retrofitting into finished walls where maintaining the NEC-mandated 5-inch bending radius is physically difficult without professional offset-bending experience.
Ultimately, electrical MC cable is an exceptional product that bridges the gap between the flexibility of Romex and the indestructibility of rigid EMT conduit. However, it demands respect for the NEC code and the right tooling. If you are unwilling to purchase the proper stripping tools and compression fittings, stick to NM-B cable or hire a professional who already has the arsenal required to do the job safely.