
The High Stakes of Residential Electrical Inspections
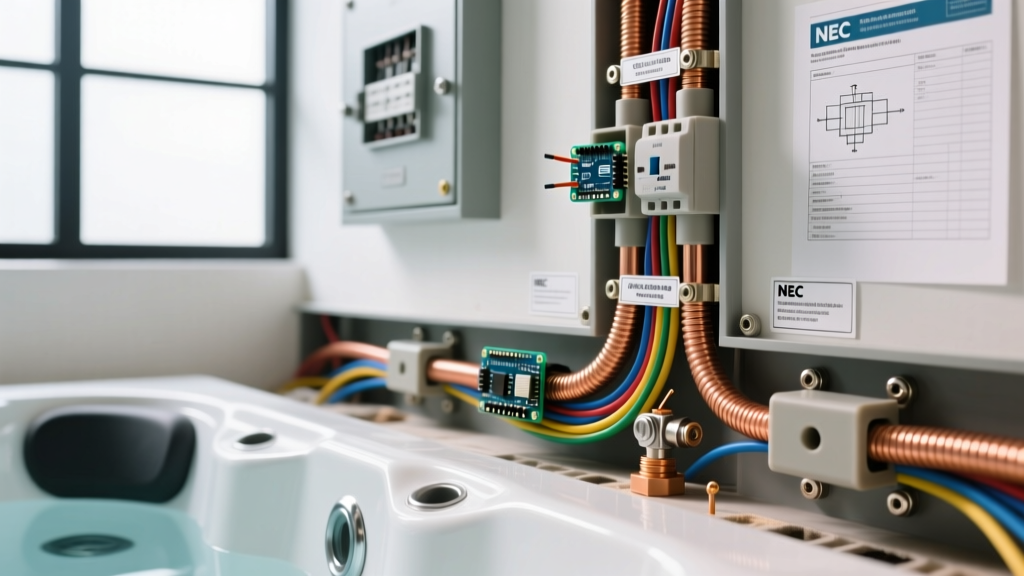
When managing a new build or a major gut-renovation, ensuring your electric wiring in house projects passes municipal inspections is the difference between a smooth certificate of occupancy and a costly, weeks-long delay. Municipal electrical inspectors are not looking to fail you; they are verifying that the installation meets the minimum safety standards outlined in the National Electrical Code (NEC). According to the U.S. Consumer Product Safety Commission (CPSC), electrical fires cause an estimated $1.3 billion in property damage annually, making rigorous code enforcement a critical public safety measure.
For DIYers, general contractors, and apprentice electricians, understanding the specific metrics inspectors use to evaluate electric wiring in house structures is essential. This guide breaks down the three phases of residential inspections, the most common NEC violations, and the exact mathematical formulas and torque specifications you need to pass on the first attempt.
The Three Phases of Residential Electrical Inspections
Residential electrical inspections are typically divided into three distinct phases. You cannot proceed to the next phase of construction until the inspector has signed off on the current one.
Phase 1: Service and Underground Rough-In
Before any concrete is poured or trenches are backfilled, the inspector will verify your service entrance and underground feeds.
- Trench Depth: PVC Schedule 40 requires a minimum cover of 18 inches. PVC Schedule 80 requires 12 inches. Direct-burial UF-B cable requires 24 inches of cover.
- Warning Tape: A continuous red warning tape must be buried exactly 12 inches above the underground conduit or cable.
- Service Mast Clearances: Overhead service drops must maintain a minimum clearance of 12 feet over residential driveways and 18 feet over public roads.
Phase 2: Top-Out (Rough-In) Inspection
This occurs after all cables are pulled through the framing, but before drywall is hung. The inspector will walk the entire floor plan with a flashlight and a tape measure.
- Nail Plate Protection: Any NM-B (Romex) cable or bored hole within 1.25 inches of the edge of a wooden stud or joist must be protected by a 1/16-inch thick steel nail plate (e.g., Halex or Oatey brands). Plastic plates will result in an automatic fail.
- Cable Securing: Per NEC Article 334.30, NM-B cable must be stapled within 8 inches of a single-gang device box (without internal clamps) or 12 inches of a box with clamps, and at intervals not exceeding 4.5 feet.
- Fire Stopping: Where cables penetrate top or bottom plates between floors, the holes must be sealed with fire-rated expanding foam or mineral wool to prevent the chimney effect during a fire.
Phase 3: Trim-Out (Final) Inspection
The final inspection happens when all devices, cover plates, and fixtures are installed, and the home is ready for occupancy.
- Receptacle Testing: Inspectors will use a plug-in tester to verify correct polarity, proper grounding, and the trip-function of GFCI/AFCI devices.
- Panel Labeling: The main service panel must feature a permanent, legible, and specific directory (e.g., 'Master Bedroom North Wall', not just 'Bedroom').
- Cover Plates: No gaps allowed. If drywall was cut too wide, you must use an oversized (jumbo) cover plate to ensure the drywall paper is completely covered.
Top 5 NEC Code Violations (And How to Avoid Them)
Based on data and field reports analyzed by Electrical Construction & Maintenance (EC&M), the following violations account for the vast majority of failed residential inspections.
- Overcrowded Junction Boxes: Inspectors frequently pull the lid off junction boxes to count wires. If the box volume is exceeded, heat builds up, risking insulation meltdown.
- Missing AFCI Protection: Arc-Fault Circuit Interrupters are now required in almost all living spaces. Using a standard breaker in a bedroom or living room circuit is an instant red tag.
- Improper Grounding/Bonding: Failing to bond the cold water pipe, gas pipe, and structural steel to the main service grounding electrode system.
- Reversed Hot/Neutral: Swapping the brass (hot) and silver (neutral) screws on a receptacle. The device will still work, but the shock hazard is severe.
- Untorqued Terminals: Since NEC 110.14(D) was introduced and heavily enforced in recent code cycles, inspectors now look for evidence that breaker and receptacle terminals were tightened to the manufacturer's specified inch-pound rating.
Expert Insight: "The most overlooked requirement in modern residential wiring is the torque specification. Electricians used to tighten screws 'until they felt snug.' Today, if an inspector asks to see your calibrated torque screwdriver and you don't have one on site, they will fail your rough-in or final inspection on the spot."
Box Fill Calculations: The Inspector's Favorite Trap
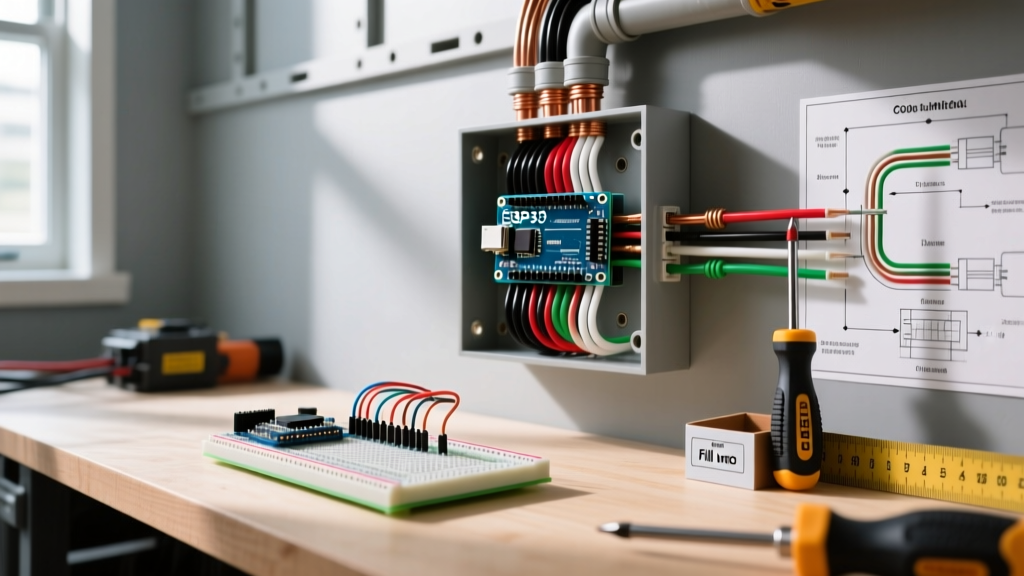
NEC Article 314.16 dictates exactly how many conductors can safely fit inside an electrical box. Inspectors love checking this because it requires basic math that many installers guess at. To calculate box fill, you must determine the volume allowance for each item inside the box based on the largest wire gauge present.
Table 1: NEC Box Fill Volume Allowances (Per Conductor)
| Wire Gauge (AWG) | Volume Allowance per Conductor | Typical Box Application |
|---|---|---|
| 14 AWG | 2.0 cubic inches | Standard 15A lighting circuits |
| 12 AWG | 2.25 cubic inches | Standard 20A receptacle circuits |
| 10 AWG | 2.5 cubic inches | 30A dryer/HVAC circuits |
| 8 AWG | 3.0 cubic inches | 40A-50A range/oven circuits |
The Multiplier Rules You Must Memorize:
- Equipment Grounding Wires: All ground wires combined count as one volume allowance (based on the largest ground in the box).
- Clamps: All internal cable clamps count as one volume allowance.
- Devices (Switches/Receptacles): Each yoke or strap counts as two volume allowances.
- Pigtails: Wire pigtails that originate and terminate within the same box count as zero.
Example Calculation: A single-gang box containing two 12/2 NM-B cables (4 current-carrying conductors), one device (2 allowances), one combined ground (1 allowance), and internal clamps (1 allowance) equals 8 total allowances. Multiply 8 by 2.25 cu in (for 12 AWG) = 18 cubic inches. You must use a deep single-gang box rated for at least 18 cu in (such as a Carlon B618R).
AFCI and GFCI Protection Matrix by Room
The National Fire Protection Association (NFPA) continuously updates the NEC to expand arc-fault and ground-fault protection. Below is the compliance matrix for modern residential construction.
Table 2: AFCI vs. GFCI Requirements by Area
| Room / Area | AFCI Protection Required? | GFCI Protection Required? |
|---|---|---|
| Kitchens | No (Typically) | Yes (All countertop receptacles) |
| Bathrooms | No | Yes (All receptacles) |
| Bedrooms | Yes (Entire circuit) | No (Unless within 6ft of sink) |
| Living / Family Rooms | Yes (Entire circuit) | No |
| Garages & Outdoors | No | Yes (All receptacles) |
| Laundry Rooms | Yes (Entire circuit) | Yes (Utility sink area) |
The Financial Impact of Failing an Inspection
Failing an electrical inspection is not just a matter of pride; it has severe financial implications for your project timeline and budget. In 2026, the economics of residential construction leave zero margin for rework.
- Municipal Re-Inspection Fees: Most jurisdictions charge a penalty fee for a failed re-inspection, typically ranging from $85 to $150 per visit.
- Electrician Callback Rates: If you hired a licensed contractor and they failed due to an oversight, they will absorb the cost. However, if you are acting as an owner-builder and must call an electrician to fix a code violation (like replacing a standard breaker with an AFCI combo breaker), expect to pay emergency callback rates of $125 to $225 per hour, plus materials.
- Project Delays: Drywallers cannot hang board until the rough-in passes. A failed inspection can delay the drywall, mudding, painting, and flooring crews, potentially pushing a move-in date back by 2 to 3 weeks.
Essential Tools for Compliance Verification
To guarantee your electric wiring in house installation meets code before the municipal inspector arrives, invest in the following verification tools:
- Calibrated Torque Screwdriver: The Klein Tools 705/8 or Milwaukee 48-22-5102 (retailing around $140-$160) allows you to set exact inch-pound ratings. Most 15A and 20A receptacles require between 14 and 16 in-lbs, but always read the manufacturer's stamp on the device.
- Digital Fish Tape & Laser Measure: To verify trench depths and conduit sweeps before backfilling.
- Advanced Circuit Analyzer: A tool like the Klein Tools RT250 (approx. $45) not only checks standard GFCI wiring but can also trip and verify GFCI/AFCI protection without pressing the physical test button, saving time during the final walkthrough.
Final Pre-Inspection Walkthrough Checklist
Before calling your local building department to schedule the final inspection, walk the property with this checklist:
- [ ] All unused breaker slots in the panel are covered with blanking plates.
- [ ] All receptacles and switches have cover plates installed (no exposed drywall or plaster).
- [ ] Smoke and Carbon Monoxide detectors are hardwired, interconnected, and feature battery backups.
- [ ] The main panel directory is typed or written in permanent, legible ink.
- [ ] All exterior receptacles have in-use, weatherproof bubble covers.
- [ ] Dishwashers and garbage disposals are properly hardwired or plugged into accessible, code-compliant receptacles.
By treating the NEC not as a set of arbitrary rules, but as a vital engineering manual for fire and shock prevention, you ensure that the electric wiring in house environments remains safe, efficient, and fully compliant for decades to come.