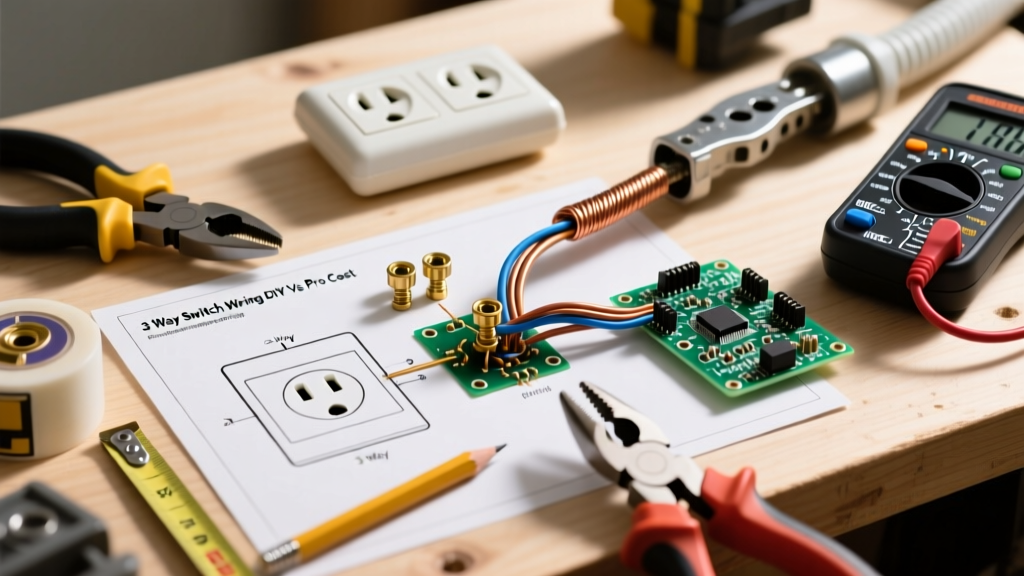

When tackling home electrical upgrades, few projects cause as much confusion and frustration as wiring up a 3 way switch. Unlike standard single-pole switches that simply break a hot wire, a 3-way circuit relies on a complex interplay of line, load, and traveler wires to control a single light fixture from two distinct locations. For homeowners, the decision to DIY or hire a licensed electrician hinges on a delicate balance of cost, safety, and National Electrical Code (NEC) compliance.
This comprehensive guide breaks down the anatomy of 3-way circuits, compares the true economics of DIY versus professional installation, and highlights the specific failure modes that separate a safe, code-compliant circuit from a potential fire hazard.
The Anatomy of a 3-Way Circuit: Beyond the Single Pole
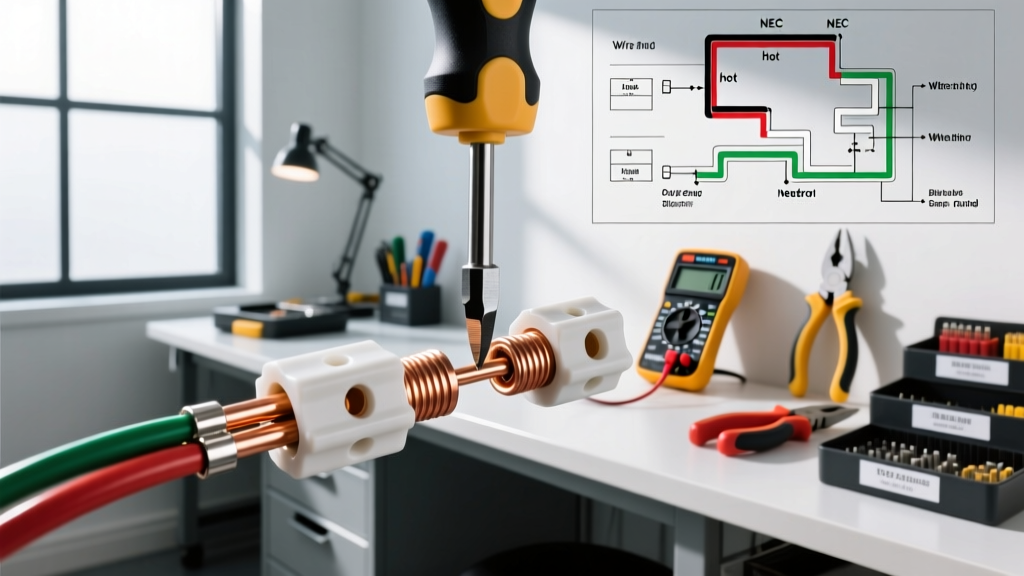
Before deciding who should perform the work, you must understand what is happening inside the junction boxes. A standard 3-way circuit requires two 3-way switches and a continuous path of conductors. The critical components include:
- The Common Terminal: Usually identified by a darker-colored screw (often black or dark brass). This connects to either the incoming hot 'Line' wire or the outgoing 'Load' wire to the fixture.
- The Traveler Terminals: Two lighter brass screws that carry the alternating current between the two switches. These are typically connected to the red and black wires of a 14/3 or 12/3 NM-B cable.
- The Neutral and Ground: The white neutral wire bypasses the switches entirely, running directly to the light fixture. The bare copper or green ground wire must be bonded to the metal box (if applicable) and the green grounding screw on the switch yoke.
Pro Tip: Never assume wire colors in existing homes. Previous DIYers often misused white wires as hot travelers. Always use a non-contact voltage tester and a multimeter to verify conductors before touching a single terminal.
DIY vs. Professional: The Decision Matrix
Should you wire it yourself, or call a pro? Use this decision matrix to evaluate your specific scenario.
| Project Scenario | DIY Viability | Professional Recommendation |
|---|---|---|
| Like-for-like replacement (swapping an old toggle for a new Decora switch in existing boxes) | High. Requires basic wire mapping and terminal identification. | Only if you lack basic hand tools or are uncomfortable working near live panels. |
| Running new 14/3 NM-B cable through finished drywall or attic spaces | Low. Fishing walls risks damaging existing plumbing, HVAC, or structural fire blocks. | Highly Recommended. Electricians have specialized fish tapes, flex bits, and drywall repair networks. |
| Upgrading to Smart 3-Way Dimmers (e.g., Lutron Caseta or Leviton Decora Smart) | Medium. Requires understanding of neutral wire requirements and Wi-Fi/Zigbee pairing. | Recommended if your switch boxes lack a neutral wire, requiring advanced workarounds or smart relays. |
| Knob-and-Tube or Aluminum Wiring remediation | Zero. Extremely dangerous and violates modern insurance underwriting. | Mandatory. Requires a licensed master electrician to bring the circuit up to modern NEC standards. |
Cost Breakdown: Material vs. Labor Economics
The financial argument for DIY is strong on paper, but hidden costs can quickly erode your savings. Below is a realistic cost comparison for wiring up a 3 way switch in a standard residential hallway (assuming 15-amp circuits and 14 AWG wiring).
| Component / Service | DIY Cost Estimate | Professional Electrician Cost |
|---|---|---|
| Standard 3-Way Switches (e.g., Leviton 5603) | $10 - $16 (for two) | Included in parts markup |
| 14/3 NM-B Romex (25 ft roll) | $18 - $25 | $0.75 - $1.50 per linear foot |
| Wire Nuts, Ground Pigtails, Electrical Tape | $5 - $10 | Included in service fee |
| Labor (Running wire, terminating, testing) | 4 - 8 Hours (Your Time) | $150 - $350 (1-2 hours at $100-$175/hr) |
| Drywall Repair & Painting (If fishing walls) | $50 - $150 (Materials) | $250 - $500 (Subcontracted or billed out) |
| Total Estimated Project Cost | $83 - $201 | $400 - $850+ |
The Smart Switch Bypass: Solving the Traveler Dilemma
One of the most significant information gains in modern electrical work is the advent of wireless smart switch ecosystems. If you are struggling with the complexity of wiring up a 3 way switch—specifically the traveler wires—brands like Lutron Caseta offer a brilliant workaround.
Instead of running 14/3 traveler wires between two physical switches, a Lutron Caseta setup uses a single wired smart switch (installed at the line or load location) paired with a wireless Pico Remote. The Pico Remote mounts to the wall using a specialized bracket, looking identical to a hardwired switch, but requiring zero electrical connections. This entirely eliminates traveler wire confusion, reduces the need for tearing open walls to run new 3-conductor cable, and guarantees code compliance regarding box fill capacities.
Common Failure Modes and Troubleshooting
When DIYers attempt 3-way wiring without a schematic, they frequently fall into predictable traps. According to data from the Electrical Safety Foundation International (ESFI), improper wiring is a leading cause of residential electrical fires. Review these common failure modes:
| Symptom | Probable Cause | Resolution |
|---|---|---|
| Light only works from Switch A, but not Switch B. | The 'Line' or 'Load' wire was incorrectly placed on a Traveler terminal instead of the Common terminal. | Identify the true hot wire and move it to the dark-colored Common screw. |
| Breaker trips immediately upon flipping either switch. | Bootleg ground or short circuit. The bare ground wire is touching a brass traveler terminal or the hot line. | Inspect all boxes. Ensure ground wires are pushed to the back of the box or properly pigtailed away from hot terminals. |
| Switch feels warm to the touch or emits a buzzing sound. | Loose terminal connection causing electrical arcing, or using a 15A switch on a 20A circuit with high-draw fixtures. | Turn off power, trim wires to exact length, and create tight J-hooks around terminal screws. Upgrade to 20A rated switches if necessary. |
| Light flickers when using LED bulbs. | Using a standard 3-way toggle with incompatible LED drivers, or a smart dimmer lacking a neutral wire. | Upgrade to a 3-way dimmer specifically rated for LED/CFL loads (e.g., Lutron Maestro MACL-153M). |
NEC Code Compliance: Grounding and Re-Identification
Whether you DIY or hire a pro, the installation must adhere to the National Electrical Code (NEC). Two specific rules frequently trip up amateur electricians when wiring up a 3 way switch:
- Grounding (NEC 404.9): All switch yokes must be grounded. If you are working in an older home with metal junction boxes, you must use a green grounding pigtail to bond the bare copper circuit ground to both the metal box and the switch's green grounding screw. Failing to do so leaves the switch cover plate screws energized in the event of a fault.
- White Wire Re-Identification (NEC 200.7(C)): In some 3-way configurations (like a dead-end 3-way setup), a white wire inside a 14/3 cable is used as a hot traveler or line wire. The NEC strictly mandates that this white wire must be permanently re-identified at both ends using colored electrical tape (black or red) or heat shrink tubing. You cannot simply leave it white and assume the next person will know it is hot.
Safety Warning: Never switch the neutral wire. The NEC requires that the switching device only break the ungrounded (hot) conductor. Switching the neutral leaves the light fixture energized even when the light is off, presenting a lethal shock hazard to anyone attempting to change a bulb.
The Final Verdict: When to Put Down the Wire Strippers
Wiring up a 3 way switch is an intermediate-level DIY project. If you are simply replacing an existing, properly wired 3-way switch with a newer model, the DIY route is highly cost-effective and safe, provided you map the wires meticulously before disconnecting the old unit. Take photos, label the 'Common' wire with tape, and verify your grounds.
However, if your project involves pulling new 14/3 NM-B cable through insulated exterior walls, navigating tight attic crawl spaces, or upgrading an ungrounded legacy circuit, the economics shift. The risk of damaging your home's infrastructure, combined with the strict AFCI (Arc-Fault Circuit Interrupter) requirements for modern hallways and staircases, makes hiring a licensed electrician the smarter, safer investment. For more technical schematics and manufacturer-specific wiring diagrams, always consult resources like the Leviton Support Portal before energizing your circuit.