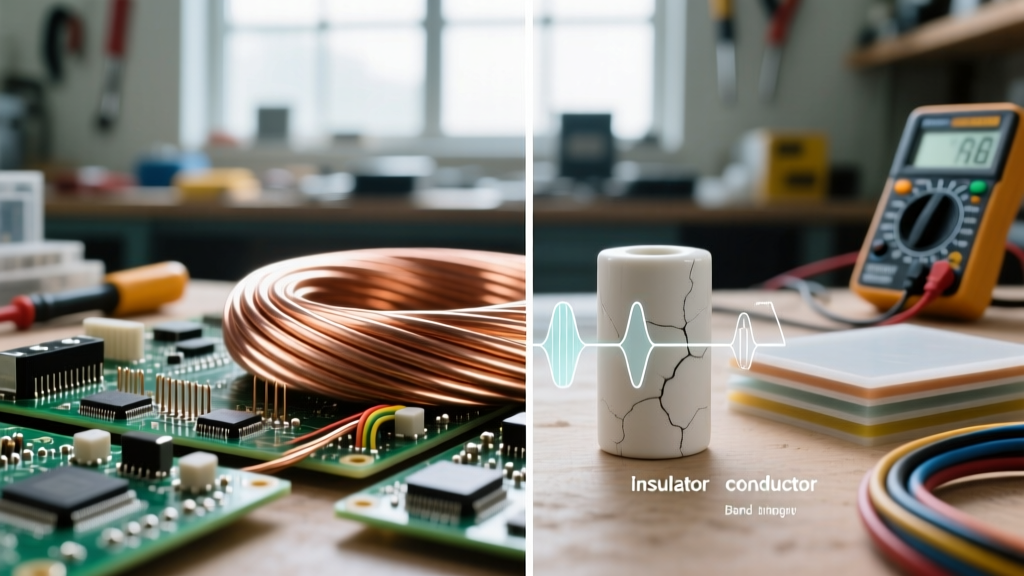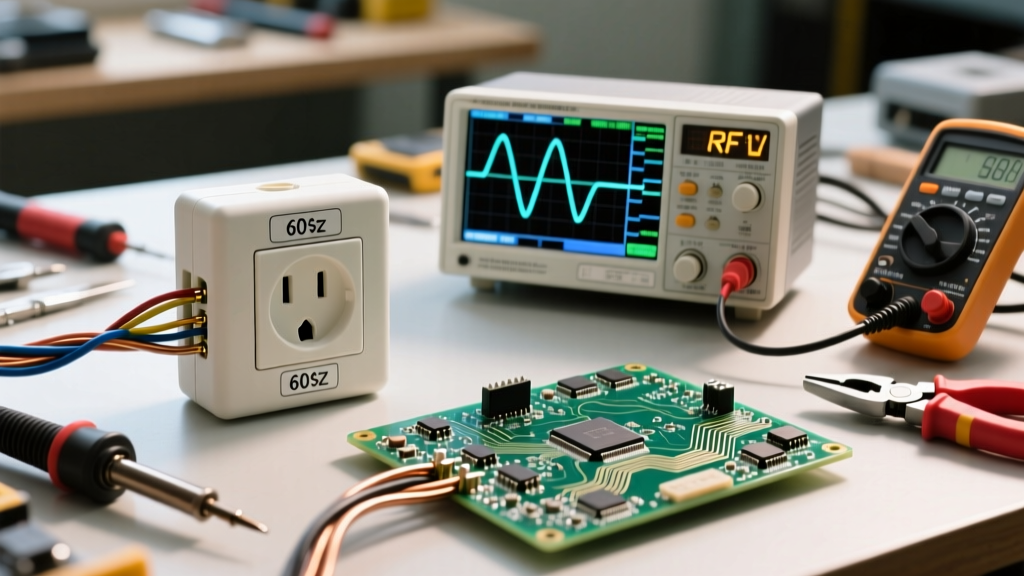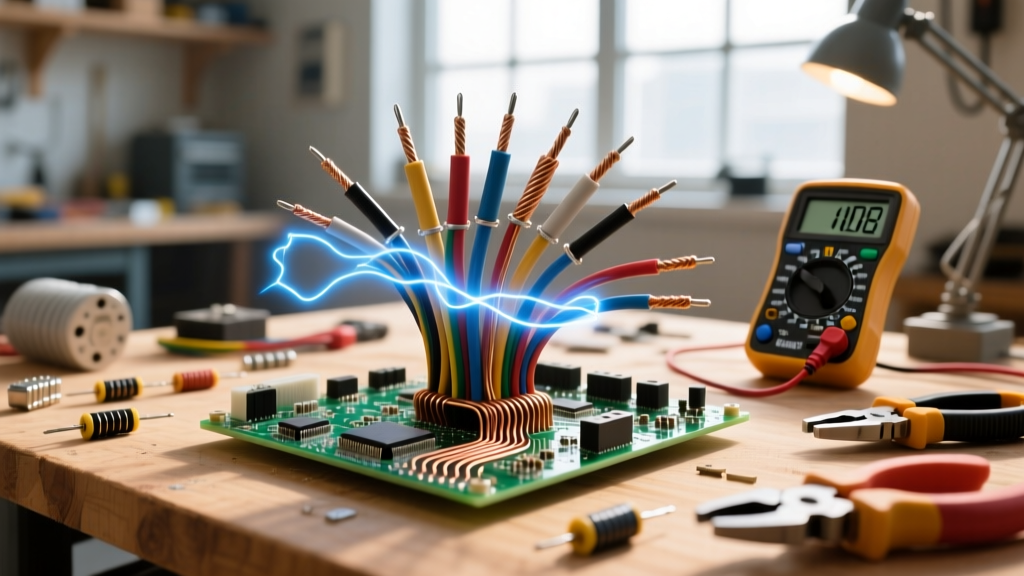

When you flip a light switch or power up a heavy-duty DIY welder, the response feels instantaneous. However, the actual physics governing the flow of electricity through your copper conductors is far more complex—and far slower—than most hobbyists realize. Understanding the real-world mechanics of electron movement, resistance, and electromagnetic wave propagation is not just an academic exercise; it is the foundation of safe wire sizing, effective troubleshooting, and preventing catastrophic thermal failures in your electrical projects.
The Physics of the Flow of Electricity: Signal vs. Electron Speed
A common misconception among DIYers is that electrons travel from the breaker panel to the load at the speed of light. In reality, the physical movement of electrons—known as drift velocity—is astonishingly slow. In a standard 12 AWG copper wire carrying 10 amps of direct current, the electrons are drifting at roughly 0.1 millimeters per second. At that rate, it would take an electron over an hour to travel just one foot of wire.
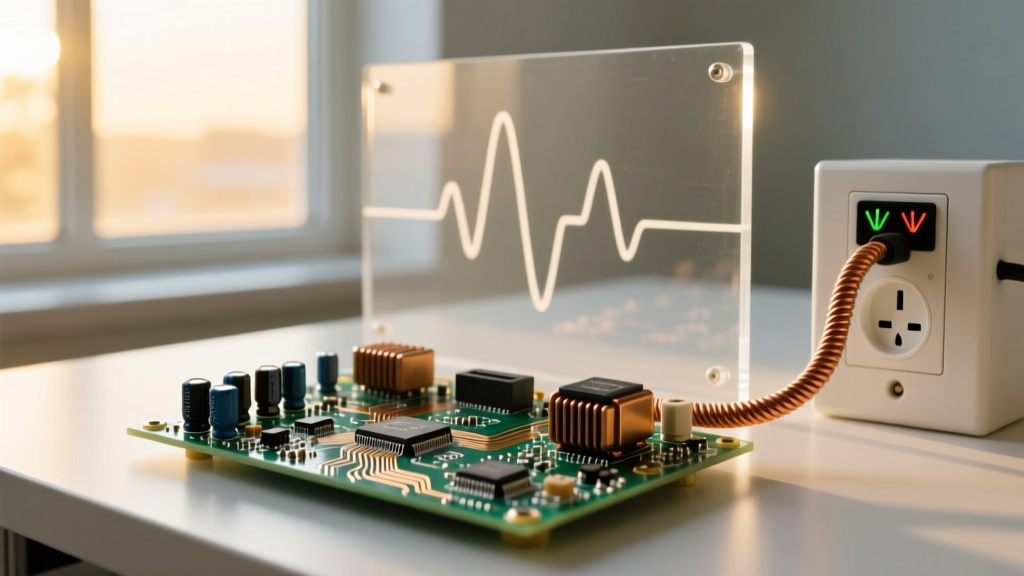
So why does the light turn on instantly? The flow of electricity as an energy transfer is mediated by an electromagnetic field that propagates through the space around the conductor at 50% to 99% the speed of light, depending on the dielectric properties of the wire's insulation. When you close a circuit, this electromagnetic wave pushes the electrons already present in the wire near the load. According to Georgia State University's HyperPhysics database, recognizing the difference between signal speed and electron drift velocity is crucial when dealing with high-frequency AC circuits, where the electrons barely move back and forth at all, yet immense power is transferred.
Translating Electron Friction into Real-World Heat
As electrons are forced through the crystalline lattice of a copper conductor, they collide with copper atoms. This atomic friction is what we measure as electrical resistance, and it directly converts electrical energy into thermal energy (heat). This relationship is defined by Joule's First Law: Power (Heat) = Current² × Resistance (P = I²R).
Notice that current is squared. This means that doubling the current flowing through a wire doesn't double the heat; it quadruples it. Let's look at a real-world failure mode: using a 16 AWG extension cord to power a 15-amp space heater. A 16 AWG copper wire has a resistance of approximately 4.016 ohms per 1,000 feet. If you use a 50-foot cord (100 feet total for the hot and neutral loop), the resistance is 0.4016 ohms.
Pushing 15 amps through that cord generates 90.7 watts of pure heat (15² × 0.4016) distributed along the wire. Because the cord is often coiled or buried under a rug, this heat cannot dissipate. The PVC insulation, typically rated for 60°C to 75°C, softens, degrades, and eventually melts, leading to a short circuit or fire. This is why the National Electrical Code (NEC) strictly mandates 14 AWG as the absolute minimum for 15-amp circuits, and why understanding the thermal limits of the flow of electricity is critical for DIY safety.
Voltage Drop: Mapping the Flow of Electricity Over Distance
Resistance doesn't just create heat; it also steals voltage. When the flow of electricity encounters resistance over a long distance, the voltage available at the load decreases. The NEC recommends a maximum voltage drop of 3% for branch circuits to ensure equipment operates efficiently and motors don't overheat from drawing excess amperage to compensate for low voltage.
Below is a real-world data table illustrating voltage drop on a standard 120V, 15-amp circuit over a 50-foot one-way run (100 feet total loop resistance) using uncoated copper wire at 75°C.
| Wire Gauge (AWG) | Resistance (Ω/1000ft) | Voltage Drop (15A Load) | Remaining Voltage at Load | Drop Percentage |
|---|---|---|---|---|
| 14 AWG | 3.070 Ω | 4.60 V | 115.40 V | 3.83% (Fails 3% Rule) |
| 12 AWG | 1.930 Ω | 2.89 V | 117.11 V | 2.41% (Acceptable) |
| 10 AWG | 1.210 Ω | 1.81 V | 118.19 V | 1.51% (Optimal) |
As highlighted by Fluke Corporation's electrical testing guidelines, excessive voltage drop is a leading cause of premature motor failure in DIY workshop equipment like table saws and air compressors. If your compressor is 100 feet away from the panel, stepping up from 12 AWG to 10 AWG or even 8 AWG is not just a luxury; it is a mechanical necessity.
The Skin Effect: How AC Alters the Flow of Electricity
When dealing with Alternating Current (AC), the flow of electricity behaves differently than it does in Direct Current (DC) applications like solar arrays or automotive wiring. In a DC circuit, current density is uniform across the entire cross-section of the wire. In an AC circuit, the rapidly reversing magnetic fields create eddy currents that push the electron flow toward the outer perimeter, or "skin," of the conductor.
This phenomenon is known as the skin effect. At the standard North American utility frequency of 60 Hz, the skin depth in copper (the depth at which current density falls to 37% of its surface value) is approximately 8.5 millimeters. Because standard residential wiring rarely exceeds 4/0 AWG (which has a diameter of about 11.6 mm), the skin effect at 60 Hz is negligible for most home DIY projects.
However, if you are building high-frequency DIY projects—such as Tesla coils, induction heaters, or switching power supplies operating in the kilohertz or megahertz range—the skin depth shrinks to fractions of a millimeter. In these scenarios, the center of a thick wire carries virtually zero current. Using stranded Litz wire or copper tubing becomes mandatory to maximize the effective surface area for the flow of electricity.
Practical Troubleshooting: When the Flow of Electricity is Choked
In real-world applications, the greatest threats to the flow of electricity rarely occur in the middle of a pristine copper wire; they occur at the termination points. Loose wire nuts, improperly torqued breaker terminals, and oxidized bus bars create micro-gaps. When current attempts to jump these gaps, it results in micro-arcing and localized, intense resistance.
A connection with just 0.5 ohms of parasitic resistance carrying 15 amps will generate 112.5 watts of heat concentrated in an area the size of a pea. This is enough to melt wire insulation and ignite surrounding wood framing. To ensure optimal flow and safety in your DIY panels and junction boxes:
- Use a Torque Screwdriver: The U.S. Energy Information Administration and modern NEC updates emphasize that terminal torque specifications are critical. Hand-tightening is no longer acceptable for high-load circuits.
- Tin Stranded Wire or Use Ferrules: Stranded wire tends to splay and loosen under the pressure of screw terminals over time due to thermal cycling. Crimping ferrules ensures a solid, uniform connection point.
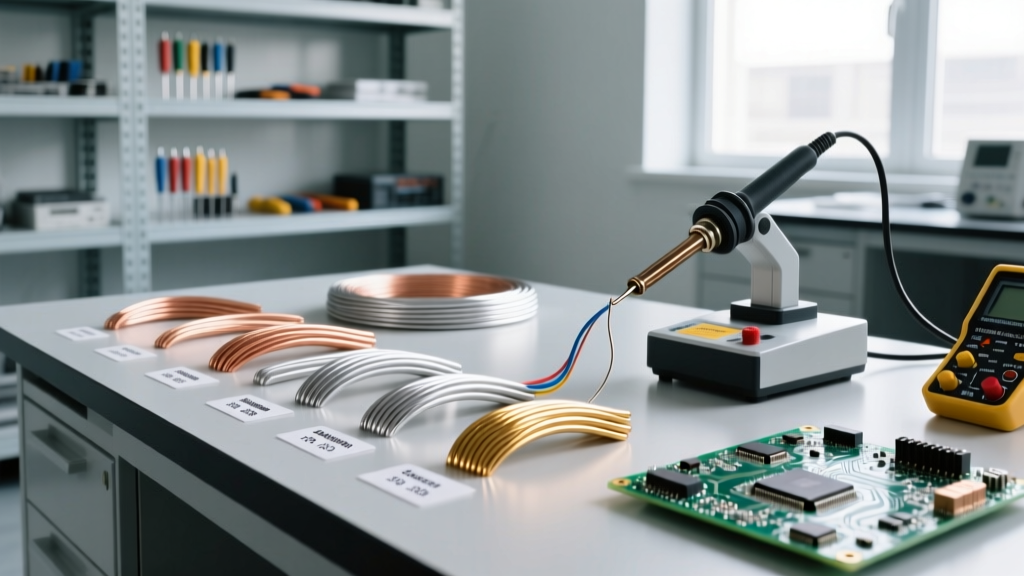
- Inspect for Oxidation: Aluminum wire, often used in older homes or heavy feeder cables, forms a non-conductive oxide layer almost instantly when exposed to air. Always use antioxidant paste (like Noalox) and wire brushes designed specifically for aluminum-to-copper or aluminum-to-aluminum terminations.
Sizing Rules for Optimal Current Flow in DIY Projects
To master the flow of electricity in your workshop, adopt a conservative approach to wire sizing. While the NEC provides the legal minimums for life-safety (primarily focused on preventing insulation fires), optimal DIY design focuses on efficiency, voltage stability, and thermal headroom.
For continuous loads (defined as running for 3 hours or more, such as a DIY grow tent heater or an EV Level 2 charger), the NEC requires you to derate the circuit by 125%. A 30-amp continuous EV charger requires a 40-amp breaker and wire sized for 40 amps (typically 8 AWG copper). By respecting the physical limitations of electron flow, calculating voltage drop over distance, and securing termination points with precision, you elevate your DIY electrical work from merely "code-compliant" to truly professional and resilient.