
The Hardware Baseline: Pi 4B vs. Pi 5 for Smart Homes
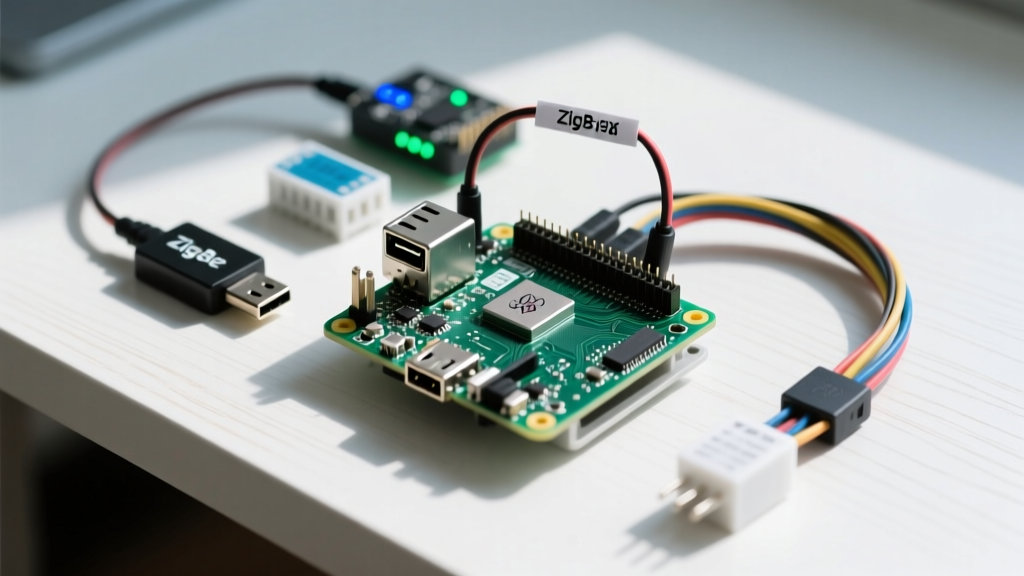
Before debating software distributions, we must address the physical silicon. Deploying a Raspberry Pi with Home Assistant is no longer a lightweight hobbyist endeavor; modern smart home stacks running Frigate NVR, Zigbee2MQTT, and local voice pipelines demand serious compute and I/O throughput.
The Raspberry Pi 4 Model B (8GB) remains a highly capable workhorse, provided it is paired with an active cooling solution and a high-endurance microSD card or USB-to-SATA SSD enclosure. However, the Raspberry Pi 5 (8GB) has fundamentally shifted the landscape. With its Broadcom BCM2712 quad-core Arm Cortex-A76 processor and dedicated PCIe 2.0 interface, the Pi 5 eliminates the USB bottleneck that plagued Pi 4 storage solutions.
Critical Power Warning: If you choose the Pi 5, you must use the official 27W USB-C PD power supply. Standard 5V/3A phone chargers will trigger a low-voltage warning, causing the PCIe bus to throttle and leading to random NVMe disconnects during heavy database writes.
The Core Dilemma: HAOS vs. Raspberry Pi OS + Docker
When provisioning your single-board computer, you are essentially choosing between an appliance model and a traditional Linux server model. Both have distinct architectural philosophies that dictate how you maintain your smart home.
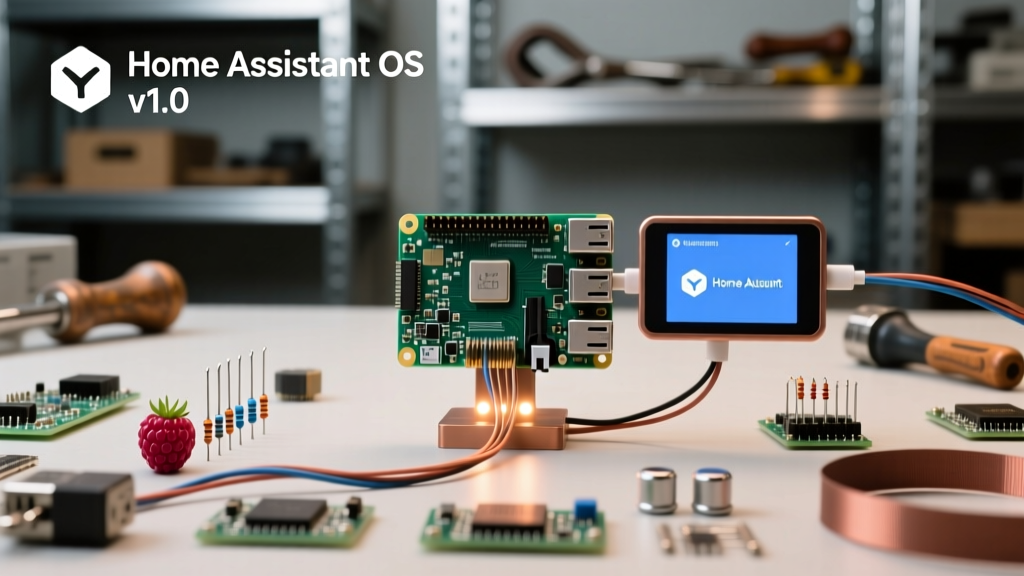
Home Assistant OS (HAOS): The Appliance Approach
HAOS is not a standard Linux distribution like Ubuntu or Debian. It is built on Buildroot, utilizing a read-only root filesystem powered by SquashFS. This architecture makes it virtually immune to traditional filesystem corruption caused by sudden power loss. The OS-Agent and Supervisor handle all add-ons (which are essentially pre-configured Docker containers) in a strictly sandboxed environment using AppArmor.
The primary advantage of HAOS is the 'Supervisor' UI, which allows one-click installation of complex integrations like Mosquitto MQTT, Node-RED, and Frigate. The trade-off? You do not have root access to the host OS. You cannot easily install native host packages via apt, making it frustrating if you want to run non-Home Assistant workloads like Pi-hole or Plex directly on the bare metal.
Raspberry Pi OS (Debian Bookworm) + Docker: The Power User Route
For users who view their Pi as a general-purpose homelab server, installing the 64-bit version of Raspberry Pi OS Lite (based on Debian 12 Bookworm) is the superior choice. By installing Docker Engine and Docker Compose, you can run Home Assistant Container alongside dozens of other services managed via Portainer or Dockge.
This route requires manual configuration of docker-compose.yml files, network bridging, and volume mapping. You lose the Home Assistant Supervisor (meaning no Add-on store), but you gain complete sovereignty over your operating system, kernel updates, and hardware resource allocation. According to the official Home Assistant installation documentation, this method is recommended for experienced Linux administrators who prefer managing their own container orchestration.
The SD Card Trap: Understanding Write Amplification
The single most common point of failure for a Raspberry Pi with Home Assistant is storage degradation. Home Assistant relies heavily on a local SQLite database (or MariaDB) to store historical sensor data. By default, SQLite uses Write-Ahead Logging (WAL), which generates thousands of micro-writes per hour.
Standard A1-rated microSD cards are designed for sequential read/writes (like recording video), not the random 4K I/O operations generated by database journaling. Within 6 to 14 months, the NAND flash cells on an SD card will exhaust their program/erase (P/E) cycles, resulting in a corrupted filesystem and a bricked smart home.
The NVMe Solution for Pi 5
To achieve true enterprise-grade reliability, bypass USB enclosures entirely and utilize the Pi 5's native PCIe lane. Pairing the Argon ONE M.2 NVMe Case or the Geekworm X1001 PCIe shield with a high-TBW (Terabytes Written) drive like the Samsung 970 EVO Plus or WD Black SN770 transforms the Pi into a highly resilient server. For detailed PCIe boot configuration and EEPROM updates, refer to the Raspberry Pi hardware documentation.
Decision Matrix: Which Distribution Fits Your Skill Level?
Use the following framework to select the right OS distribution for your specific use case.
| Feature | Home Assistant OS (HAOS) | Raspberry Pi OS + Docker | Home Assistant Supervised |
|---|---|---|---|
| Base OS | Buildroot (Custom) | Debian 12 (Bookworm) | Debian 12 (Strictly enforced) |
| Supervisor/Add-ons | Yes (Native) | No (Manual Compose) | Yes |
| Host Root Access | No | Yes | Yes |
| System Stability | Extremely High (Read-only FS) | High (Depends on user) | Moderate (Prone to 'Unhealthy' state) |
| Best For | Dedicated Smart Home Appliances | Homelab Servers & IT Pros | Docker users needing Add-ons |
Note: The 'Supervised' installation method is notoriously fragile. If you install conflicting packages via apt, the Supervisor will flag the system as 'Unhealthy' and block core updates. We strongly advise choosing either pure HAOS or pure Docker Container.
Step-by-Step: Provisioning HAOS on a Pi 5 with NVMe
If you have decided on the appliance route using an NVMe drive, follow this exact workflow to ensure a stable deployment.
- Update the Bootloader: Before installing your M.2 shield, boot the Pi 5 using a temporary microSD card. Open the terminal and run
sudo rpi-eeprom-update -ato ensure the bootloader supports PCIe Gen 2.0 speeds. - Flash HAOS via Imager: Remove the microSD and connect your NVMe drive to your PC via a USB-to-NVMe adapter. Open the Raspberry Pi Imager, select 'Home Assistant OS' from the specific Pi 5 menu, and target the NVMe drive.
- Configure OS Customization: Click the gear icon in the Imager. Set a static hostname (e.g.,
haos-server), enable SSH (using password authentication for initial setup), and configure your static IP address. This prevents DHCP lease changes from breaking your local smart home integrations. - First Boot & ZRAM: Insert the NVMe into the Pi 5 shield and power on. HAOS automatically configures ZRAM (compressed RAM swap) to protect your SSD from excessive swap-space write cycles. You can verify this by installing the 'Advanced SSH & Web Terminal' add-on and running
zramctl.
Managing Docker Networking on Raspberry Pi OS
For those opting for Raspberry Pi OS Lite and Docker, networking is the primary hurdle. Home Assistant requires access to your local LAN to discover devices via mDNS and SSDP. By default, Docker isolates containers in a bridge network, blocking local discovery.
To resolve this, your docker-compose.yml must utilize the host network stack. Furthermore, you must ensure the host OS has the avahi-daemon installed and running to facilitate multicast DNS routing. For comprehensive instructions on setting up the Docker engine on Debian-based systems, consult the official Docker installation guide.
version: '3'
services:
  homeassistant:
    container_name: homeassistant
    image: ghcr.io/home-assistant/home-assistant:stable
    network_mode: host
    volumes:
      - /opt/homeassistant/config:/config
      - /etc/localtime:/etc/localtime:ro
    restart: unless-stopped
    privileged: true
Final Verdict: Prioritize Storage and Simplicity
Building a robust Raspberry Pi with Home Assistant comes down to matching your Linux proficiency with the right OS distribution. If your goal is a set-and-forget smart home hub, Home Assistant OS (HAOS) paired with a Pi 5 and an NVMe SSD is the undisputed champion of stability. The read-only filesystem and integrated Supervisor eliminate 90% of the maintenance overhead associated with self-hosted software.
However, if you plan to run a Pi-hole, a media server, and a VPN alongside your smart home stack, Raspberry Pi OS Lite with Docker provides the flexibility required for a modern homelab. Whichever path you choose, abandon the microSD card immediately—your database integrity and your sanity will thank you.