
The Anatomy of a Raspberry Pi SD Card Clone
When embarking on a complex smart home build or deploying a fleet of kiosk displays, creating a reliable backup of your operating system is non-negotiable. However, attempting a simple drag-and-drop file transfer to copy a Raspberry Pi SD card will inevitably result in a corrupted, unbootable mess. To understand why, we must look at the underlying partition structure of Raspberry Pi OS.
A standard Pi SD card contains at least two distinct partitions: a small 256MB FAT32 /boot partition and a much larger ext4 Linux root filesystem (rootfs). Windows and macOS natively recognize the FAT32 boot partition but are entirely blind to the ext4 partition. If you rely on native OS file explorers, you are only backing up a fraction of the data required to boot the single-board computer. A true clone requires sector-by-sector imaging software that reads the raw binary data directly from the flash memory controller, bypassing the host operating system's filesystem limitations.
Pre-Flight Checklist: Hardware and Software Prep
Before initiating any imaging process, gather the following hardware and verify your software environment:
- Source SD Card: The active card containing your configured Raspberry Pi OS, Home Assistant, or RetroPie setup.
- Target SD Card: A blank or expendable microSD card. Critical Rule: The target card's advertised capacity must be equal to or greater than the source card. A 32GB source cannot be cloned directly to a 16GB target without advanced shrinking techniques.
- SD Card Reader: A dedicated USB 3.0 UHS-I/UHS-II card reader. Avoid cheap, unbranded USB hubs with built-in SD slots, as they often suffer from voltage drops that cause silent read errors during deep sector imaging.
Choosing the Right Cloning Software
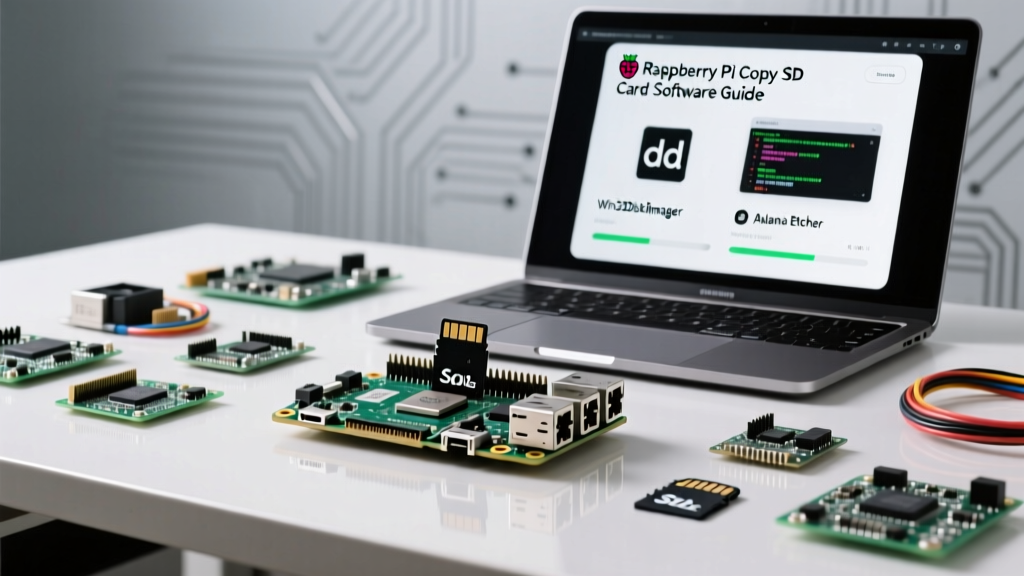
The software you choose depends entirely on your host machine's operating system. Below is a comparison of the industry-standard tools for raw disk imaging.
| Software Tool | Host OS | Best Use Case | Limitation |
|---|---|---|---|
| Win32 Disk Imager | Windows | Reliable raw .img reading/writing | Cannot shrink images; 1:1 size requirement |
| ApplePi-Baker 2 | macOS | Native Apple Silicon support, GUI backup | Slower read speeds on older Intel Macs |
| dd (Terminal) | Linux / macOS | Scriptable, precise block-level control | High risk of data loss if wrong drive is selected |
| BalenaEtcher | Cross-Platform | Flashing pre-made images to new cards | Cannot 'read' or backup an existing Pi SD card |
Walkthrough 1: The Windows Method (Win32 Disk Imager)
For Windows users, Win32 Disk Imager remains the gold standard for reading raw partitions. It is lightweight, open-source, and bypasses Windows Explorer's partition masking.
- Download and install Win32 Disk Imager from SourceForge.
- Insert your source Raspberry Pi SD card into your PC. Ignore any Windows prompts asking you to 'Format the disk'—this is Windows reacting to the unreadable ext4 partition.
- Open Win32 Disk Imager as an Administrator.
- Select your SD card drive letter from the 'Device' dropdown.
- Click the blue folder icon to create a destination path for your
.imgfile (e.g.,C:\PiBackups\homeassistant_node1.img). - Click Read. The software will now perform a sector-by-sector read. A 32GB card will take approximately 12-18 minutes on a USB 3.0 connection.
- Once complete, swap to your target SD card, select the newly created
.imgfile, and click Write.
Walkthrough 2: The macOS Route (ApplePi-Baker 2)
macOS users have a distinct advantage with ApplePi-Baker 2. Unlike older imaging tools that struggle with Apple Silicon (M1/M2/M3) architecture and Rosetta 2 translation layers, ApplePi-Baker is optimized for modern macOS environments and handles disk unmounting gracefully.
- Download ApplePi-Baker and move it to your Applications folder.
- Insert the source SD card. macOS will likely mount the FAT32 boot partition and display it on your desktop.
- Launch ApplePi-Baker. You will see your internal Mac drive and the external SD card listed in the left pane.
- Select the SD card and click Backup SD-Card to IMG file.
- Choose a save location. ApplePi-Baker will automatically unmount the visible partition and engage the raw block device (
/dev/diskX) to capture the hidden ext4 partition simultaneously. - To restore, select your blank target card, choose Restore IMG to SD-Card, and select your backup file.
Walkthrough 3: The Linux Terminal Approach (dd Command)
For headless Linux servers or advanced users who prefer the terminal, the dd (data duplicator) command offers unparalleled control. However, it is colloquially known as 'disk destroyer' because a single typo can overwrite your host machine's primary boot drive.
First, identify your SD card block device using lsblk. Look for the drive matching your SD card's capacity (e.g., sdb or mmcblk0).
lsblk -fOnce confirmed, execute the read command. We use bs=4M to set the block size to 4 Megabytes, drastically improving read/write speeds, and conv=fsync to force the OS to flush all write buffers to the physical flash memory before the command terminates, preventing silent data corruption.
sudo dd if=/dev/sdb of=/home/user/pi_backup.img bs=4M conv=fsync status=progressTo write the image to a new card, simply reverse the if (input file) and of (output file) parameters, ensuring you are targeting the correct blank drive.
Post-Clone Surgery: Expanding the Filesystem
A common point of confusion occurs when users clone a 16GB card onto a 64GB card. Upon booting the new card, the Raspberry Pi will still report only 16GB of available storage. This is because the cloning software performs a 1:1 bit-for-bit copy, including the partition table boundaries.
To reclaim the unused space, you must expand the filesystem via the Pi's terminal:
- Boot the cloned Raspberry Pi and open a terminal (or SSH into it).
- Type
sudo raspi-configand press Enter. - Navigate to 6 Advanced Options > A1 Expand Filesystem.
- Confirm the prompt, exit the configuration tool, and reboot the Pi.
Upon reboot, the ext4 partition will stretch to fill the remaining unallocated space on the 64GB microSD card.
Advanced Shrinking with PiShrink
What if you want to backup a 32GB card, but only 4GB of data is actually used, and you want to store the image on a small USB drive? Creating a 32GB .img file is highly inefficient. Linux users can utilize a bash script called PiShrink. This script automatically mounts the .img file, runs e2fsck to repair filesystem errors, and shrinks the ext4 partition down to the exact size of the data payload plus a small buffer. This reduces a 32GB image file down to a highly portable 4.5GB file.
Troubleshooting Common Cloning Failures
Expert Warning: Never clone a Raspberry Pi SD card while the Pi is actively running and writing to the disk. Live cloning results in database corruption (especially fatal for Home Assistant's SQLite/MariaDB instances) and incomplete log files. Always power down the Pi and read the card via an external USB reader.
Fixing the Dreaded PARTUUID Conflict
When you clone an SD card, the cloned drive inherits the exact same PARTUUID (Partition UUID) as the original. If you plug both the original and the clone into a Linux machine simultaneously to transfer files, the host OS will throw a PARTUUID collision error and refuse to mount the second drive. Furthermore, if you edit /boot/cmdline.txt or /etc/fstab on the clone using generic drive letters (like /dev/sda1) instead of UUIDs, you risk boot failures if the USB device enumeration order changes. Always rely on the auto-generated UUIDs, and if a collision occurs, use the tune2fs and blkid commands to regenerate a new UUID for the clone's ext4 partition.
Network and Home Assistant Cloning Gotchas
If you are cloning a Raspberry Pi acting as a smart home hub (e.g., Home Assistant or an MQTT broker), simply booting the clone on your network will cause chaos. Both Pis will broadcast the same mDNS hostname (e.g., raspberrypi.local) and attempt to claim the same DHCP lease or static IP defined in /etc/dhcpcd.conf.
The Fix: Before deploying the clone, keep it offline. Connect a monitor and keyboard, and edit the following files:
/etc/hostname(Change to a unique name likepi-livingroom-kiosk)/etc/hosts(Update the localhost mapping to match the new hostname)/etc/wpa_supplicant/wpa_supplicant.confor NetworkManager settings (If assigning a static IP, change it to avoid an IP conflict with the original Pi).
By following this software walkthrough, you ensure that your Raspberry Pi copy SD card operations result in robust, bootable, and network-ready clones, safeguarding your DIY electronics projects against inevitable hardware failures.