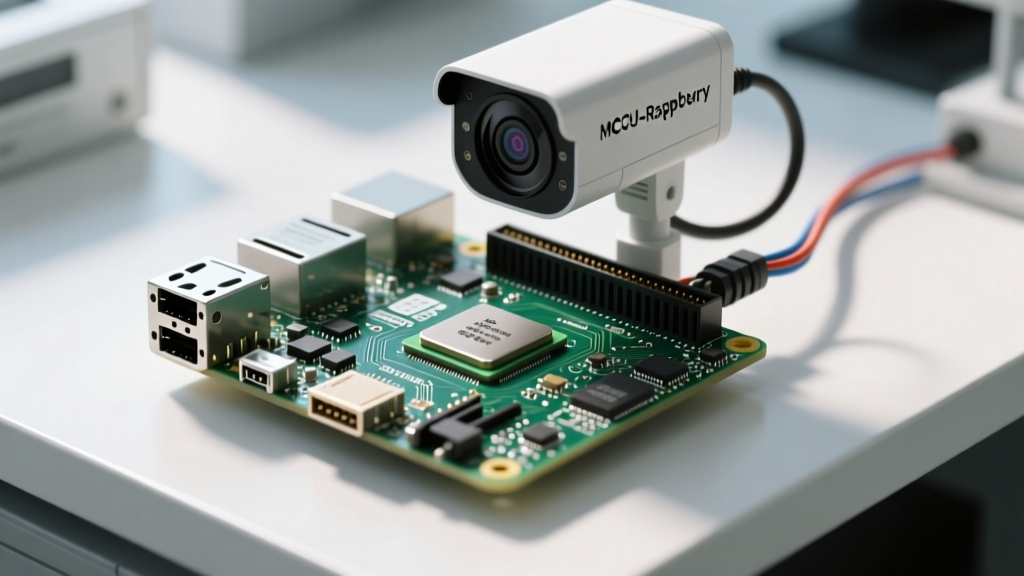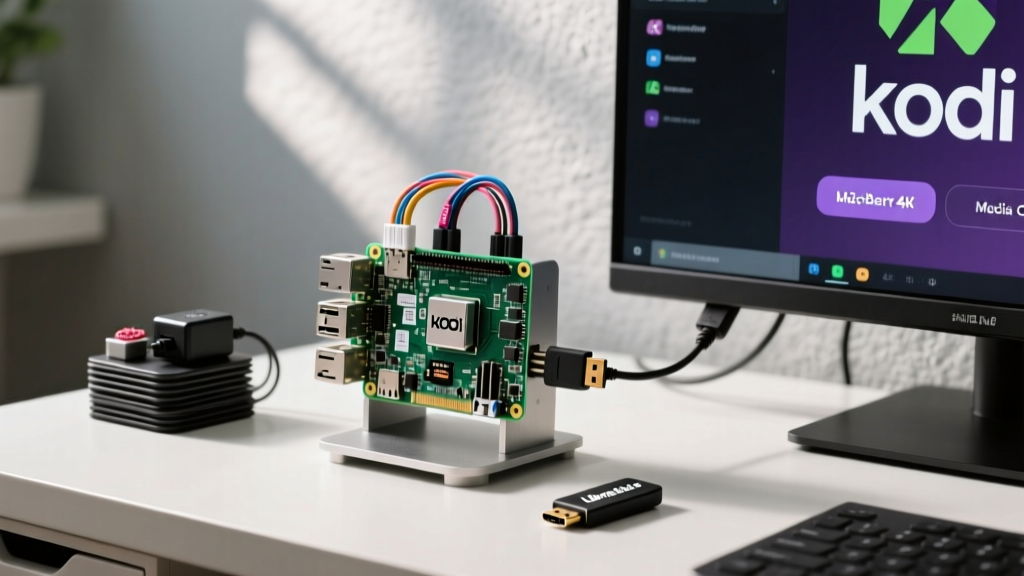

Building a dedicated home theater PC (HTPC) used to require a bulky, noisy tower tucked away in an entertainment center. Today, the combination of a raspberry pi and kodi delivers a silent, ultra-compact, and highly capable 4K media center that sips power while handling massive local libraries and high-bitrate streaming. Whether you are archiving physical media into 4K UHD Remux files or setting up a live TV DVR, the Raspberry Pi ecosystem provides the perfect hardware foundation for Kodi's robust software environment.
In this comprehensive project tutorial, we will bypass the superficial setup guides and dive deep into the hardware bottlenecks, software optimizations, and peripheral integrations required to build a flawless, production-grade Kodi media center in 2026.
Hardware Bill of Materials: Pi 4 vs. Pi 5 for Media
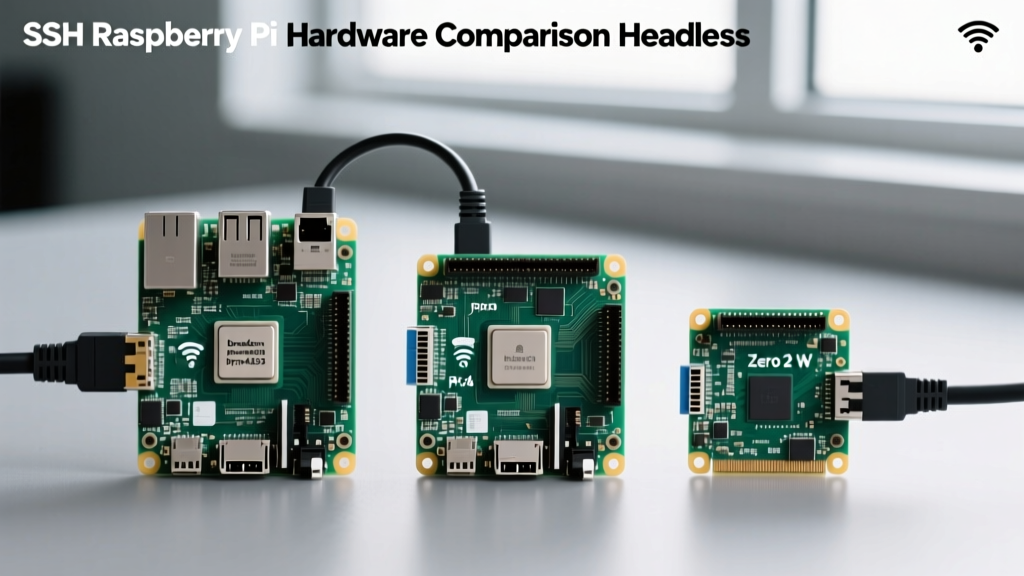
While older models like the Raspberry Pi 3B+ can still handle 1080p H.264 streams, modern media consumption demands High Efficiency Video Coding (HEVC/H.265) and 4K resolution. When pairing a raspberry pi and kodi, you are realistically choosing between the Raspberry Pi 4 Model B and the Raspberry Pi 5.
| Feature | Raspberry Pi 4 Model B | Raspberry Pi 5 |
|---|---|---|
| SoC | BCM2711 (Quad-core Cortex-A72) | BCM2712 (Quad-core Cortex-A76) |
| GPU | VideoCore VI | VideoCore VII |
| 4K HEVC Decode | 4Kp60 (Hardware, but struggles with HDR tone-mapping) | 4Kp60 (Hardware, vastly improved HDR & deinterlacing) |
| RAM Options | 1GB, 2GB, 4GB, 8GB | 4GB, 8GB |
| Power Input | 5V/3A USB-C (15W max) | 5V/5A USB-C PD (27W) |
| PCIe Interface | None (USB 3.0 only) | PCIe 2.0 x1 (Ideal for NVMe storage) |
The Power Supply Bottleneck
A common failure mode in Pi-based Kodi builds is USB peripheral dropout. If you connect an external 3.5-inch hard drive via a USB hub to store your media, the Pi 4's 3A power budget will frequently brown out, causing Kodi to crash or the drive to unmount during high-bitrate playback. The Raspberry Pi 5, when paired with the official 27W USB-C PD power supply, allocates significantly more current to the USB ports, natively supporting external storage arrays without powered hubs.
Software Selection: Why LibreELEC Wins
You have three primary avenues for running Kodi on a Pi: installing it on top of Raspberry Pi OS, using OSMC, or using LibreELEC. For a dedicated media center, LibreELEC is the undisputed champion.
LibreELEC is a 'Just enough OS for Kodi' bare-metal Linux distribution. It strips away the desktop environment and background services of Raspberry Pi OS, dedicating 100% of the system's RAM and CPU cycles to Kodi. This results in faster boot times, smoother UI navigation, and better thermal management. Furthermore, LibreELEC's development team works directly with the Kodi Raspberry Pi maintainers to ensure hardware video decoding pipelines are perfectly mapped to the VideoCore GPUs.
Step-by-Step: Flashing and Boot Configuration
To begin your raspberry pi and kodi project, download the Raspberry Pi Imager on your primary computer.
- Open Raspberry Pi Imager and select Choose OS.
- Scroll down to Media Player OS and select LibreELEC.
- Choose the specific version for your board (e.g., LibreELEC 12.0+ for Raspberry Pi 5).
- Select your MicroSD card or USB SSD and click Write.
Critical config.txt Tweaks for Pi 4 Users
If you are using a Raspberry Pi 4, 4Kp60 output is not enabled by default to save power. You must edit the config.txt file on the boot partition of your SD card before inserting it into the Pi. Add the following line:
hdmi_enable_4kp60=1Note: Raspberry Pi 5 users do not need this tweak, as the BCM2712 chip and KMS (Kernel Mode Setting) driver handle 4K60p natively across both HDMI ports.
Mastering HDMI CEC and Remote Control
The magic of a living room media center is using your existing TV remote to control Kodi. This is achieved via HDMI CEC (Consumer Electronics Control). LibreELEC utilizes the libcec library to poll the TV for remote inputs.
Troubleshooting CEC Dropouts
CEC is notoriously finicky. If your TV remote controls the TV volume but fails to navigate Kodi, try the following:
- Change the HDMI Port: Many TVs only support CEC on a specific port (often labeled 'ARC' or 'eARC').
- Disable CEC on other devices: Soundbars, Chromecasts, and gaming consoles can flood the CEC bus with polling requests, causing the Pi to be ignored. Disable CEC on competing devices.
- Use a Flirc Dongle: If your TV's CEC implementation is broken, bypass it entirely. A Flirc USB IR receiver allows you to map any infrared remote directly to Kodi keystrokes, offering 100% reliability.
Audio Passthrough: TrueHD and DTS-HD MA
For audiophiles and home theater enthusiasts, bitstreaming lossless audio to an AV receiver is mandatory. The Raspberry Pi 4 and 5 both support audio passthrough via HDMI, but it requires specific configuration within Kodi.
Navigate to Settings > System > Audio in Kodi. Set the Audio Output Device to your AV Receiver (usually listed as an ALSA HDMI output). Crucially, enable Allow Passthrough and check the boxes for your receiver's supported formats (Dolby TrueHD, DTS-HD MA, E-AC3). If you experience audio sync drift during high-bitrate 4K playback, enable Sync Playback to Display to force the audio clock to match the video refresh rate.
Network and Storage: Eliminating Buffering
A 4K UHD Remux file can feature a bitrate exceeding 100 Mbps. While Wi-Fi might seem convenient, 5GHz networks are susceptible to interference from neighboring networks and physical obstructions, leading to micro-stutters during action-heavy scenes.
The Gigabit Ethernet Advantage
Always hardwire your Kodi Pi to your router or network switch via Cat6 Ethernet. If running a cable is impossible, use a Powerline adapter or a dedicated MoCA (Multimedia over Coax) adapter to guarantee a stable, low-jitter connection to your NAS.
Moving Beyond the MicroSD Card
MicroSD cards are prone to corruption from sudden power loss and suffer from terrible random I/O write speeds. While the OS can live on an SD card, your Kodi database (which stores thumbnails, watched statuses, and metadata) will scrape and update agonizingly slowly.
For the Pi 5, utilize the PCIe 2.0 lane with an NVMe HAT and a cheap 256GB M.2 SSD to host the LibreELEC /storage partition. For the Pi 4, booting directly from a USB 3.0 SATA SSD drastically improves library scanning times and UI fluidity.
Thermal Management During HEVC Decoding
Hardware decoding offloads the heavy lifting from the CPU to the GPU, but the VideoCore VII in the Pi 5 still generates significant heat when pushing 4K HDR content. If the SoC reaches 85°C, it will thermal throttle, resulting in dropped frames and audio desync.
Do not rely on passive aluminum heatsinks or sealed plastic cases. You must use the Official Raspberry Pi Active Cooler or a high-quality third-party tower cooler with a PWM-controlled fan. LibreELEC will automatically read the thermal sensors and spin up the fan only when necessary, keeping the system completely silent during 1080p playback and adequately cooled during 4K HDR tone-mapping.
Integrating Live TV with TVHeadend
To elevate your raspberry pi and kodi setup into a complete cable replacement, integrate Live TV. By connecting an HDHomeRun networked tuner to your router, you can install the TVHeadend server add-on directly within LibreELEC. This allows the Pi to act as a DVR, pulling EPG (Electronic Program Guide) data via XMLTV and recording MPEG-TS streams directly to your network storage. Kodi's PVR (Personal Video Recorder) frontend will seamlessly blend live channels and recordings into your main media library, providing a unified, premium interface that rivals commercial TiVo or cable boxes.
Final Thoughts on the Ultimate HTPC
Building a media center with a Raspberry Pi and Kodi is a highly rewarding project that bridges the gap between hardware tinkering and practical home entertainment. By respecting the power delivery requirements, optimizing your storage I/O, and leveraging bare-metal software like LibreELEC, you can create a 4K home theater node that is reliable, silent, and entirely under your control. For more advanced hardware documentation, always refer to the official Raspberry Pi hardware guides to ensure your peripheral configurations are within spec.