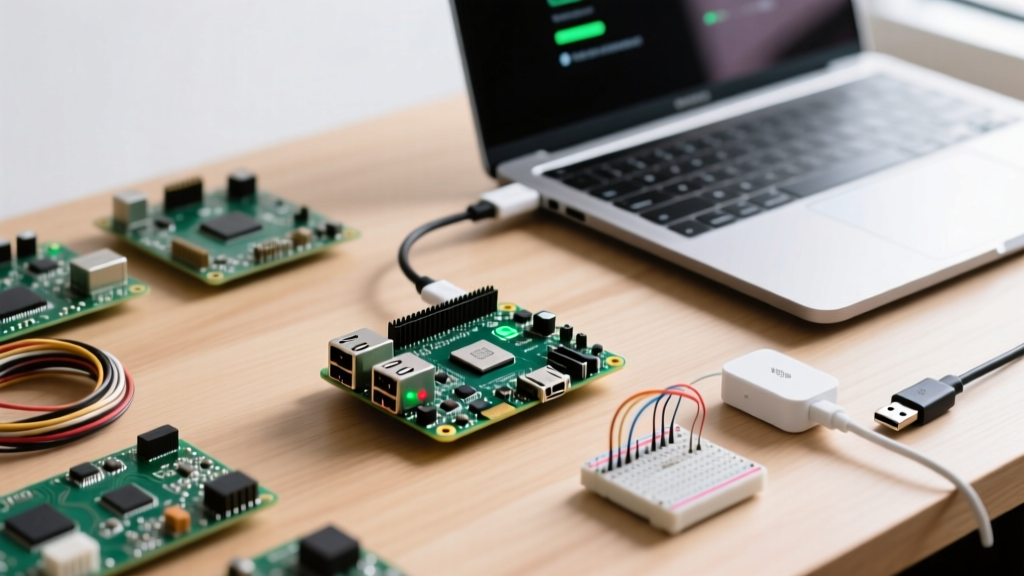

The Headless Paradigm: Why Ditch the Monitor?
When deploying a Raspberry Pi for Home Assistant, a Pi-hole DNS sinkhole, or a remote IoT sensor node, dedicating a monitor, keyboard, and mouse is impractical. Understanding how to connect a Raspberry Pi to a computer entirely through software and data cables is a foundational skill for single-board computer (SBC) architects. This guide bypasses basic tutorials and dives deep into OS-level configurations, specifically targeting the latest Raspberry Pi OS (Bookworm) and the hardware nuances of the Raspberry Pi 4 and Pi 5.
Headless operation reduces your physical footprint, eliminates the need for HDMI capture cards, and allows you to manage your SBC directly from your primary workstation via SSH or VNC. Below, we explore the two most robust methods for establishing this connection: Direct USB-C OTG Ethernet Gadget Mode and Network mDNS Discovery.
Method 1: USB-C OTG Ethernet Gadget Mode (The Direct Link)
The USB-C power port on the Raspberry Pi 4 and Raspberry Pi 5 is not strictly for power delivery; it is a fully functional On-The-Go (OTG) port. By configuring the bootloader and OS overlays, you can force the Pi to emulate a USB Ethernet adapter. This creates a direct, point-to-point network link between your host computer and the Pi, requiring no Wi-Fi router or external network infrastructure.
Hardware Prerequisites & Wiring
- Host Computer: Any Windows, macOS, or Linux machine with a USB-A or USB-C port.
- Cable: A high-quality USB-C to USB-A (or USB-C to USB-C) data cable.
- Power Delivery: The host PC's USB port must output sufficient current. A standard USB 3.0 port provides 0.9A, which is enough to boot a Pi 4 idling, but a Pi 5 (which demands 5V/5A for full peripheral support) may trigger a low-voltage brownout warning if not connected to a high-amperage USB-C PD port or a powered hub.
Critical Hardware Warning: Never use a charge-only USB-C cable. These cables lack the D+ and D- data lines required for OTG communication. If your host PC does not play the USB connection chime when plugging in the Pi, you are likely using a charge-only cable.
Configuring the Boot Partition
Before booting the Pi for the first time, mount the microSD card's bootfs partition on your host computer and edit two critical files. According to the official Raspberry Pi configuration documentation, these overlays enable the DWC2 USB controller driver.
First, open config.txt and append the following line to the very bottom:
dtoverlay=dwc2Next, open cmdline.txt. Warning: This file must remain a single, continuous line. Do not add line breaks. Insert the following module load command immediately after the word rootwait, separated by a single space:
modules-load=dwc2,g_etherSafely eject the SD card, insert it into the Pi, and connect the USB-C cable from the Pi's power port to your host computer. The Pi will boot, and your host OS will detect a new 'Remote NDIS Compatible Device' or 'Ethernet Gadget' network interface.
Method 2: Network Discovery via Wi-Fi & mDNS
If your Pi is deployed in a different room or integrated into a smart home cabinet, a physical USB tether is impossible. Instead, we rely on Multicast DNS (mDNS) to resolve the Pi's hostname over your local Wi-Fi network.
Pre-configuring the OS via Raspberry Pi Imager
With the shift to Raspberry Pi OS Bookworm, network management has transitioned from wpa_supplicant to NetworkManager. The most reliable way to inject Wi-Fi credentials is via the Raspberry Pi Imager's OS Customisation menu (accessed via the gear icon or Ctrl+Shift+X).
- Enable SSH (Use password authentication or inject your public Ed25519 key).
- Set the Wireless LAN SSID and Password.
- Crucially, set the Wireless LAN Country code. Failing to set the regulatory domain will prevent the 5GHz Wi-Fi bands from initializing on the Pi 4 and Pi 5.
Finding the Pi on Your LAN
Once booted, the Pi broadcasts its hostname via mDNS. On macOS and Linux, or Windows machines with Apple's Bonjour Print Services installed, you can bypass IP address hunting entirely. Open your terminal and execute:
ping raspberrypi.localIf the ping resolves, you can immediately establish an SSH session using ssh your_username@raspberrypi.local. For deeper network analysis, tools like nmap or the Fing mobile app can scan your subnet (e.g., 192.168.1.0/24) to identify the Pi's MAC address, which typically begins with b8:27:eb or dc:a6:32 for older models, or 2c:cf:67 for newer Pi 5 batches.
Comparison Matrix: Direct USB vs. Network Wi-Fi
| Connection Method | Latency & Bandwidth | Setup Difficulty | Best Use Case |
|---|---|---|---|
| USB-C OTG Gadget | Ultra-low latency (~0.5ms), up to 300Mbps | High (Requires boot partition editing) | Bench testing, initial OS provisioning, secure isolated environments |
| Wi-Fi mDNS | Variable (5-20ms), dependent on RF environment | Low (Handled via Imager GUI) | Permanent smart home deployments, IoT sensor nodes, remote clusters |
| Ethernet (DHCP) | Low latency (~1ms), 1Gbps (Pi 4/5) | Zero (Plug and Play) | Home Assistant servers, NAS setups, media centers |
Establishing the GUI Session: The Bookworm Wayland Hurdle
Connecting via SSH gives you terminal access, but many users require a graphical desktop. Historically, users relied on RealVNC. However, Raspberry Pi OS Bookworm defaults to the Wayland display server, which breaks legacy X11-based VNC implementations.
If you attempt to use standard VNC viewers and receive a black screen or connection refusal, you have two options, as noted in the Raspberry Pi Remote Access Documentation:
Option A: Install WayVNC (Recommended)
WayVNC is a native VNC server designed for Wayland compositors. Connect via SSH and run:
sudo apt update
sudo apt install wayvnc
wayvnc 0.0.0.0 5900
You can now connect using any standard VNC viewer (like RealVNC Viewer or TigerVNC) to port 5900.
Option B: Revert to X11
If your specific workflow requires legacy X11 compatibility, connect via SSH, launch the configuration tool with sudo raspi-config, navigate to Advanced Options > Wayland, and select X11. Reboot the Pi, and the legacy RealVNC server will function normally.
Common Connection Failures & OS-Level Fixes
Even with meticulous preparation, SBC deployments encounter friction. Here is a troubleshooting framework for the most frequent failure modes when figuring out how to connect a Raspberry Pi to a computer.
- The 'Single Line' Boot Failure: If you edited
cmdline.txtfor USB OTG and accidentally pressed 'Enter', creating a second line, the Pi's bootloader will fail to parse the kernel parameters. The Pi will hang with a rainbow splash screen or a blinking green ACT LED. Fix: Remount the SD card on your PC and ensure all parameters exist on one continuous string. - mDNS Resolution Failures on Windows: Windows 11 natively supports mDNS, but aggressive firewall rules or third-party antivirus suites often block UDP port 5353. Fix: Temporarily disable the firewall or explicitly allow inbound/outbound traffic on UDP 5353. Alternatively, reserve a static IP for the Pi's MAC address in your router's DHCP settings.
- USB Power Brownouts (Pi 5 Specific): The Pi 5 utilizes a dedicated Renesas DA9091 power management IC. If connected to a standard PC USB-A port via an adapter, the Pi will boot but throttle the USB peripheral ports to prevent overcurrent. Fix: Use a USB-C port on your host PC that supports Power Delivery (PD), or utilize a powered USB 3.0 hub between the host and the Pi.
- SSH Key Rejection: If you re-imaged an SD card with the same hostname but a new OS, your host computer's
known_hostsfile will detect a mismatched ECDSA/RSA key and block the connection to prevent Man-in-the-Middle attacks. Fix: Runssh-keygen -R raspberrypi.localon your host machine to purge the old fingerprint.
Mastering these headless connection methodologies transforms the Raspberry Pi from a desktop-bound hobby kit into a versatile, enterprise-grade micro-server. Whether you are leveraging the direct OTG data pipe for secure firmware flashing or deploying a fleet of Wi-Fi-connected nodes via mDNS, understanding the underlying OS architecture ensures your deployments remain resilient and accessible.


