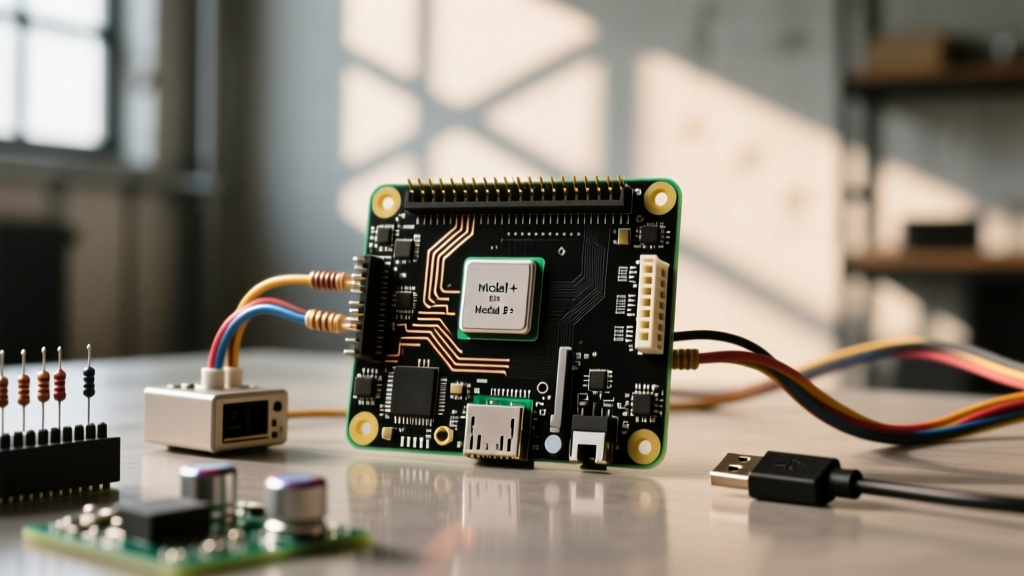

The Reality of the Raspberry Pi 3 for Home Assistant
Deploying a smart home hub on legacy hardware requires a deep understanding of system constraints. When evaluating the Raspberry Pi 3 for Home Assistant, you are working with the Broadcom BCM2837 SoC and a strict 1GB LPDDR2 RAM ceiling. While the Pi 3B (2016) and Pi 3B+ (2018) were once the gold standard for DIY domotics, modern Home Assistant (HA) releases have drastically increased baseline resource requirements. The official Home Assistant Raspberry Pi Installation Guide now heavily favors 4GB+ boards. However, with precise OS selection, memory management, and I/O optimization, the Pi 3 can still serve as a highly capable, low-power smart home brain. This guide bypasses generic tutorials and dives straight into the OS-level engineering required to keep a Pi 3 stable, responsive, and alive.
OS Distribution Matrix: HAOS vs. Raspberry Pi OS Lite
Choosing the right operating system is the single most critical decision for a 1GB board. The Home Assistant Supervisor, while convenient, consumes a massive amount of background resources. Below is a comparative matrix of the most viable OS distributions for the Pi 3 architecture.
| OS Distribution | Architecture | Supervisor Included? | Base RAM Usage | SD Card I/O Wear |
|---|---|---|---|---|
| Home Assistant OS (HAOS) | aarch64 (64-bit) | Yes | ~550 MB | High |
| Raspberry Pi OS Lite + Docker | aarch64 (64-bit) | No (Manual) | ~250 MB | Medium |
| DietPi + Home Assistant Core | aarch64 (64-bit) | No | ~180 MB | Low |
For users who demand the Add-on store (Node-RED, Frigate, Mosquitto), HAOS is mandatory. However, if you are comfortable managing Docker containers via SSH and Portainer, Raspberry Pi OS Lite frees up nearly 300MB of RAM, effectively doubling your available memory for automations and database operations.
The 64-Bit Catch-22: RAM Overhead on a 1GB Board
Home Assistant has officially deprecated 32-bit (armv7) support. You must run a 64-bit (aarch64) OS. The Pi 3 supports 64-bit instructions, but there is a hidden hardware penalty: 64-bit memory pointers consume roughly 20-30% more RAM than their 32-bit counterparts. On a board with only 1024MB of total RAM, this overhead is brutal.
Mandatory ZRAM Configuration for HAOS
If you choose to flash HAOS, the Linux Out-Of-Memory (OOM) killer will inevitably terminate the Home Assistant Supervisor or Core process during heavy database migrations or add-on updates. To prevent this, you must enable ZRAM (compressed RAM swapping). Unlike traditional swap files that destroy SD cards via write amplification, ZRAM compresses memory pages in the CPU, keeping I/O off the storage bus.
Expert Tip: Install the community 'ZRAM Swap' add-on via the HA Add-on store immediately after your first boot. Configure it to allocate 512MB of compressed swap space. This acts as a vital pressure valve when the Supervisor pulls large Docker images during updates.
Hardware Nuance: USB Boot on Pi 3B vs. Pi 3B+
SD cards are the number one cause of Pi 3 Home Assistant failures. The SQLite database writes random I/O operations that quickly exhaust the wear-leveling blocks of standard microSD cards. Moving your OS to a Solid State Drive (SSD) is mandatory for long-term survival, but the implementation differs between the Pi 3B and 3B+.
- Raspberry Pi 3B+ (2018): Supports native USB boot out of the box. You can flash HAOS directly to a SATA SSD connected via a USB 2.0 adapter, remove the SD card, and boot immediately.
- Raspberry Pi 3B (2016): Requires a one-time OTP (One-Time Programmable) memory fuse burn to enable USB boot. You must boot from an SD card, add
program_usb_boot_mode=1to/boot/config.txt, reboot, and verify via the terminal commandvcgencmd otp_dump | grep 17:. If the output shows17:3020000a, USB boot is permanently enabled.
Refer to the Raspberry Pi Hardware Documentation for exact OTP register mappings. Note that because the Pi 3 is limited to USB 2.0 bus speeds (~35MB/s max throughput), you will not see massive sequential read/write gains. However, the random IOPS (Input/Output Operations Per Second) of an SSD will completely eliminate the micro-stutters and dashboard loading delays associated with SD card latency.
The Docker Survival Route: Bypassing Supervisor Bloat
For advanced users willing to abandon the HA Add-on store, installing Raspberry Pi OS Lite (64-bit) and running Home Assistant Core via Docker is the most resource-efficient method. This strips away the Supervisor, Docker-in-Docker overhead, and HAOS systemd bloat.
Below is a lightweight docker-compose.yml optimized specifically for the 1GB RAM constraint of the Pi 3:
version: '3'
services:
  homeassistant:
    container_name: homeassistant
    image: ghcr.io/home-assistant/home-assistant:stable
    volumes:
      - /opt/ha/config:/config
      - /etc/localtime:/etc/localtime:ro
    restart: unless-stopped
    privileged: true
    network_mode: host
    mem_limit: 700m
    memswap_limit: 900m
By explicitly defining mem_limit and memswap_limit, you prevent a rogue Python automation or memory leak in a custom component from crashing the entire host OS. You can manage MQTT and Zigbee2MQTT via separate, highly constrained containers, allocating exactly the megabytes required for each service.
Database Optimization: Saving the Storage I/O Bus
Regardless of whether you use HAOS or Docker, the default SQLite recorder configuration will generate millions of write cycles, choking the Pi 3's storage controller. You must aggressively tune the recorder in your configuration.yaml to filter out high-frequency, low-value sensor data.
recorder:
  purge_keep_days: 5
  commit_interval: 30
  exclude:
    domains:
      - sensor
      - light
    entity_globs:
      - sensor.uptime*
      - sensor.*_battery_level
    entities:
      - sun.sun
Setting commit_interval: 30 forces the database to batch writes to the disk every 30 seconds rather than on every single state change. This single line of code can extend the lifespan of a budget microSD card from three months to over two years. Furthermore, excluding entities like sun.sun and high-polling power meters prevents the database from ballooning past 500MB, which would cause the Pi 3's CPU to throttle during nightly database repacks.
Final Verdict: Squeezing Life from Legacy Silicon
Running a Raspberry Pi 3 for Home Assistant in the modern era is an exercise in resource management. The board is entirely capable of handling hundreds of Zigbee devices and complex YAML automations, provided you respect its physical limitations. By forcing 64-bit ZRAM compression, migrating to an SSD via OTP USB boot, and aggressively filtering database I/O, you can extract years of reliable service from this classic SBC. For the latest bare-metal OS images and changelogs, always verify your download hashes against the HAOS GitHub Releases page before flashing.