
Architecting the Ultimate Distributed Sensor Network
When makers and engineers search for the most impactful projects for a Raspberry Pi, they often stumble upon generic LED blinkers or basic media centers. However, the true power of the Raspberry Pi ecosystem lies in distributed computing and IoT architecture. In this comprehensive project tutorial, we will design and build a Multi-Room Climate and Power Monitoring Hub. By utilizing a Raspberry Pi 5 as the central MQTT broker and Home Assistant server, and deploying Raspberry Pi Zero 2 W units as remote sensor nodes, we create a scalable, enterprise-grade smart home backbone.
This tutorial goes beyond basic plug-and-play. We will cover exact hardware specifications, I2C bus capacitance limits, voltage translation pitfalls, and the MQTT payload structures required to integrate seamlessly with modern home automation platforms.
Hardware Bill of Materials (BOM) and Topology
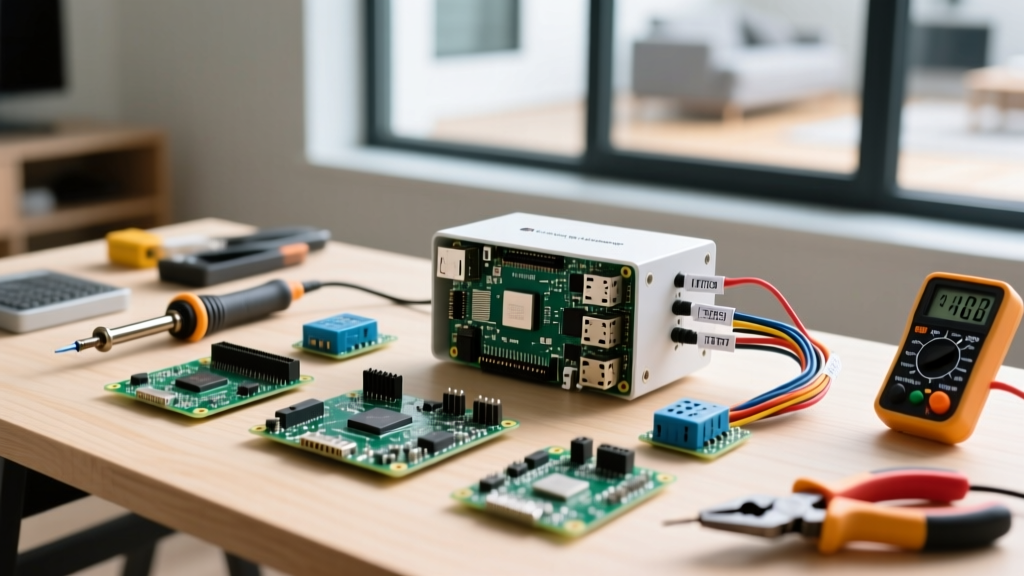
A distributed network requires a clear distinction between the 'Hub' (processing and storage) and the 'Nodes' (data acquisition). Below is the precise hardware required for a 3-node setup.
| Component | Model / Specification | Role | Approx. Cost (USD) |
|---|---|---|---|
| Central Hub | Raspberry Pi 5 (8GB RAM) | Mosquitto Broker, Home Assistant OS | $80.00 |
| Remote Nodes (x3) | Raspberry Pi Zero 2 W | Sensor Data Acquisition & MQTT Publishing | $15.00 ea. |
| Environmental Sensor | Bosch BME280 (I2C Breakout) | Temp, Humidity, Barometric Pressure | $8.50 ea. |
| Logic Level Converter | TXS0108E Bi-directional (Optional) | 3.3V to 5V I2C Translation (if needed) | $3.00 ea. |
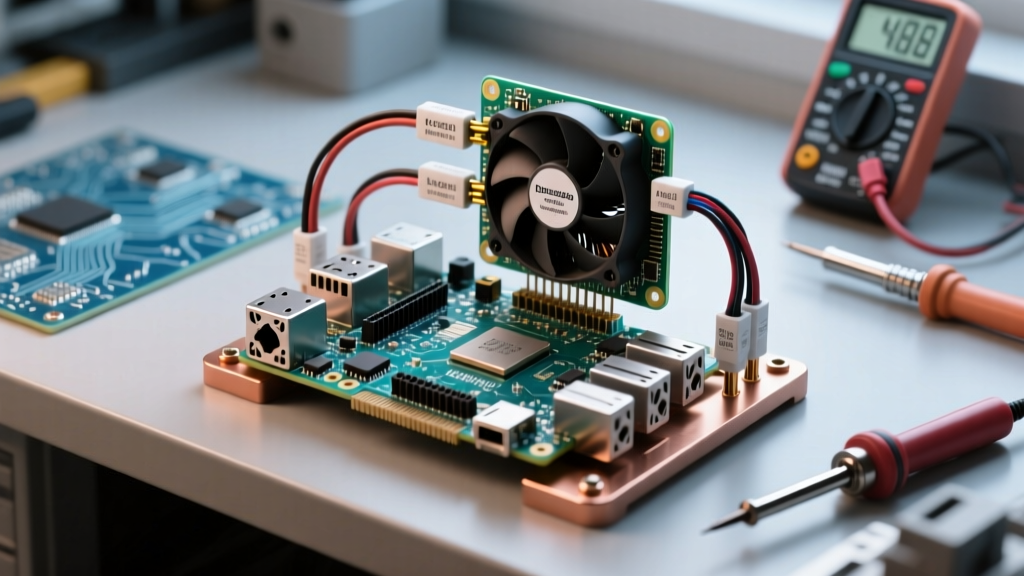
| Active Cooler | Raspberry Pi 5 Active Cooler | Thermal management for Hub | $5.00 |
Expert Note on Power Delivery: The Pi Zero 2 W can experience brownouts if powered via standard USB-A phone chargers when the WiFi radio is transmitting simultaneously with an I2C sensor read. Always use a high-quality 5V 2.5A USB-C power supply with low ripple, or power the nodes via a centralized 5V PoE (Power over Ethernet) HAT if running Ethernet backhauls.
Wiring the BME280: Overcoming I2C Bus Limitations
The Bosch BME280 is the gold standard for indoor climate monitoring due to its low self-heating characteristics compared to the DHT22 or BME680. However, integrating it into projects for a Raspberry Pi requires strict adherence to I2C electrical standards.
Pinout and Physical Connections
The Raspberry Pi Zero 2 W exposes the primary I2C bus on GPIO 2 (SDA) and GPIO 3 (SCL). The BME280 breakout boards typically include onboard 10kΩ pull-up resistors tied to 3.3V.
- VIN: Connect to Pin 1 (3.3V) on the Pi Zero 2 W. Never connect to 5V (Pin 2) unless your specific breakout board features an onboard voltage regulator, otherwise you will permanently destroy the sensor's internal CMOS logic.
- GND: Connect to Pin 6 (Ground).
- SCK/SCL: Connect to Pin 5 (GPIO 3).
- SDI/SDA: Connect to Pin 3 (GPIO 2).
- CSB: Leave floating or tie to VCC to ensure the I2C address remains
0x76(or0x77depending on the manufacturer's trace routing).
The I2C Capacitance Trap
A common failure mode in advanced Pi projects is exceeding the I2C bus capacitance limit. The I2C specification mandates a maximum bus capacitance of 400pF. If you attempt to daisy-chain multiple sensors on the same physical bus using long ribbon cables, the parasitic capacitance will degrade the square wave signal into a sawtooth, causing CRC checksum errors in your Python scripts. For a multi-room setup, do not daisy-chain nodes. Use one Pi Zero 2 W per room, communicating back to the hub wirelessly via MQTT.
Software Configuration: OS and I2C Enablement
For remote nodes, desktop environments are a waste of RAM and CPU cycles. We utilize Raspberry Pi OS Lite (64-bit). After flashing the OS via the official Raspberry Pi Imager and configuring your WiFi credentials and SSH access in the advanced settings menu, boot the node and SSH into it.
Enable the I2C interface using the built-in configuration tool:
sudo raspi-configNavigate to Interface Options > I2C > Enable. After rebooting, verify the hardware connection using the i2cdetect utility:
sudo apt-get install i2c-tools
sudo i2cdetect -y 1
You should see a 76 or 77 in the output matrix. If the matrix is empty, check your wiring and pull-up resistors.
Python Data Acquisition Script
Install the necessary Python libraries to interact with the sensor and the MQTT broker.
sudo apt install python3-smbus python3-pip
pip3 install RPi.bme280 paho-mqtt
Below is a robust Python script designed to read the sensor, apply a temperature offset (to account for minor PCB self-heating), and publish the payload as a JSON string to the central Pi 5 broker.
import smbus2
import bme280
import paho.mqtt.client as mqtt
import json
import time

# I2C Configuration
port = 1
address = 0x76
bus = smbus2.SMBus(port)
calibration_params = bme280.load_calibration_params(bus, address)

# MQTT Configuration
BROKER_IP = "192.168.1.100" # IP of your Pi 5 Hub
TOPIC = "home/livingroom/climate"
client = mqtt.Client("LivingRoom_Node")

def publish_data():
    try:
        data = bme280.sample(bus, address, calibration_params)
        payload = {
            "temperature": round(data.temperature - 0.8, 2), # Offset for PCB heat
            "humidity": round(data.humidity, 2),
            "pressure": round(data.pressure, 2)
        }
        client.connect(BROKER_IP, 1883, 60)
        client.publish(TOPIC, json.dumps(payload), qos=1, retain=True)
        client.disconnect()
        print("Published:", payload)
    except Exception as e:
        print(f"Sensor or Network Error: {e}")

if __name__ == "__main__":
    while True:
        publish_data()
        time.sleep(300) # Publish every 5 minutes
The Hub: Deploying Mosquitto and Home Assistant
To tie these projects for a Raspberry Pi together, the central Pi 5 must run a robust MQTT broker. While Home Assistant OS includes the Mosquitto Broker add-on, running a standalone Eclipse Mosquitto instance on Raspberry Pi OS (64-bit) via Docker provides greater flexibility for custom Node-RED automations and external database logging (like InfluxDB).
Docker Compose for the MQTT Broker
Create a docker-compose.yml file on your Pi 5 hub:
version: '3.8'
services:
  mosquitto:
    image: eclipse-mosquitto:2
    container_name: mqtt_broker
    ports:
      - "1883:1883"
      - "9001:9001"
    volumes:
      - ./mosquitto/config:/mosquitto/config
      - ./mosquitto/data:/mosquitto/data
      - ./mosquitto/log:/mosquitto/log
    restart: unless-stopped
Ensure your mosquitto.conf file enables persistence and allows anonymous connections for local network testing (though setting up ACLs and password files is highly recommended for production security).
Scaling the Architecture: Beyond Climate Monitoring
Once the foundational MQTT topology is established, the exact same software architecture can be adapted for a variety of advanced projects for a Raspberry Pi. Because the Pi Zero 2 W nodes are simply publishing JSON payloads, the central Hub doesn't care what hardware is generating the data.
1. Non-Invasive Energy Monitoring (CT Clamps)
By swapping the BME280 for an SCT-013-000 Current Transformer and an MCP3008 Analog-to-Digital Converter, a Pi Zero 2 W can sample AC current waveforms at 1kHz. Using the emoncms Python libraries, the node can calculate real power (Watts), apparent power, and power factor, publishing the data to the Hub to track household energy consumption per circuit breaker.
2. Water Leak and Sump Pump Diagnostics
Moisture is the enemy of electronics. By utilizing capacitive soil moisture sensors or simple resistive water probes connected to the Pi's GPIO with optocouplers, remote nodes can be placed in basements or under sinks. The MQTT retain flag ensures that if the Hub reboots, it immediately receives the last known state of the water leak sensors, preventing false 'all-clear' alerts in Home Assistant.
Troubleshooting Common Failure Modes
When deploying distributed Pi networks in real-world environments, theoretical designs often meet physical realities. Here is a diagnostic framework for common issues.
| Symptom | Probable Cause | Engineering Solution |
|---|---|---|
BME280 throws OSError: [Errno 121] Remote I/O error |
I2C bus noise or loose Dupont connector. | Solder headers directly; add 100nF decoupling capacitor across VCC and GND at the sensor. |
| Node drops off WiFi every 4-6 hours. | DHCP lease expiration or router power-saving polling. | Assign static IPs via dhcpcd.conf and disable WiFi power management: iwconfig wlan0 power off. |
| Home Assistant shows stale data after Hub reboot. | MQTT Retain flag not set, or LWT (Last Will) missing. | Configure retain=True in the Python script and implement MQTT LWT to track node online/offline status. |
| Pi 5 Hub thermal throttling under load. | Inadequate cooling or enclosed 3D printed case. | Mandatory use of the official Pi 5 Active Cooler; ensure case has passive chimney ventilation. |
Conclusion: Building for Reliability
The transition from a single-board hobbyist to an IoT systems architect happens when you stop treating the Raspberry Pi as a standalone desktop replacement and start treating it as a microservices node. By building this multi-room climate hub, you have established a robust, fault-tolerant MQTT backbone. This infrastructure will serve as the foundation for dozens of future projects for a Raspberry Pi, from automated HVAC damper controls to localized air quality (VOC) monitoring networks. Remember to secure your MQTT broker with TLS certificates and strong passwords before exposing any telemetry to external networks.