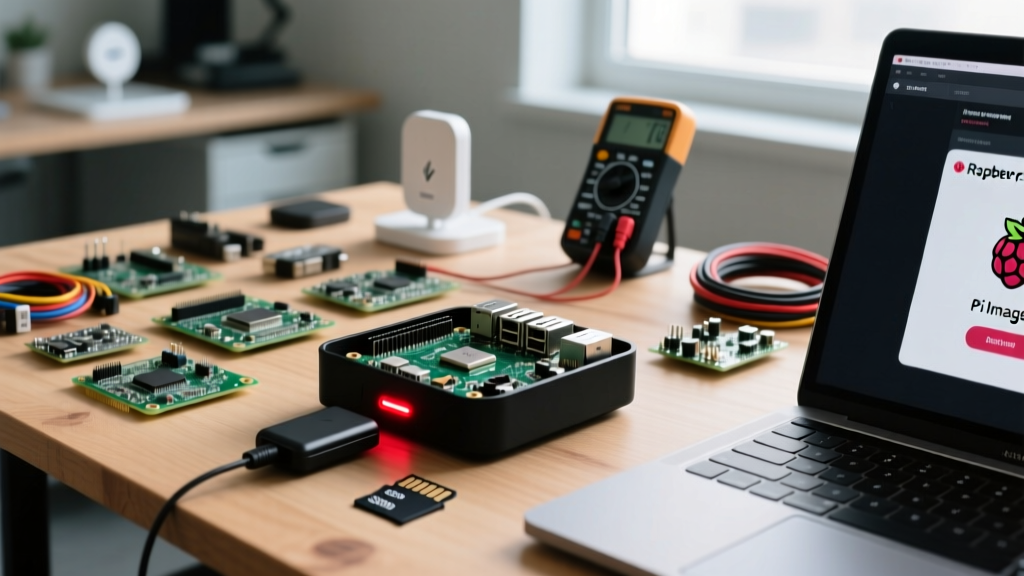

Commercial cloud cameras are a privacy nightmare and drain your wallet with monthly subscriptions. By building a local raspberry pi security system, you retain complete ownership of your footage while leveraging edge-based AI to filter out false positives like swaying trees or stray cats. In this comprehensive project tutorial, we will architect a dedicated, AI-powered NVR (Network Video Recorder) node using the Raspberry Pi 5, the Sony IMX477 HQ Camera, and a Coral USB Accelerator running Frigate NVR.
The Architecture: Why Local AI Matters
Most off-the-shelf security cameras rely on basic pixel-difference algorithms for motion detection. This results in hundreds of useless notifications daily. Frigate NVR changes this paradigm by utilizing Google's Coral Tensor Processing Unit (TPU) to perform real-time object detection (YOLO models) at the edge. This means your Raspberry Pi security system only triggers recordings and Home Assistant automations when a human or vehicle is positively identified, entirely offline.
Hardware Bill of Materials (BOM) & Costs
To ensure reliable 24/7 operation, we cannot rely on a basic microSD card or passive cooling. The Pi 5 runs hot under AI inference loads, and Frigate's constant SQLite database writes will destroy standard SD cards in weeks. Below is the exact hardware stack required for a production-grade DIY setup.
| Component | Model / Specification | Est. Price | Purpose |
|---|---|---|---|
| SBC | Raspberry Pi 5 (8GB) | $80 | Core compute & PCIe host |
| Cooling | Pi 5 Active Cooler | $5 | Prevents 85°C thermal throttling |
| Storage | PCIe HAT + 128GB NVMe SSD | $45 | Endures high I/O write cycles |
| Sensor | Pi HQ Camera (IMX477) | $50 | 4K capable, interchangeable lenses |
| Optics | 16mm C-Mount Telephoto Lens | $25 | Narrows FOV for better AI pixel density |
| AI Accelerator | Coral USB Accelerator | $60 | Dedicated TPU for Frigate inference |
Phase 1: Physical Assembly and the Pi 5 CSI Quirks
Wiring the IMX477 Sensor
A critical failure point for builders migrating from older SBCs is the CSI (Camera Serial Interface) ribbon cable. The Raspberry Pi 4 utilized a 15-pin 1mm pitch connector. The Raspberry Pi 5 camera architecture shifted to a 22-pin 0.5mm pitch connector to support dual 4-lane CSI/DSI lanes. If you attempt to force an older Pi 4 camera cable into the Pi 5, you will short the board. Ensure you are using the official Pi 5 camera ribbon cable. Furthermore, always disconnect power before seating the FPC cable to avoid blowing the 3.3V LDO regulator on the Pi's power management IC.
Phase 2: OS Provisioning and Coral TPU Drivers
Flash Raspberry Pi OS Bookworm (64-bit, Lite) onto your NVMe drive using the official Raspberry Pi Imager. Once booted and SSH'd into the Pi, the immediate hurdle is the Coral USB Accelerator. Google's official driver repositories have not been fully updated for the Debian Bookworm kernel.
To install the gasket-dkms and pycoral drivers on Bookworm, you must build the gasket module from source or use the community-maintained forks. After installing the drivers, verify the TPU is recognized by running lsusb | grep Coral and checking dmesg for the apex driver initialization. If the Coral is not detected, it is often due to USB power limits; the Pi 5 can supply up to 1.6A to USB peripherals, but using a powered USB 3.0 hub guarantees stable voltage during peak inference spikes.
Phase 3: RTSP Streaming via go2rtc
Frigate requires an RTSP stream to analyze video frames. While you could use a dedicated IP camera (like a Reolink or Amcrest), we are using the Pi's native CSI camera. To expose the CSI camera as an RTSP stream efficiently, we use go2rtc, which leverages the Pi 5's hardware H.264/H.265 encoding via the rpicam-vid backend.
Configure go2rtc.yaml to bind the CSI sensor to a local RTSP endpoint at rtsp://127.0.0.1:8554/front_door. This keeps the video stream entirely on the local loopback interface, eliminating network overhead and reducing CPU strain.
Phase 4: Frigate NVR Configuration
Install Frigate via Docker Compose. The core of your raspberry pi security system lies in the frigate.yml configuration file. Below is a highly optimized baseline configuration tailored for the Pi 5 and Coral USB setup:
mqtt:
  enabled: true
  host: 192.168.1.50
  port: 1883

detectors:
  coral:
    type: edgetpu
    device: usb

cameras:
  front_door:
    enabled: true
    ffmpeg:
      inputs:
        - path: rtsp://127.0.0.1:8554/front_door
          roles:
            - detect
            - record
    detect:
      width: 1280
      height: 720
      fps: 5
    objects:
      track:
        - person
        - car
      filters:
        person:
          min_score: 0.65
          threshold: 0.80
Pro-Tip: Notice the fps: 5 setting under detect. Frigate only needs 5 frames per second for the Coral TPU to accurately track and identify objects. Sending 30fps to the detector will bottleneck the USB bus and cause the TPU to overheat, without yielding any meaningful improvement in detection accuracy.
Advanced Tuning: Eliminating False Positives
Even with AI, environmental factors can trigger false events. To harden your system, utilize Frigate's motion.mask and object_mask features. Motion masks prevent the system from even analyzing pixels in high-contrast, constantly moving areas (like the leaves of a tree or a busy highway in the distance). This saves CPU cycles. Object masks, on the other hand, tell the AI to ignore objects detected in specific physical coordinates, such as a neighbor's window where a TV's flickering light might occasionally mimic a person's silhouette.
Troubleshooting Common Failure Modes
When deploying a raspberry pi security system in the field, you will inevitably encounter edge-case failures. Here is how to diagnose the most common issues:
- mmal: mmal_vc_port_enable: failed to enable port - This legacy error still appears if the camera ribbon cable is improperly seated, or if the
camera_auto_detect=1parameter is conflicting with manualdtoverlaysettings inconfig.txt. Remove manual overlays and let the Pi 5 firmware auto-detect the IMX477. - Coral TPU Thermal Throttling - The USB Coral Accelerator can reach 85°C+ during continuous inference. If you notice inference times jumping from 10ms to 100ms+, the TPU is throttling. Mount a small 30mm heatsink with a low-profile fan directly onto the Coral's aluminum casing.
- SQLite Database Locked Errors - If you ignored the NVMe recommendation and used a microSD card, Frigate's event logging will cause I/O bottlenecks, resulting in database lock errors and missed clips. Migrate to an NVMe SSD via the Pi 5 PCIe lane immediately.
- RTSP Stream Disconnects - If
go2rtcdrops the stream, check the FPC cable for micro-tears. The IMX477 draws significant peak current during initialization; ensure your Pi 5 power supply is the official 27W USB-C PD model to prevent brownouts.
Final Thoughts
Constructing a local raspberry pi security system requires upfront effort in hardware assembly and YAML configuration, but the payoff is immense. You eliminate recurring cloud fees, maintain absolute data sovereignty, and achieve sub-second AI detection speeds. By leveraging the Raspberry Pi 5's PCIe capabilities and the Coral TPU, this DIY NVR rivals enterprise-grade systems costing thousands of dollars. For deeper configuration options, always refer to the official Frigate documentation and the Coral setup guides.