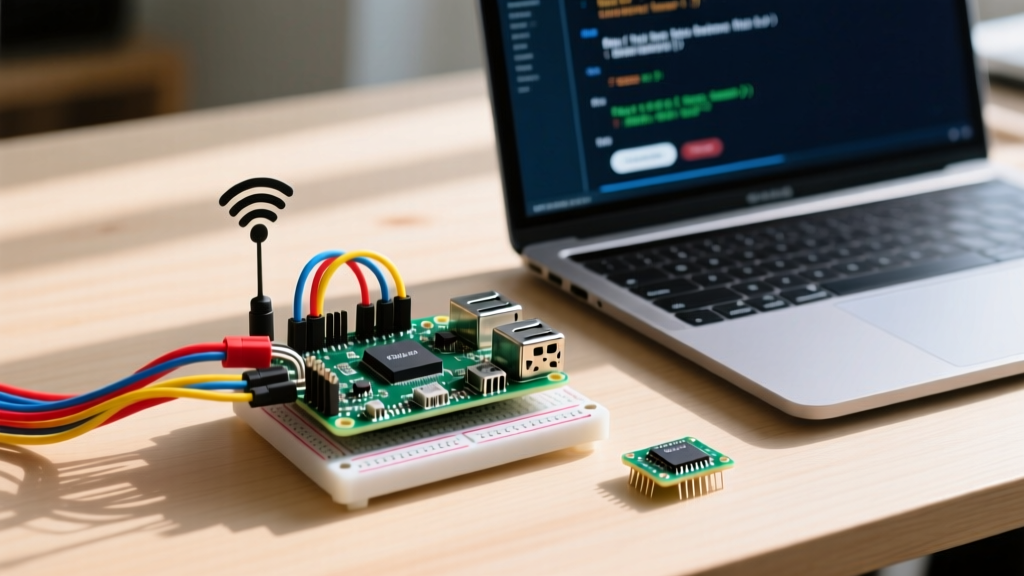
The most reliable way to build a raspberry pi webcam viewer for local network streaming is to bypass the legacy raspistill stack entirely and use the Video4Linux2 (V4L2) interface paired with OpenCV and Flask. This approach targets standard UVC-compliant USB webcams, giving you hardware-agnostic flexibility and sub-200ms latency on a local LAN.
This guide targets the Raspberry Pi 5 (4GB variant) running Raspberry Pi OS Bookworm (64-bit). We will build a web-based viewer that streams MJPEG frames to any browser, while integrating a physical GPIO shutter button and status LED for embedded control.
Hardware Spec Sheet & Pin Mapping
Before writing code, you need to verify your hardware. USB webcams draw significant current during initialization, and high-framerate streams saturate USB 2.0 bandwidth. Use the exact variants below to avoid common power and bus bottlenecks.
| Component | Exact Variant / Specification | Notes |
|---|---|---|
| Compute Board | Raspberry Pi 5 (4GB or 8GB) | Pi 4B works, but Pi 5 PCIe/USB bus handles 1080p@30fps MJPEG without dropping frames. |
| Webcam | Logitech C920 Pro (or C270 for 720p) | Must be UVC-compliant. Avoid unbranded clone cams that lack proper V4L2 drivers. |
| Power Supply | Official 27W USB-C PD Supply | Crucial. Third-party phone chargers cause brownouts when the camera motor initializes. |
| Shutter Button | 6x6mm Tactile Switch (Normally Open) | Wired to GPIO 17 with internal pull-up enabled in software. |
| Status LED | 5mm Red LED with 330Ω Resistor | Indicates stream is live. Wired to GPIO 27. |
GPIO Pin Mapping Table
While the camera data flows over USB, we use the Pi's GPIO header for physical embedded control. Wire the tactile switch between GPIO 17 and GND. Wire the LED anode (long leg) to GPIO 27 via the 330Ω resistor, and the cathode to GND.
| Function | Pi 5 Physical Pin | BCM GPIO Number | Wire Color (Standard) |
|---|---|---|---|
| Shutter Button Signal | 11 | GPIO 17 | Yellow |
| Button Ground | 9 | GND | Black |
| Status LED Signal | 13 | GPIO 27 | Green |
| LED Ground | 14 | GND | Black |
Step-by-Step Assembly & OS Configuration
- Flash the OS: Use Raspberry Pi Imager to flash Raspberry Pi OS (64-bit) Bookworm. Set your hostname to
picamand enable SSH in the advanced settings. - Update Packages: SSH into the Pi and run
sudo apt update && sudo apt upgrade -y. - Install V4L2 Utilities: Run
sudo apt install v4l-utils. This gives you thev4l2-ctlcommand-line tool required for debugging camera properties. - Install Python Dependencies: We need OpenCV for frame processing, Flask for the web server, and gpiozero for hardware control. Run:
sudo apt install python3-opencv python3-flask python3-gpiozero - Verify Camera Enumeration: Plug the Logitech C920 into one of the blue USB 3.0 ports. Run
v4l2-ctl --list-devices. You should seeUVC Camera (046d:082d)mapped to/dev/video0.
The Python Flask Viewer Code
This script initializes the camera, spawns a background thread to continuously read frames (preventing Flask request blocking), and serves an MJPEG stream. It also integrates the GPIO hardware shutter to snap a local JPEG when pressed.
import cv2
import threading
import time
import os
from flask import Flask, Response
from gpiozero import Button, LED
from signal import pause
import sys

# --- Pin Definitions (BCM Numbering) ---
SHUTTER_BTN_PIN = 17
STATUS_LED_PIN = 27

# --- Hardware Initialization ---
shutter_btn = Button(SHUTTER_BTN_PIN, pull_up=True, bounce_time=0.05)
status_led = LED(STATUS_LED_PIN)

# --- Global Variables ---
frame_lock = threading.Lock()
latest_frame = None
camera_active = True
output_dir = "/home/pi/captures"
os.makedirs(output_dir, exist_ok=True)

app = Flask(__name__)

def init_camera():
    """Initialize OpenCV VideoCapture with V4L2 backend."""
    # Force V4L2 backend, index 0 for /dev/video0
    cap = cv2.VideoCapture(0, cv2.CAP_V4L2)

    if not cap.isOpened():
        print("[FATAL] Cannot open camera. Check USB connection and V4L2 drivers.")
        sys.exit(1)

    # Set resolution to 1280x720 to balance quality and USB bandwidth
    cap.set(cv2.CAP_PROP_FRAME_WIDTH, 1280)
    cap.set(cv2.CAP_PROP_FRAME_HEIGHT, 720)
    cap.set(cv2.CAP_PROP_FPS, 30)

    # Enable MJPEG compression to reduce USB bus load
    cap.set(cv2.CAP_PROP_FOURCC, cv2.VideoWriter_fourcc(*'MJPG'))
    return cap

def capture_loop():
    """Background thread to continuously grab frames."""
    global latest_frame, camera_active
    cap = init_camera()
    status_led.on()

    try:
        while camera_active:
            ret, frame = cap.read()
            if not ret or frame is None:
                print("[WARN] Frame drop detected, retrying...")
                time.sleep(0.01)
                continue

            # Encode frame to JPEG for web streaming
            ret, buffer = cv2.imencode('.jpg', frame, [cv2.IMWRITE_JPEG_QUALITY, 80])
            if ret:
                with frame_lock:
                    latest_frame = buffer.tobytes()

    except Exception as e:
        print(f"[ERROR] Capture loop crashed: {e}")
    finally:
        cap.release()
        status_led.off()

def take_snapshot():
    """Hardware shutter button callback."""
    with frame_lock:
        if latest_frame is None:
            return
        timestamp = time.strftime("%Y%m%d-%H%M%S")
        filepath = os.path.join(output_dir, f"snap_{timestamp}.jpg")
        with open(filepath, 'wb') as f:
            f.write(latest_frame)
        print(f"[SHUTTER] Saved: {filepath}")

def generate_mjpeg():
    """Generator function for Flask streaming response."""
    while camera_active:
        with frame_lock:
            if latest_frame is None:
                time.sleep(0.05)
                continue
            frame_data = latest_frame

        # Yield frame in multipart MJPEG format
        yield (b'--frame\r\n'
               b'Content-Type: image/jpeg\r\n\r\n' + frame_data + b'\r\n')
        time.sleep(0.033) # ~30 FPS target

@app.route('/video_feed')
def video_feed():
    return Response(generate_mjpeg(),
                    mimetype='multipart/x-mixed-replace; boundary=frame')

@app.route('/')
def index():
    return '<h2>Raspberry Pi Webcam Viewer</h2><img src="/video_feed" width="100%">'

if __name__ == '__main__':
    # Bind hardware button to snapshot function
    shutter_btn.when_pressed = take_snapshot

    # Start background capture thread
    t = threading.Thread(target=capture_loop, daemon=True)
    t.start()

    print("[INFO] Starting Flask server on port 5000...")
    try:
        app.run(host='0.0.0.0', port=5000, threaded=True)
    except KeyboardInterrupt:
        camera_active = False
        print("[INFO] Shutting down gracefully.")
        sys.exit(0)
Save this as webcam_viewer.py and run it with python3 webcam_viewer.py. Open a browser on your LAN and navigate to http://picam.local:5000.
Debugging: V4L2 Errors & USB Bandwidth
USB webcams on Linux are notorious for throwing cryptic V4L2 (Video4Linux2) errors. When your raspberry pi webcam viewer fails, these are the exact error strings you will encounter and how to fix them.
- Physical USB Port Assignment: Ensure the camera is in a blue USB 3.0 port. USB 2.0 ports lack the bandwidth for uncompressed 1080p and will throttle or crash the stream.
- V4L2 Device Enumeration: Run
v4l2-ctl --list-devices. If your camera isn't listed, the kernel hasn't loaded theuvcvideomodule. Runsudo modprobe uvcvideo. - Power Supply Brownout: Run
dmesg | grep -i voltage. If you see "Under-voltage detected", the camera's initialization spike is collapsing the Pi's 5V rail. Upgrade to the official 27W PD supply.
Error 1: "No space left on device"
Exact Error String:
[ WARN:0@... ] VIDEOIO(V4L2:/dev/video0): can't grab frame: No space left on device
- Cause: This is not a storage error. It is a USB bus bandwidth error. The camera is requesting more isochronous USB bandwidth than the host controller can allocate, usually because it's trying to stream uncompressed YUYV at 1080p.
- Fix: Force MJPEG compression in OpenCV (as done in the code above with
cv2.CAP_PROP_FOURCC), or lower the resolution to 1280x720. If using a USB hub, remove the hub and plug directly into the Pi.
Error 2: "_src.empty() in function 'cvtColor'"
Exact Error String:
cv2.error: OpenCV(4.8.1) /io/opencv/modules/imgproc/src/color.cpp:182: error: (-215:Assertion failed) !_src.empty() in function 'cvtColor'
- Cause:
cap.read()returnedFalse, Nonebecause the camera dropped a frame or disconnected, and your code attempted to process aNoneTypeframe. - Fix: Always check
if not ret or frame is None: continueimmediately after reading the frame, exactly as implemented in ourcapture_loopfunction.
Extending and Simplifying the Build
How to Simplify: If you don't need network access and just want a local kiosk display, drop Flask entirely. Replace the web server code with cv2.imshow('Viewer', frame) inside the capture loop, and run the script on the Pi's desktop environment. This cuts CPU usage by roughly 40% since you skip JPEG encoding for the web stream.
How to Extend: To add motion detection, compare the absolute difference between consecutive frames using cv2.absdiff(). If the mean pixel difference exceeds a threshold (e.g., 5.0), trigger the take_snapshot() function automatically. For remote IoT integration, publish the snapshot path to an MQTT broker using the paho-mqtt library so a home automation server like Home Assistant can display the alert.
Raspberry Pi Webcam Viewer FAQ
Can I use a Raspberry Pi webcam viewer with a CSI ribbon camera instead of USB?
Yes, but the software stack changes. USB cameras use the V4L2 interface (/dev/video0), while modern CSI cameras (like the Camera Module 3) on Bookworm use the libcamera framework. To use a CSI camera with OpenCV, you must use a GStreamer pipeline string in the cv2.VideoCapture() initialization instead of a simple integer index. For example: cv2.VideoCapture("libcamerasrc ! video/x-raw, format=BGR ! appsink", cv2.CAP_GSTREAMER).
Why does my raspberry pi webcam viewer lag over Wi-Fi?
MJPEG streams consume significant bandwidth. A 720p@30fps MJPEG stream can push 15-20 Mbps of continuous traffic, which easily saturates the 2.4GHz Wi-Fi band on a Pi, causing buffer bloat and latency. To fix this, connect the Pi via Ethernet, force it to a 5GHz Wi-Fi network, or lower the JPEG quality parameter in cv2.imencode from 80 to 50 to reduce the payload size per frame.
How do I run the raspberry pi webcam viewer on boot without a monitor?
Do not use /etc/rc.local; it is deprecated in Bookworm. Instead, create a systemd service. Create a file at /etc/systemd/system/webcamviewer.service, define the ExecStart=/usr/bin/python3 /home/pi/webcam_viewer.py directive, set User=pi, and enable it with sudo systemctl enable webcamviewer.service. This ensures the script restarts automatically if the camera momentarily loses USB power.