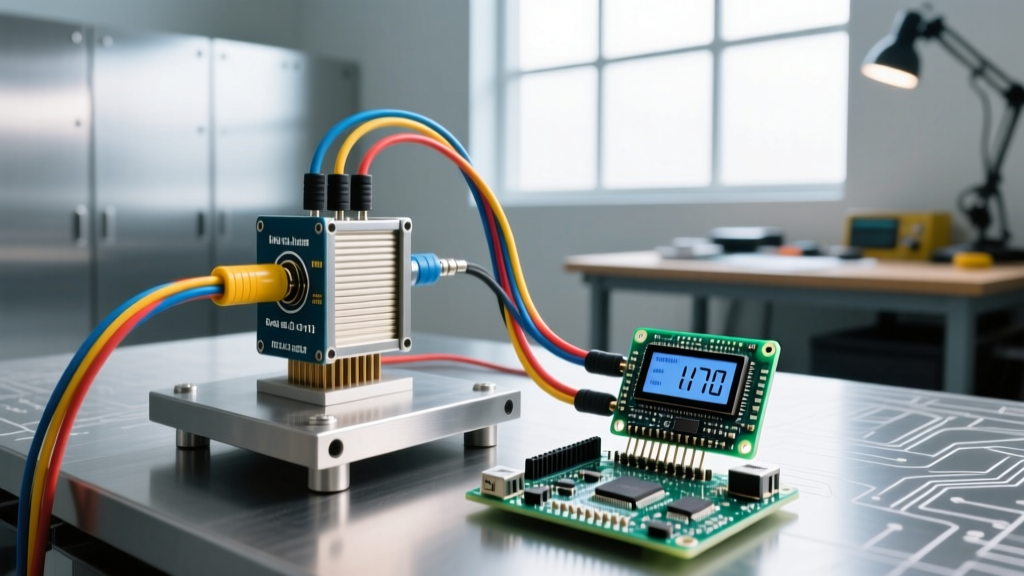
A MEMS (Micro-Electromechanical Systems) sensor translates physical motion into electrical signals using microscopic silicon structures. For microcontroller builders, the output you interact with is almost exclusively a digital I2C or SPI stream of 16-bit integers representing g-force, degrees-per-second, or micro-Teslas. You are not reading an analog voltage pin; you are querying internal memory registers.
The Core Principle: How a MEMS Sensor Actually Works
MEMS accelerometers rely on a suspended silicon proof mass attached to microscopic flexible springs, positioned precisely between fixed capacitor plates. When the device experiences physical acceleration, the proof mass shifts against the spring tension, changing the microscopic gap between the plates and altering the capacitance by mere femtofarads.
An onboard ASIC continuously measures this capacitance change, converting it into an analog voltage, which is immediately digitized by an internal Sigma-Delta ADC. This means while the physical sensing mechanism is inherently analog, the sensor module itself handles the signal conditioning and ADC conversion, handing your microcontroller a clean, noise-immune digital register value via I2C or SPI.
From Silicon to Serial: Output Math and Scaling
The most common point of confusion for beginners is conflating the analog physics of the proof mass with the digital output of the breakout board. When you query a sensor like the InvenSense MPU-6050 or ST LIS3DH, you receive a 16-bit signed integer (ranging from -32,768 to +32,767). To make this useful, you must apply scaling math based on your configured Full Scale Range (FSR).
Raw-to-Unit Math (Example: ±2g Range)
If you configure your accelerometer for a ±2g range, the datasheet specifies a sensitivity of 16,384 LSB/g (Least Significant Bits per g). Here is the exact math to convert the raw I2C register read into standard physical units:
- Combine Registers: Read the High and Low 8-bit I2C registers and combine them into a single 16-bit signed integer (
int16_t raw_x). - Scale to g-force: Divide the raw integer by the sensitivity factor.
float g_force = (float)raw_x / 16384.0; - Convert to m/s²: Multiply by standard gravity (9.80665 m/s²).
float ms2 = g_force * 9.80665;
Calibration Reality: Raw MEMS data is never perfect out of the box. You will typically see a Z-axis offset of +0.95g to +1.05g when resting flat, rather than exactly 1.0g. For precision work, you must perform a 'six-point tumble' calibration—placing the sensor on each of its six orthogonal faces, recording the raw extremes, and calculating a software offset and scale factor to apply to your math above.
Wiring and Power Delivery for ESP32/Arduino
Because the output is digital, your wiring focuses on bus integrity rather than analog signal shielding. Below is the standard I2C wiring spec-sheet-table for connecting a 3.3V MEMS breakout to an ESP32.
| Breakout Pin | ESP32 Pin | Function | Notes & Constraints |
|---|---|---|---|
| VIN / VCC | 3V3 | Power Supply | Supply range: 3.3V to 5.0V (if breakout has onboard LDO). Pure 3.3V silicon requires strict 3.3V. |
| GND | GND | Ground | Must share common ground with the MCU. |
| SCL | GPIO 22 | I2C Clock | Requires 4.7kΩ pull-up to 3.3V. Max bus capacitance 400pF. |
| SDA | GPIO 21 | I2C Data | Requires 4.7kΩ pull-up to 3.3V. Keep traces under 30cm. |
| INT | GPIO 4 | Interrupt | Active-low. Use for wake-on-motion or data-ready triggers. |
Crucial Power Note: Never feed 5V into the VCC pin of a raw MEMS chip (like a bare LIS3DH) without an LDO. The silicon logic operates at 3.3V or lower; 5V will instantly destroy the internal I2C transceivers.
Real-World Interference and Calibration
MEMS sensors are exquisitely sensitive to their environment, and bench-top tests rarely match field performance. Understanding interference sources is mandatory for reliable embedded design.
- High-Frequency PWM EMI: If you are driving brushless motors or high-power LEDs near the sensor, the PWM switching noise can couple into the sensor's analog front-end before the internal ADC samples it. Fix: Physically separate the sensor from motor drivers and use a dedicated 3.3V LDO for the IMU, rather than sharing the MCU's noisy internal regulator.
- I2C Bus Capacitance: Long wires act as capacitors. If your I2C wires exceed 30cm, the signal edges round off, causing the ESP32 to miss clock pulses and throw I2C timeout errors. Fix: Drop the I2C clock speed from 400kHz to 100kHz, or use an I2C bus extender (like the PCA9615).
- Mechanical Resonance: Mounting a MEMS board with soft double-sided foam tape will dampen high-frequency vibrations, but it creates a low-frequency pendulum effect that ruins tilt measurements. Fix: For static tilt or drone orientation, rigidly mount the PCB using metal standoffs directly to the chassis.
For authoritative deep-dives into MEMS noise profiles and mechanical coupling, refer to the STMicroelectronics MEMS design guides and the Espressif ESP32 I2C peripheral documentation for bus timing constraints.
Decision Tree: Selecting Your MEMS IMU
Do not just buy the first sensor you see on Amazon. Your application dictates the required silicon. Use this decision-tree-table to select the correct architecture.
| If Your Project Needs... | Then Choose This Architecture | Example Part Number |
|---|---|---|
| Ultra-low power wake-on-motion (battery wearables) | 3-Axis Accelerometer only (no gyro) | ST LIS3DH |
| Raw, high-speed vibration analysis (industrial CNC) | High-bandwidth Analog or SPI Digital Accel | Analog Devices ADXL345 |
| Basic drone stabilization (budget constrained) | 6-DOF Raw Accel + Gyro (requires MCU Kalman filtering) | InvenSense MPU-6050 |
| Absolute 3D orientation / Robotics (wants plug-and-play) | 9-DOF with Onboard Sensor Fusion Coprocessor | Bosch BNO055 |
By understanding the silicon physics, respecting the I2C bus constraints, and applying the correct scaling math, you can extract highly accurate physical data from MEMS sensors. For further reading on sensor fusion algorithms, consult the Bosch Sensortec BNO055 datasheet.