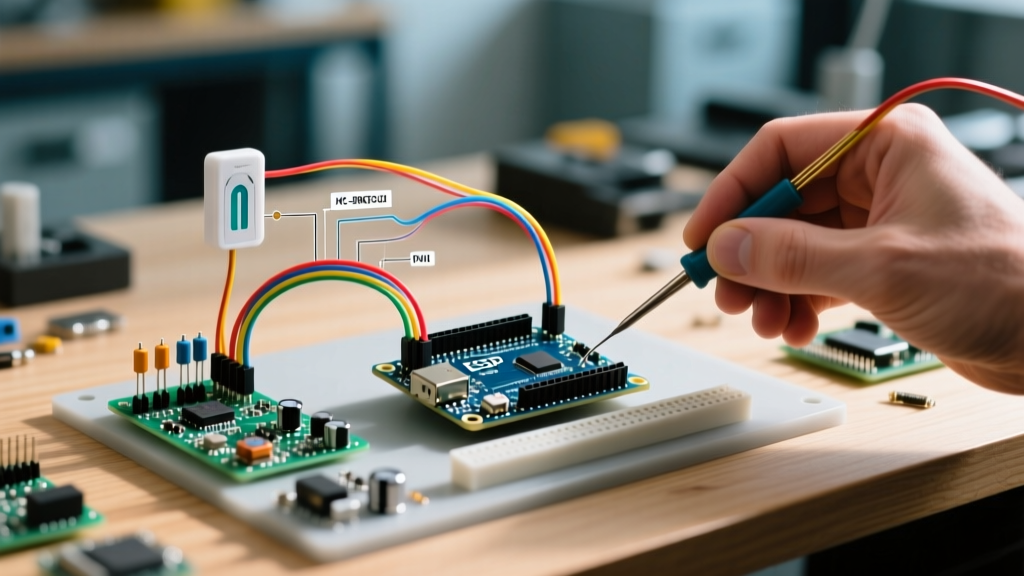
To interface an analog pH sensor with an Arduino, use the DFRobot SEN0161 Analog pH Sensor Kit. Connect the sensor board's PO (signal) pin to A0, VCC to 5V, and GND to GND. The glass probe outputs a high-impedance millivolt signal that the onboard op-amp scales to a 0-5V range, which the Arduino's 10-bit ADC reads and converts to a pH value using a linear regression formula based on the Nernst equation. This guide covers the exact wiring, temperature-compensated calibration math, and the specific debugging steps required when analog noise causes reading drift.
Project Overview & Parts List
Required Hardware
- Microcontroller: Arduino Uno R3 (ATmega328P) or Arduino Nano v3. Note: This guide targets the 10-bit ADC (0-1023) of the ATmega328P. If using an Arduino R4 Minima or ESP32, you must adjust the ADC resolution math in the code.
- Sensor Kit: DFRobot Analog pH Sensor / Meter Kit (SKU: SEN0161). Includes the E-201-C BNC probe and the V1.1 signal conditioning board.
- Calibration Buffers: pH 4.00 and pH 7.00 standard buffer powders (mixed with 250mL deionized water).
- Wiring: 3x male-to-female jumper wires, breadboard, and a 10kΩ trimpot (if manual offset tuning is required on older V1.0 boards).
Hardware Wiring & Pin Mapping
The DFRobot V1.1 signal board handles the heavy lifting of impedance matching. The glass bulb has an impedance of roughly 250 MΩ; without the board's op-amp, the Arduino's ADC would pull the signal to ground. Keep the analog signal wire away from digital PWM lines or relay coils to prevent capacitive coupling noise.
| DFRobot V1.1 Board Pin | Arduino Uno R3 Pin | Wire Color (Typical) | Function / Notes |
|---|---|---|---|
| VCC | 5V | Red | Requires clean 5V. Do not use 3.3V. |
| GND | GND | Black | Must share common ground with Arduino. |
| PO (Analog Output) | A0 | Blue | Scaled 0-5V signal. Keep wire under 6 inches. |
| TO (Temp Output) | Not Connected | - | Unused on standard kit. Ignore for this build. |
Complete Arduino Code with Error Handling
The following code is written specifically for the Arduino Uno R3 (ATmega328P) utilizing its 10-bit ADC (values 0-1023). It samples the analog pin 20 times to average out high-frequency noise, converts the raw ADC value to voltage, and applies the Nernst-derived slope for the DFRobot amplifier. It also includes bounds-checking to catch disconnected probes.
// Target Board: Arduino Uno R3 (ATmega328P, 10-bit ADC)
// Sensor: DFRobot SEN0161 Analog pH Sensor V1.1

const int PH_SENSOR_PIN = A0;
const int NUM_SAMPLES = 20;
const float ADC_RESOLUTION = 1023.0;
const float VREF = 5.00; // Arduino 5V rail reference

// Calibration constants (Derived from Nernst equation at 25C)
// pH 7.0 typically outputs ~2.50V. Slope is ~0.18V per pH unit.
const float NEUTRAL_VOLTAGE = 2.50;
const float NEUTRAL_PH = 7.00;
const float SLOPE = 0.18;

void setup() {
  Serial.begin(9600);
  analogReference(DEFAULT); // Uses 5V VCC as reference
  Serial.println("pH Sensor Initialization Complete.");
}

void loop() {
  float totalADC = 0;
  float voltage;
  float phValue;

  // 1. Oversample to smooth analog noise
  for (int i = 0; i < NUM_SAMPLES; i++) {
    totalADC += analogRead(PH_SENSOR_PIN);
    delay(10); // Allow ADC S/H capacitor to settle
  }

  float averageADC = totalADC / NUM_SAMPLES;

  // 2. Convert ADC to Voltage
  voltage = (averageADC / ADC_RESOLUTION) * VREF;

  // 3. Error Handling: Check for floating pin or short circuit
  if (averageADC <= 10 || averageADC >= 1015) {
    Serial.println("ERROR: Probe disconnected or shorted (pH: -1.00)");
    delay(2000);
    return;
  }

  // 4. Calculate pH
  // Formula: pH = Neutral_pH - ((Voltage - Neutral_Voltage) / Slope)
  phValue = NEUTRAL_PH - ((voltage - NEUTRAL_VOLTAGE) / SLOPE);

  // 5. Sanity check for math domain errors
  if (isnan(phValue)) {
    Serial.println("ERROR: Math domain failure (pH: nan)");
  } else {
    Serial.print("Voltage: ");
    Serial.print(voltage, 3);
    Serial.print(" V | pH: ");
    Serial.println(phValue, 2);
  }

  delay(1000);
}
Debugging Common Failures (The First Three Checks)
Analog chemistry sensors are notoriously finicky. If your serial monitor outputs garbage data, run through these first three checks before rewriting your code.
- Check the BNC Connection and Hydration: The most common cause of a locked reading is a dry glass bulb. The probe must be stored in 3M KCl (Potassium Chloride) solution, never in deionized water. If the BNC connector is loose, the high-impedance input will act as an antenna for 60Hz mains hum.
- Verify the 5V Rail Stability: Use a multimeter to measure the voltage between the Arduino's 5V pin and GND. If it reads 4.6V instead of 5.0V (common when powered via a weak USB port), your VREF math will be wrong, skewing the pH calculation by up to 0.8 units.
- Inspect the Signal Board Offset Potentiometer: The DFRobot V1.1 board has a small blue trimpot. Submerge the probe in pH 7.00 buffer. While monitoring the voltage at the PO pin with a multimeter, use a ceramic screwdriver to adjust the trimpot until the multimeter reads exactly 2.50V.
Ranked Causes for Exact Error Strings
When the serial monitor throws specific errors, here is the diagnostic decision path:
- Error String:
pH: nan
Cause 1: Floating point math error (divide by zero). Check if your SLOPE constant was accidentally set to 0.0.
Cause 2: Uninitialized variables. Ensure your averaging array isn't overflowing. - Error String:
ERROR: Probe disconnected (pH: -1.00)
Cause 1: The BNC probe is unplugged from the signal board, leaving the analog pin floating. The ADC will rail to 1023 (5V) or 0 (0V).
Cause 2: The glass bulb is cracked, breaking the internal Ag/AgCl reference circuit. - Symptom: Readings stuck exactly at
pH: 7.00regardless of solution
Cause 1: You are reading a digital pin instead of an analog pin (e.g., using pin 0 instead of A0).
Cause 2: The probe is still submerged in the pH 7.0 calibration buffer from your last test.
Extending and Simplifying the Build
Depending on your application, you may need to strip this project down to its bare essentials or scale it up for environmental monitoring.
How to Simplify
If you are building a single-purpose alarm (e.g., alerting when a hydroponic reservoir drops below pH 5.5), remove the Serial printing and the 20-sample averaging loop. Read the analog pin once, check if the voltage exceeds the threshold (approx 2.77V for pH 5.5), and trigger a digital HIGH pin to a buzzer. This reduces loop execution time from ~200ms to under 1ms, freeing the MCU for other tasks.
How to Extend
For rigorous scientific or agricultural use, pH is meaningless without temperature compensation. The Nernst slope changes from 54.2 mV/pH at 0°C to 74.0 mV/pH at 100°C. To extend this build:
- Add a DS18B20 waterproof temperature sensor to a digital pin using the OneWire library.
- Read the temperature in Celsius.
- Replace the hardcoded
SLOPE = 0.18with a dynamic calculation:float dynamicSlope = (0.000198 * (temperatureC + 273.15));adjusted for the DFRobot board's specific amplification factor. - Log the timestamped data to an SD card module via SPI, or transmit it via an ESP32 using MQTT to a home automation dashboard.
Frequently Asked Questions
How do I stop my Arduino pH sensor readings from drifting?
Analog drift in pH sensors is usually caused by electromagnetic interference (EMI) or ground loops. If your readings slowly creep up or down over 10 minutes, first check for nearby digital switching components (like I2C OLED screens or PWM motor drivers). Move the pH signal wire away from digital lines. Second, ensure your Arduino and any peripheral pumps share a single, star-grounded power supply. If the drift is strictly linear over hours, the probe's internal electrolyte is likely depleted, and the E-201-C probe needs replacement.
Can I power a pH sensor Arduino setup directly from a battery?
Yes, but you must regulate the voltage. The DFRobot V1.1 board and the Arduino's ADC rely on a stable 5V reference. If you power the Arduino via the VIN pin with a 9V battery, the onboard linear regulator will drop the voltage as the battery depletes, shifting your VREF and ruining your pH calibration. Always use a buck converter to supply a clean, regulated 5V directly to the Arduino's 5V pin (bypassing the onboard regulator) when running on battery power.
Why is my pH sensor reading exactly 7.00 in every solution?
If the serial monitor outputs a rock-solid 7.00 whether the probe is in vinegar or bleach, you are likely reading a digital pin instead of an analog pin in your code. Verify that your pin definition is A0 and not 0. Reading digital pin 0 (the RX pin) will return a static HIGH or LOW, which the math formula interprets as exactly 2.5V (pH 7.00). Additionally, ensure the protective plastic cap filled with KCl solution was removed from the glass bulb before testing.