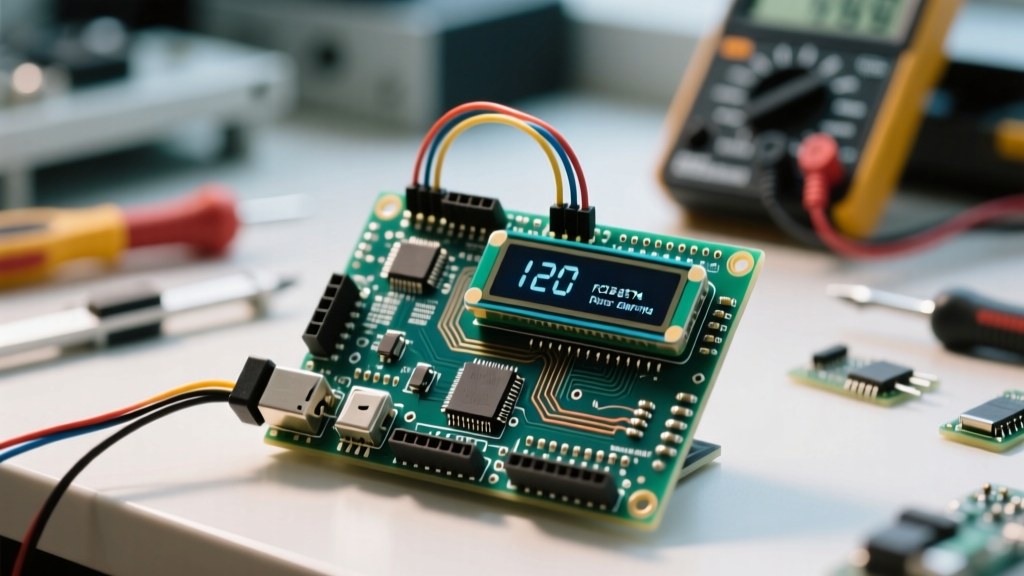

Integrating a character display into a microcontroller project is a rite of passage for embedded systems engineers and DIY enthusiasts. However, the transition from parallel HD44780 displays to LCD I2C modules often introduces a new layer of software and hardware complexity. While the I2C backpack reduces wiring from 12+ pins down to just four (VCC, GND, SDA, SCL), it introduces dependency on I/O expander chips, address mapping, and specialized driver libraries.
This comprehensive library and driver guide bypasses the generic tutorials and dives deep into the silicon-level realities of LCD I2C backpacks. We will dissect the differences between legacy libraries and modern auto-detecting drivers, resolve the infamous 0x27 vs. 0x3F address conflict, and address signal integrity issues that cause garbled text on long wire runs.
The Anatomy of an LCD I2C Backpack (PCF8574 vs. MCP23008)
To select the right driver, you must first understand the hardware translation layer sitting between your microcontroller's I2C bus and the LCD's parallel interface. The HD44780 display controller requires at least 6 digital I/O pins to operate in 4-bit mode (RS, RW, E, D4, D5, D6, D7). Since I2C only uses two wires, backpack manufacturers utilize an I/O expander chip to shift the serial data back into parallel signals.
The Dominant Standard: PCF8574
Over 95% of LCD I2C backpacks on the market utilize the NXP PCF8574 or its Texas Instruments equivalent. This chip provides 8 quasi-bidirectional I/O pins. However, there is no industry-standard pin mapping. Manufacturer A might wire P0 to the RS pin and P4-P7 to the data lines, while Manufacturer B wires P1 to RS and P0-P3 to the data lines. This hardware fragmentation is the primary reason why hardcoded driver libraries fail out of the box.
The Rare Alternative: MCP23008
Occasionally, you will encounter backpacks built on the Microchip MCP23008. While electrically superior with better current sourcing capabilities for the LCD backlight, they require entirely different I2C register commands. If your I2C scanner identifies an address in the 0x20-0x27 range but standard PCF8574 libraries yield a blank screen, you may be dealing with an MCP-based board requiring a specialized driver fork.
The Address Trap: Scanning and Identifying Your Module
The most common point of failure when initializing an LCD I2C display is an incorrect bus address. Many tutorials blindly instruct users to use 0x27. When the display remains blank, users assume the hardware is defective. In reality, they are victims of silicon variant differences.
- PCF8574 (Base Address 0x20): With all three address pins (A0, A1, A2) pulled high, the address resolves to 0x27.
- PCF8574A (Base Address 0x38): Many clone manufacturers use the 'A' variant of the chip to avoid bus collisions. With all pins high, this resolves to 0x3F.
Before writing a single line of display code, you must run an I2C bus scan using the microcontroller's native Wire library. This verifies both the physical connection and the exact hexadecimal address.
#include <Wire.h>

void setup() {
  Wire.begin();
  Serial.begin(115200);
  Serial.println("\nI2C Scanner");
}

void loop() {
  byte error, address;
  int nDevices = 0;
  for(address = 1; address < 127; address++ ) {
    Wire.beginTransmission(address);
    error = Wire.endTransmission();
    if (error == 0) {
      Serial.print("I2C device found at address 0x");
      if (address < 16) Serial.print("0");
      Serial.println(address, HEX);
      nDevices++;
    }
  }
  if (nDevices == 0) Serial.println("No I2C devices found\n");
  delay(5000);
}
Library Showdown: LiquidCrystal_I2C vs. hd44780
The Arduino ecosystem is saturated with LCD libraries, but when dealing with I2C backpacks, only two merit serious consideration for production and reliable prototyping environments.
| Feature | LiquidCrystal_I2C (de Brabander) | hd44780 (Perry / duinoWitchery) |
|---|---|---|
| Architecture | Hardcoded Pin Mapping | Auto-Detecting Heuristics |
| Address Detection | Manual (Requires user input) | Automatic (Scans bus on init) |
| Backpack Compatibility | Low (Fails on non-standard wiring) | High (Supports PCF8574, MCP23008) |
| Diagnostics | None | Built-in I2CexpDiag sketch |
| Execution Speed | Moderate | Highly Optimized (Direct port I/O) |
Why LiquidCrystal_I2C Fails in the Field
The LiquidCrystal_I2C library was designed for a specific, early-generation backpack wiring scheme. If your manufacturer routed the backlight control to P7 instead of P3, or swapped the Enable (E) and Read/Write (RW) pins, the library will compile perfectly but output garbage characters or nothing at all. You are forced to manually reverse-engineer the PCB traces and pass a custom pin-map constructor, which is highly inefficient.
The Gold Standard: hd44780 by Bill Perry
The hd44780 GitHub repository maintained by Bill Perry is the undisputed champion for LCD I2C integration. Instead of guessing the pin mapping, the hd44780_I2Cexp class utilizes a clever diagnostic routine during initialization. It toggles the I2C expander pins and monitors the HD44780's busy flag and data lines to mathematically deduce which expander pin is connected to which LCD pin. It also automatically locates the I2C address and configures the backlight polarity (active HIGH vs. active LOW).
Implementing the hd44780 Driver: Auto-Detection in Action
To utilize the auto-detection capabilities, you must install the hd44780 library via the Arduino Library Manager. Do not download random ZIP files from third-party forums; use the official repository to ensure you have the latest I/O expander definitions.
#include <Wire.h>
#include <hd44780.h>
#include <hd44780ioClass/hd44780_I2Cexp.h>

// Instantiate the display object
// No address or pin mapping required!
hd44780_I2Cexp lcd;

void setup() {
  // Initialize LCD with 16 columns and 2 rows
  // The library auto-detects address and pinout here
  int status = lcd.begin(16, 2);

  if (status) {
    // Non-zero status means initialization failed
    // Use the built-in fatal error handler to blink the onboard LED
    hd44780::fatalError(status);
  }

  lcd.print("ElectricalFlux");
  lcd.setCursor(0, 1);
  lcd.print("I2C Auto-Detect");
}

void loop() {
  // Main application logic
}
Advanced Driver Tuning: Diagnostics and Custom Characters
One of the most powerful, yet underutilized, features of the hd44780 library is the I2CexpDiag sketch. Included in the library's examples folder, this diagnostic tool tests the I2C bus integrity, verifies the expander chip type, maps the pins in real-time, and checks for stuck data lines. If you are designing a custom PCB with an integrated I2C LCD header, running this diagnostic sketch should be your mandatory first power-on test.
Handling the Contrast Trap
A frequent support ticket in embedded forums involves a perfectly wired LCD I2C module with a functioning backlight, but no visible text. Drivers cannot fix hardware physics. The blue trimpot (variable resistor) on the backpack sets the V0 contrast voltage. If the library initializes successfully but the screen appears blank, use a small Phillips screwdriver to adjust the trimpot while the code is running. Software contrast control is only possible if the backpack designer routed a PWM-capable MCU pin to the V0 line, which is exceedingly rare on commercial backpacks.
Real-World Failure Modes: Signal Integrity and I2C Capacitance
When moving from a breadboard prototype to a wired enclosure, LCD I2C displays frequently begin dropping characters or freezing the microcontroller's I2C bus. This is rarely a software bug; it is a violation of I2C electrical specifications.
Expert Insight: The I2C specification mandates a maximum bus capacitance of 400pF. A standard 16x2 LCD module, combined with the PCF8574 input capacitance, long ribbon cables, and the MOSFET driving the LED backlight, can easily push the bus capacitance past 300pF. When combined with the standard 4.7kΩ pull-up resistors found on most Arduino clones, the RC rise time becomes too slow for 400kHz Fast Mode I2C, resulting in NACK errors and corrupted bytes.
Resolving Bus Capacitance Issues
If your Wire library begins throwing I2C timeouts or the LCD displays garbled Japanese characters (a classic sign of a shifted 4-bit data nibble), implement the following hardware and software mitigations:
- Upgrade Pull-Up Resistors: Replace the standard 4.7kΩ I2C pull-ups on your microcontroller board with 2.2kΩ or even 1kΩ resistors. This provides a stronger current source to charge the parasitic capacitance faster, sharpening the rising edge of the SDA/SCL signals.
- Throttle the I2C Clock: If hardware modification is impossible, force the
Wirelibrary into standard mode or lower. InsertWire.setClock(100000);(100kHz) or evenWire.setClock(50000);(50kHz) immediately afterWire.begin()in your setup routine. This gives the RC circuit ample time to settle before the next bit is sampled. - Twisted Pair Routing: When routing SDA and SCL cables longer than 30cm, use twisted pair wire and keep them away from the LCD backlight power lines, which can introduce severe inductive noise into the high-impedance I2C bus.
By understanding the interplay between the PCF8574 expander, the HD44780 controller, and the physical limitations of the I2C bus, you can eliminate the trial-and-error phase of LCD integration. Ditch the hardcoded legacy libraries, embrace auto-detecting drivers like hd44780, and design your hardware with bus capacitance in mind to ensure rock-solid display performance in any environment.