
When makers and engineers first encounter the ecosystem, the most common question they ask is: what can you do with a arduino? The short answer is almost anything that involves reading sensors, controlling actuators, or communicating over digital protocols. As of 2026, the Arduino ecosystem has expanded far beyond the classic 8-bit microcontrollers into 32-bit ARM architectures, Wi-Fi/Bluetooth-enabled IoT nodes, and even industrial DIN-rail PLCs.
This quick reference guide and FAQ breaks down the practical capabilities of Arduino boards, complete with specific hardware recommendations, real-world pricing, and edge-case troubleshooting for your next embedded project.
Quick Reference: Which Arduino Board Fits Your Project?
Before diving into specific applications, you must match the board to the computational and I/O requirements of your project. Here is a 2026 hardware matrix for the most common use cases.
| Board Model | Architecture & Speed | Best Use Case | Approx. Price (USD) |
|---|---|---|---|
| Uno R4 Minima | 32-bit ARM Cortex-M4 (48 MHz) | General prototyping, basic sensor reading, education | $20.00 |
| Nano ESP32 | 32-bit Dual-Core LX6 (240 MHz) | IoT, Home Assistant integration, Wi-Fi/BLE projects | $22.00 |
| Mega 2560 | 8-bit AVR (16 MHz) | High I/O count projects (3D printers, CNC routers) | $45.00 |
| Portenta H7 | 32-bit Dual-Core ARM M7/M4 (480 MHz) | Machine Learning (TinyML), high-speed data acquisition | $110.00 |
| Opta Wi-Fi | STM32H747XI (Dual-Core) | Industrial automation, Modbus TCP, ladder logic | $235.00 |
Frequently Asked Questions: Arduino Capabilities
Q: What basic electronics can I control right out of the box?
Out of the box, any standard Arduino (like the Uno R4) can interface with 5V or 3.3V logic components. You can immediately control:
- Actuators: Drive SG90 micro-servos via PWM (Pulse Width Modulation) pins, or trigger 5V relays to switch 120V/240V AC loads (always use an opto-isolator or flyback diode for inductive loads).
- Environmental Sensors: Read temperature and humidity via DHT22 or BME280 sensors. Pro Tip: Skip the outdated DHT11; the DHT22 offers a wider temperature range (-40°C to 80°C) and better accuracy (±0.5°C).
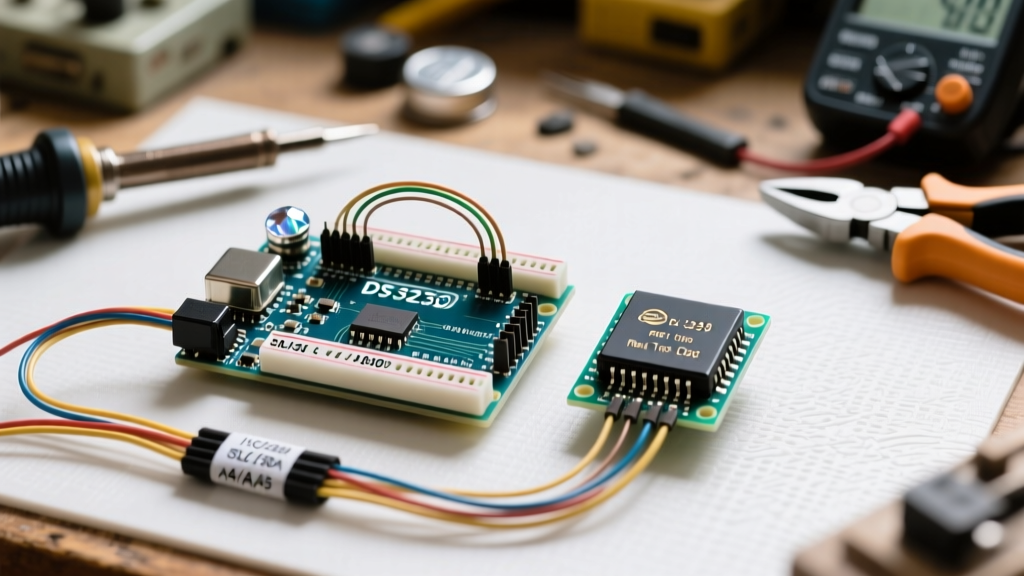
- Displays: Drive 16x2 character LCDs using the I2C backpack (requiring only 4 wires: VCC, GND, SDA, SCL) or render graphics on SSD1306 128x64 OLED displays.
Q: Can I use Arduino for Home Automation and IoT?
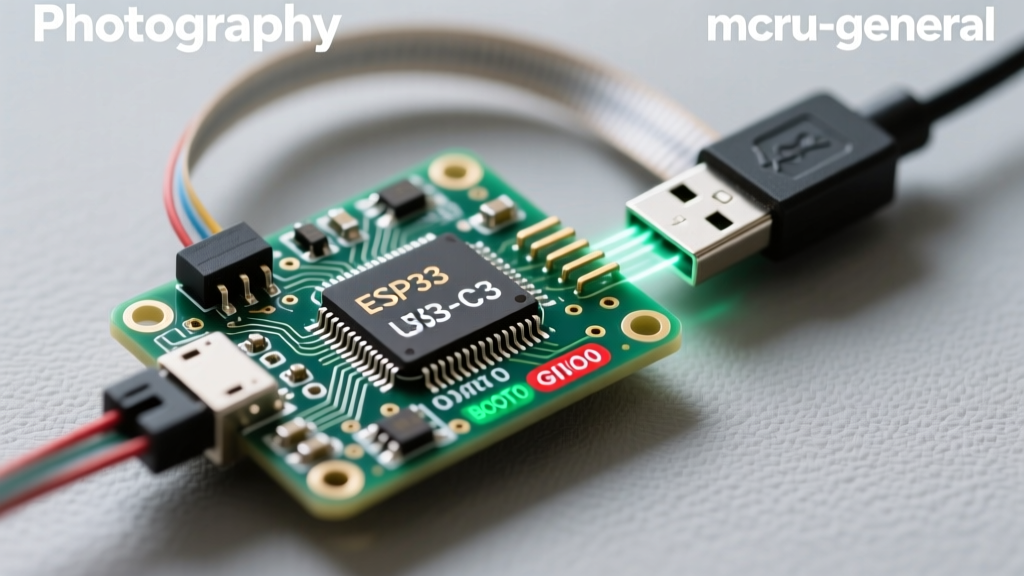
Absolutely. In 2026, the Arduino Nano ESP32 is the gold standard for DIY smart home nodes. Because it features native Wi-Fi and Bluetooth Low Energy (BLE), you can bypass external ESP-01 modules entirely.
You can program the Nano ESP32 to publish sensor data (like PIR motion events or BME680 air quality readings) via MQTT to a local Mosquitto broker running on a Raspberry Pi. From there, the data integrates seamlessly into Home Assistant. For edge cases, ensure you implement deep sleep modes (`esp_sleep_enable_timer_wakeup`) to reduce current draw from ~80mA down to ~10µA for battery-operated nodes.
Q: Is Arduino capable of processing audio or video?
This is where board selection is critical. A standard Uno R4 or Mega 2560 lacks the RAM and clock speed for real-time video processing. Attempting to wire an OV7670 camera to an 8-bit AVR will result in severe frame drops and memory overflow.
However, if you step up to the Portenta H7 or the Arduino Nano 33 BLE Sense, you enter the realm of TinyML (Tiny Machine Learning). These boards can process real-time audio for keyword spotting (e.g., recognizing the sound of breaking glass or a specific wake word) using TensorFlow Lite for Microcontrollers. For basic video, the Nano ESP32 can interface with an OV2640 camera module to stream low-resolution MJPEG over local Wi-Fi at roughly 10-15 FPS.
Q: Can Arduino be used in industrial or commercial products?
Yes, but you should not deploy a bare Uno R4 onto a factory floor. For commercial and industrial environments, Arduino offers the Pro line, specifically the Opta micro-PLC. The Opta mounts on a standard DIN rail, accepts 24V DC logic (protecting against industrial voltage spikes), and supports native Modbus TCP and OPC UA protocols. It can be programmed using standard Arduino C++ or IEC 61131-3 ladder logic, bridging the gap between maker prototyping and enterprise SCADA systems.
Expert Insight: When transitioning a prototype from an Arduino Uno to a custom commercial PCB, you do not need to redesign your code. You can export the compiled AVR-GCC hex file and flash it directly onto a bare ATmega328P-PU chip using an ISP programmer, saving space and reducing BOM costs by over 60%.
Edge Cases & Hardware Troubleshooting Cheat Sheet
Knowing what you can do with an Arduino also means knowing how to fix it when hardware limits are pushed. Keep this troubleshooting matrix on your workbench:
- I2C Bus Hanging: If your OLED or I2C sensor freezes the sketch, you are likely missing pull-up resistors. While some modules have built-in 10kΩ resistors, high-speed or multi-device I2C buses require 4.7kΩ pull-up resistors on both SDA and SCL lines tied to VCC.
- Brownout Resets with Servos: Powering two or more SG90 servos directly from the Arduino 5V pin will cause a voltage drop, resetting the microcontroller. Fix: Use a dedicated 5V buck converter (like the LM2596) for the servo power rail, and tie the grounds together. Add a 100µF electrolytic capacitor across the servo power rails to absorb current spikes.
- USB Enumeration Failures on Clones: If your PC refuses to recognize a budget clone board, it likely uses the CH340 USB-to-serial chip instead of the ATmega16U2. You must manually download and install the CH340 driver (WCH official software) and select the correct COM port in the Arduino IDE.
- ADC Noise on Analog Pins: When reading analog sensors (like a potentiometer or LDR) and getting jittery values, wrap a 0.1µF ceramic capacitor between the analog input pin and GND to filter high-frequency noise, and use the `analogReadResolution()` function on 32-bit boards to maximize bit-depth.
Further Reading and Authoritative Resources
To dive deeper into specific library implementations and advanced architecture, consult these authoritative resources:
- The Arduino Official Documentation provides exhaustive pinout diagrams and API references for all modern 2026 boards, including the R4 and ESP32 families.
- For advanced circuit design and coding optimization, the Adafruit Arduino Tips and Tricks guide offers invaluable insights on memory management and I2C debugging.
- For industrial applications and PLC integration, review the Arduino Opta Release Documentation to understand how micro-PLCs bridge the gap between DIY and enterprise automation.
Ultimately, what you can do with an Arduino is limited only by your understanding of its electrical boundaries and your ability to select the right board for the computational load. Start with a Nano ESP32 for connected projects, scale to a Mega for high-pin-count robotics, and deploy an Opta when it is time to hit the factory floor.