
The Legacy Trap: Why Your MQ-135 is Lying to You
Building an Arduino CO2 detector is a classic rite of passage for makers and environmental monitoring enthusiasts. However, if your build relies on the ubiquitous, $2 MQ-135 gas sensor, you are not actually measuring carbon dioxide. The MQ-135 is a tin dioxide (SnO2) semiconductor sensor designed to detect volatile organic compounds (VOCs), ammonia, and benzene. While its datasheet occasionally lists CO2, the sensor exhibits massive cross-sensitivity to humidity and ambient VOCs (like ethanol from hand sanitizer or off-gassing from 3D prints). In a typical indoor environment, an MQ-135 will output wildly fluctuating analog values that correlate more closely to human presence and cleaning chemicals than actual CO2 concentration.
As indoor air quality (IAQ) standards tighten and the EPA continues to emphasize proper ventilation metrics for health and cognitive performance, relying on MOS (Metal Oxide Semiconductor) sensors for CO2 estimation is no longer acceptable. In 2026, the standard for maker-grade IAQ monitoring has shifted definitively toward Non-Dispersive Infrared (NDIR) and Photoacoustic Sensing (PAS) technologies. This guide provides a comprehensive migration path to upgrade your legacy 5V analog setup to a modern, high-precision 3.3V digital architecture using the Sensirion SCD41.
Sensor Selection Matrix: Choosing Your Upgrade Path
Before tearing apart your breadboard, you must select the right replacement sensor. The market has consolidated around three primary high-accuracy modules suitable for microcontroller integration. Below is a comparison matrix to guide your procurement based on budget, interface, and physical constraints.
| Sensor Model | Technology | Accuracy (Typical) | Interface | Approx. Cost (2026) | Best Use Case |
|---|---|---|---|---|---|
| Sensirion SCD41 | Photoacoustic (PAS) | ±(40 ppm + 5%) | I2C | $28 - $32 | Ultra-compact wearables, dense PCB designs, multi-sensor arrays. |
| Winsen MH-Z19C | NDIR | ±(50 ppm + 5%) | UART / PWM | $18 - $22 | Budget upgrades, 5V tolerant UART setups, large enclosures. |
| Senseair S8 LP | NDIR | ±(40 ppm + 3%) | UART (Modbus) | $70 - $85 | Commercial-grade IAQ, greenhouse monitoring, long-term stability. |
For this migration guide, we are focusing on the Sensirion SCD41. Its photoacoustic sensing principle allows for a footprint roughly 70% smaller than traditional NDIR chambers, making it the premier choice for modern, compact Arduino CO2 detector builds without sacrificing laboratory-grade accuracy.
Hardware Migration: Navigating the 5V to 3.3V Divide
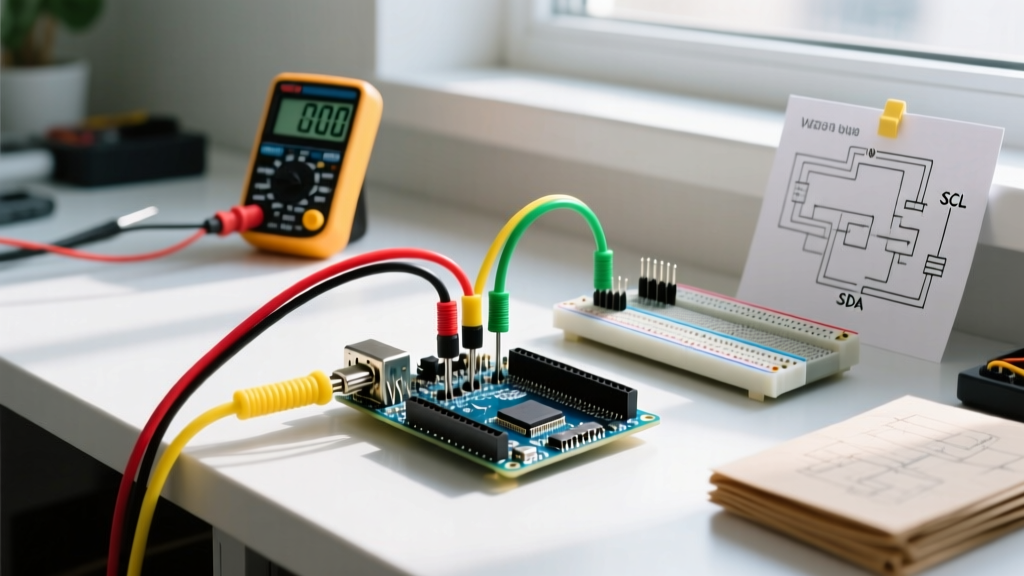
The most common failure mode when upgrading from an MQ-135 to an SCD41 is frying the sensor's I2C bus. The MQ-135 operates on 5V analog logic, which pairs natively with legacy boards like the Arduino Uno R3. The SCD41, however, is strictly a 3.3V device. Exposing its I2C data (SDA) and clock (SCL) lines to 5V logic will permanently damage the internal ASIC.
Option A: The Level Shifter Route (Legacy Boards)
If you are committed to keeping your 5V Arduino Uno or Mega, you must implement a bi-directional logic level shifter. Do not use simple resistor voltage dividers for I2C; the bus capacitance and open-drain nature of I2C require active pull-ups.
- Component: BSS138 MOSFET-based bi-directional level shifter module (Cost: ~$1.50).
- Wiring: Connect the Uno's 5V to the shifter's HV pin, and a dedicated 3.3V regulator (like the AMS1117-3.3) to the LV pin. Note: The Uno's onboard 3.3V pin often lacks the current capacity to drive the sensor and shifter simultaneously.
- Pull-up Resistors: Ensure 4.7kΩ pull-up resistors are present on the 3.3V (LV) side of the I2C bus. The SCD41 does not have internal pull-ups.
Option B: The Microcontroller Swap (Recommended)
The cleaner, more modern approach is to retire the 5V Uno and migrate to a native 3.3V microcontroller. The Arduino Nano ESP32 (approx. $20) is the ideal drop-in replacement. It operates natively at 3.3V, features dual-core processing for handling the SCD41's 5-second measurement intervals without blocking, and includes built-in Wi-Fi/BLE for cloud logging—eliminating the need for bulky external ESP-01 shields.
I2C Bus Conditioning and Physical Layout
Photoacoustic sensors are highly sensitive to electrical noise and stray capacitance. When wiring the SCD41, adhere to these strict layout rules:
- Trace Length: Keep I2C traces under 30cm. If using ribbon cables, ensure SDA and SCL are not routed parallel to high-current switching lines (like PWM heater circuits or relays).
- Decoupling: Place a 100nF (0.1µF) ceramic capacitor as close to the SCD41 VDD and GND pins as physically possible. The photoacoustic speaker inside the sensor draws micro-bursts of current during the acoustic measurement phase; inadequate decoupling will cause I2C bus brownouts and CRC check failures.
- Acoustic Isolation: The SCD41 uses a MEMS microphone to detect the sound generated by CO2 molecules absorbing pulsed infrared light. Do not pot the sensor in epoxy or cover the PTFE membrane with dense dust filters, as this alters the acoustic resonance chamber and destroys calibration.
Firmware Architecture: From AnalogRead to State Machines
Migrating your codebase requires a fundamental shift in architecture. The MQ-135 relied on analogRead(), a blocking function that returns an instantaneous (though noisy) voltage. The SCD41 operates on a periodic measurement cycle. Once you send the I2C command to start periodic measurement (0x21B1), the sensor requires exactly 5 seconds to complete the photoacoustic sampling and DSP processing.
Implementing Non-Blocking Reads
If you use delay(5000) in your main loop, your Arduino CO2 detector will be entirely unresponsive to button presses, display updates, or network timeouts. You must migrate to a millis()-based state machine or utilize the official Sensirion I2C SCD4x Arduino library, which handles the timing overhead.
Here is the structural logic for a non-blocking implementation:
- Setup Phase: Initialize Wire, set clock speed to 100kHz (Standard Mode), and send the
start_periodic_measurementcommand. - Loop Phase: Poll the
get_data_readyflag via I2C. This register read takes microseconds. - Read Phase: Only when the flag returns true, read the 9-byte data payload. Parse the first two bytes for CO2 (multiply by the scaling factor), bytes 3-4 for Temperature, and bytes 6-7 for Relative Humidity.
- CRC Validation: The SCD41 appends an 8-bit CRC to every 2-byte data word. Never skip CRC validation. I2C noise in maker environments is common; accepting unverified data will result in phantom spikes of 40,000+ ppm.
Calibration Protocols: Avoiding the Baseline Drift Trap
The most frequent support request regarding high-end Arduino CO2 detectors involves sensors that read 800 ppm in an empty, well-ventilated room. This is not a hardware defect; it is a calibration failure.
Expert Insight: The SCD41 features Automatic Self-Calibration (ASC). ASC assumes that over a 7-day rolling window, the sensor will be exposed to 'fresh outdoor air' (approx. 420 ppm in 2026) at least once. If you deploy your detector in a continuously occupied, poorly ventilated bedroom, the ASC algorithm will falsely identify the room's baseline (e.g., 900 ppm) as the global minimum, permanently skewing your readings downward.
Forced Recalibration (FRC) Procedure
To guarantee absolute accuracy upon deployment, bypass ASC and perform a one-time Forced Recalibration:
- Take the sensor outdoors, away from exhaust vents, crowds, or urban canyons.
- Power it on and allow it to run periodic measurements for 3 minutes to stabilize the internal DSP.
- Send the
perform_forced_recalibrationI2C command, appending the current outdoor CO2 target value (use 420 ppm as the standard baseline for 2026, though checking local industry baseline references is advised). - Disable ASC in the firmware if the sensor will be permanently mounted in a high-occupancy commercial space.
Edge Cases and Environmental Failure Modes
Even with premium hardware, environmental factors can compromise your Arduino CO2 detector. Be aware of these specific edge cases:
- Condensation: If deployed in a greenhouse or bathroom, high humidity can cause condensation on the SCD41's acoustic membrane. Liquid water alters the acoustic properties of the chamber, causing massive reading errors. Use a sintered metal or hydrophobic PTFE cap if RH regularly exceeds 90%.
- High Altitude: Photoacoustic sensors rely on the density of the gas to generate sound waves. If you are building a detector for a high-altitude location (e.g., Denver, CO at 1,600m), you must write the ambient pressure compensation value to the sensor's volatile memory via I2C, or readings will be skewed by up to 15%.
- Thermal Gradients: The SCD41 outputs highly accurate temperature data, but if your PCB generates heat (e.g., from a nearby Wi-Fi antenna or voltage regulator), the sensor will read the PCB temperature, not the room temperature. Use thermal relief slots in your PCB design around the sensor footprint.
Conclusion: The ROI of Precision
Migrating your Arduino CO2 detector from an MQ-135 to a Sensirion SCD41 requires a shift in both hardware design and firmware architecture. You must respect 3.3V logic levels, manage I2C bus capacitance, and implement non-blocking state machines. However, the return on investment is immense. You transition from a toy that reacts to hand sanitizer to a scientific instrument capable of driving automated HVAC ventilation systems, ensuring cognitive health, and providing verifiable IAQ data. In the modern maker ecosystem, precision is no longer a luxury—it is the baseline.