
The Evolution of the Teensy Arduino Ecosystem
When makers and engineers outgrow the computational limits of standard 8-bit microcontrollers, the migration to 32-bit ARM architectures becomes inevitable. PJRC’s Teensy boards have long served as the premier bridge between raw processing power and the accessibility of the Arduino ecosystem. By leveraging the Teensyduino add-on, developers can harness NXP’s high-performance i.MX RT1062 Cortex-M7 chips using the familiar Arduino IDE. However, migrating from an AVR-based Arduino Uno to a Teensy 4.1 or 4.0 introduces distinct hardware and software compatibility hurdles. This guide details the exact setup procedures, pinout mapping quirks, library limitations, and troubleshooting protocols required to successfully integrate Teensy boards into your Arduino workflow in 2026.
Hardware Compatibility Matrix: Teensy vs. Standard Arduino
Understanding the physical and architectural differences is the first step in ensuring code and circuit compatibility. Below is a comparison of the most popular development boards utilized by advanced makers today.
| Feature | Teensy 4.1 | Teensy 4.0 | Arduino Uno R4 Minima |
|---|---|---|---|
| Microcontroller | NXP i.MX RT1062 (Cortex-M7) | NXP i.MX RT1062 (Cortex-M7) | Renesas RA4M1 (Cortex-M4) |
| Clock Speed | 600 MHz | 600 MHz | 48 MHz |
| Flash Memory | 8 MB (External) | 2 MB (Internal) | 256 KB |
| RAM | 512 KB + 8 MB PSRAM | 512 KB | 32 KB |
| Logic Level | 3.3V (Strict) | 3.3V (Strict) | 5V Tolerant |
| Approx. Price (2026) | $32.95 | $23.50 | $20.00 |
Note: The older Teensy 3.2 (based on the MK20DX256) is now considered legacy hardware. While still supported by Teensyduino, PJRC recommends the 4.x series for all new designs due to component supply chain shifts and vastly superior floating-point performance.
Configuring Arduino IDE 2.x for Teensy Boards
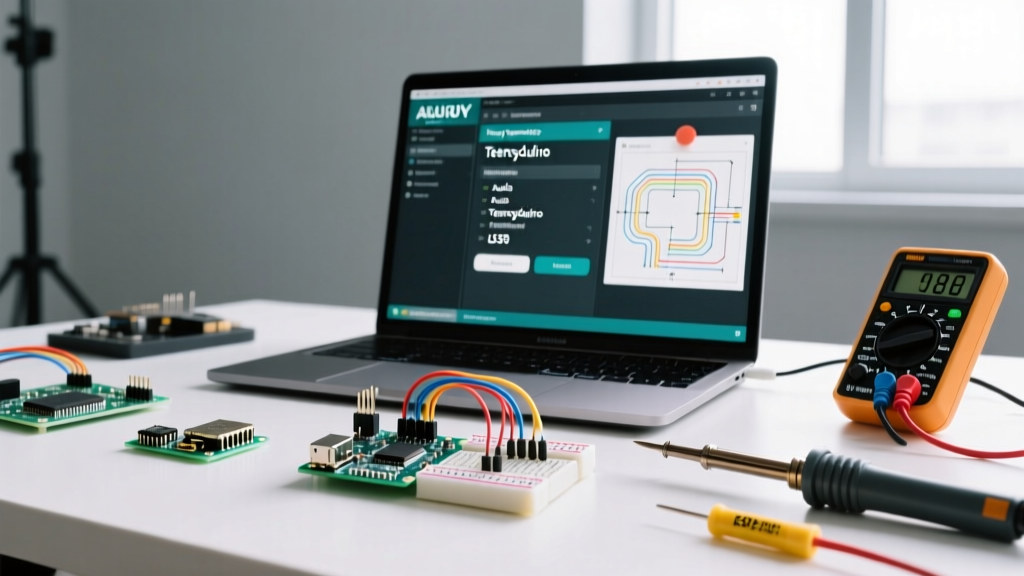
In the past, installing Teensyduino required a separate executable installer that patched the legacy Arduino IDE 1.8.x. Today, with Arduino IDE 2.3.x and later, PJRC provides a seamless Board Manager integration. Follow these exact steps to configure your environment:
- Open Arduino IDE and navigate to File > Preferences (or Arduino IDE > Settings on macOS).
- Locate the Additional Boards Manager URLs field.
- Insert the official PJRC JSON index:
https://www.pjrc.com/teensy/package_teensy_index.json. If you have existing URLs (like ESP32), separate them with a comma. - Open the Boards Manager tab on the left sidebar, search for "Teensy", and install the latest package.
- Connect your board via a high-quality USB data cable (charge-only cables will cause immediate enumeration failures).
- Navigate to Tools > Board > Teensy and select your specific model (e.g., Teensy 4.1).
For deeper documentation on custom board manager URLs, refer to the official Arduino Cores guide.
Critical Pinout and Logic Level Differences
The most catastrophic compatibility error makers face when transitioning to a Teensy Arduino setup is ignoring voltage logic levels. Standard Arduinos operate at 5V logic. Teensy 4.x boards operate strictly at 3.3V logic, and the I/O pins are not 5V tolerant.
⚠️ CRITICAL HARDWARE WARNING: Connecting a standard 5V ultrasonic sensor (like the HC-SR04) or a 5V I2C display directly to a Teensy 4.1 digital I/O pin will permanently destroy the NXP i.MX RT1062 processor. You must use a bidirectional logic level shifter (such as a BSS138 MOSFET-based board or a TXS0108E chip) for any 5V peripheral communication.
Navigating the Teensy 4.1 Pinout
Unlike the Arduino Uno, where analog pins (A0-A5) are physically segregated from digital pins (0-13), the Teensy 4.1 features a dense, multi-function pinout. Almost every pin can serve as a digital I/O, PWM output, or analog input. However, the physical layout does not match the logical numbering sequentially on the breadboard. Always cross-reference your wiring with the official PJRC Pinout Guide before soldering or wiring to a perfboard. Pay special attention to the dedicated hardware SPI, I2C, and CAN bus pins, as using bit-banged alternatives on a 600 MHz chip wastes valuable clock cycles.
Library Compatibility and Code Migration
Because Teensyduino acts as a translation layer over the ARM CMSIS architecture, most high-level Arduino libraries (like Wire, SPI, and SD) work flawlessly. PJRC actively maintains optimized forks of popular libraries. However, compatibility breaks down in specific scenarios:
- Direct Port Manipulation: Code written for AVR chips that directly calls registers like
PORTB,DDRB, orTIMSK1will fail to compile. You must rewrite these sections using standarddigitalWriteFast()functions or ARM CMSIS equivalents. - AVR-Specific Interrupts: The
avr/interrupt.hheader does not exist on Teensy. Use the standardizedattachInterrupt()API, which PJRC has heavily optimized for the Cortex-M7 NVIC (Nested Vectored Interrupt Controller). - Audio and DMA Libraries: While the standard Arduino ecosystem lacks robust DMA (Direct Memory Access) audio handling, PJRC’s proprietary Teensy Audio Library is the industry standard. It uses a GUI tool to generate connection code, a feature entirely unique to the Teensy Arduino ecosystem.
Native USB vs. Hardware UART Mapping
A frequent source of confusion for migrating developers is the serial mapping. On an Arduino Uno, Serial refers to the hardware UART pins (D0 and D1), which are tied to the USB-to-Serial ATmega16U2 chip. On a Teensy, the USB connection is Native. The microcontroller speaks USB directly.
Therefore, in a Teensy Arduino sketch:
Serialmaps to the virtual USB Serial port (what you see in the IDE Serial Monitor).Serial1,Serial2,Serial3, etc., map to the physical hardware UART TX/RX pins on the board.
If you are adapting a GPS or cellular library that hardcodes Serial for hardware communication, you must modify the library source to accept a Stream object and pass Serial1 during initialization.
Troubleshooting Common Upload and Compilation Failures
Even with a perfect setup, the Teensy Loader software can occasionally stall. Here are the most common failure modes and their exact resolutions.
1. The "Board at COMX is not available" Error
This occurs when the Teensy crashes in a tight loop or disables USB interrupts, preventing the Arduino IDE from sending the reboot signal. The Fix: Locate the tiny, recessed pushbutton directly on the Teensy PCB. Press it while the IDE is attempting to upload. This physically forces the board into the halfkay bootloader mode, allowing the Teensy Loader to catch the connection and flash the new firmware.
2. USB Type Conflicts (HID vs. Serial)
Unlike standard Arduinos, Teensy allows you to redefine its USB identity. If you navigate to Tools > USB Type and select "Keyboard" or "MIDI", the board will no longer enumerate as a standard Serial COM port. Your code will compile, but the Serial Monitor will remain blank, and subsequent uploads will fail. The Fix: Always revert to Tools > USB Type > Serial (or "Serial + Keyboard + Mouse + Joystick" if you need hybrid functionality) to maintain IDE communication. For comprehensive software setup details, consult the PJRC Teensyduino download and configuration page.
3. Missing Teensy Loader Window
On Windows environments, background driver conflicts (often caused by Zadig or conflicting 3D printer software) can hide the Teensy Loader GUI. Check your Windows Taskbar for a hidden minimized window, or open Task Manager and terminate any lingering teensy.exe processes before recompiling.
Expert Verdict: When to Migrate
The Teensy Arduino ecosystem is not merely a faster alternative to standard microcontrollers; it is a fundamentally different architecture wrapped in a familiar syntax. If your project requires heavy floating-point math, high-speed ADC sampling, or complex audio DSP routing, the Teensy 4.1 is unmatched in the hobbyist and prosumer space. By respecting the 3.3V logic constraints, utilizing the native USB architecture correctly, and leveraging PJRC’s optimized libraries, you can seamlessly scale your projects from basic prototyping to industrial-grade deployment.