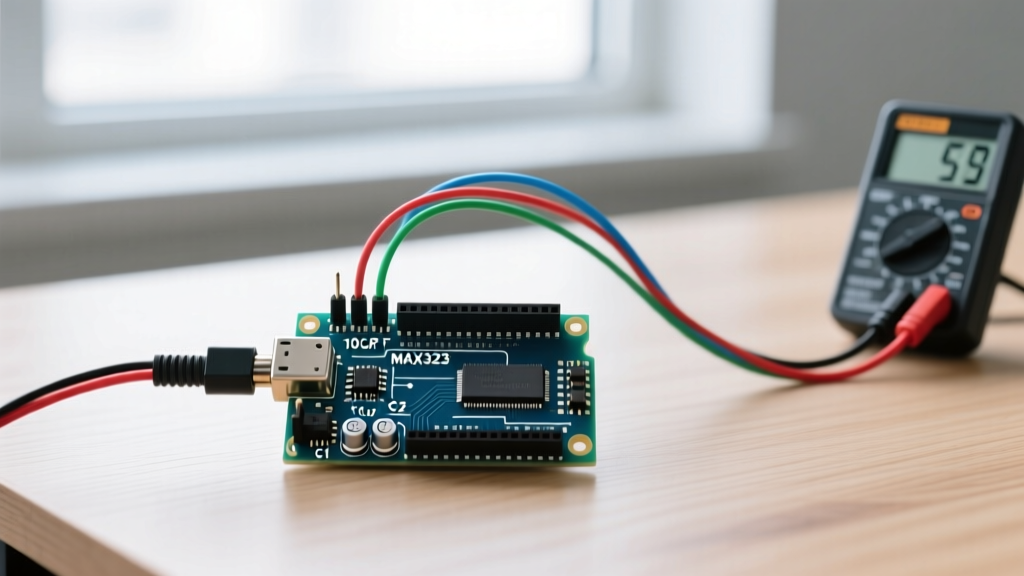

The Voltage Mismatch: Why You Cannot Connect RS-232 Directly
Integrating legacy industrial equipment, older PLCs, or specialized scientific instruments with modern microcontrollers is a common requirement in automation and robotics. This often necessitates using RS232 for Arduino projects. However, a direct physical connection between an Arduino's UART pins and an RS-232 port will instantly destroy the microcontroller's ATmega328P or ESP32 silicon.
The root cause is a fundamental difference in logic levels and polarity. Arduino TTL logic operates at 0V (LOW) and 5V or 3.3V (HIGH). In contrast, the TIA/EIA-232-F standard dictates inverted, high-voltage logic: a logic '1' (Mark) is represented by -3V to -15V, while a logic '0' (Space) is +3V to +15V. Feeding +12V or -12V into an Arduino's 5V-tolerant RX pin will cause catastrophic thermal failure. To bridge this gap, you must configure a dedicated level-shifting transceiver circuit.
Choosing the Right Transceiver: MAX232 vs. MAX3232
Historically, the MAX232 chip was the standard for TTL-to-RS232 conversion. However, for modern maker projects in 2026, the MAX3232 (or its ESD-protected variant, the MAX3232E) is the superior choice. While both chips perform the same logical inversion and voltage boosting via an internal charge pump, their power requirements and external component needs differ significantly.
| Feature | MAX232 (Legacy) | MAX3232 (Recommended) |
|---|---|---|
| Operating Voltage | 5.0V strictly | 3.0V to 5.5V (Supports 3.3V Arduinos) |
| Required Capacitors | 1.0 µF (Tantalum/Electrolytic) | 0.1 µF (Standard Ceramic) |
| Charge Pump Frequency | Lower | Higher (More efficient) |
| Typical Module Cost | $2.00 - $4.00 | $8.00 - $15.00 (Pre-assembled) |
Expert Note: According to the Texas Instruments MAX3232 Datasheet, the 0.1µF ceramic capacitors are mandatory for the internal charge pump to generate the necessary ±8.5V rails from a 3.3V or 5V supply. Using incorrect capacitor values will result in voltage sag under load, causing dropped bytes during transmission.
Hardware Configuration: Wiring the MAX3232 to Arduino Uno
For this configuration guide, we will use a standard pre-assembled MAX3232 breakout board (such as those from DFRobot or SparkFun) connected to an Arduino Uno. These modules typically break out the necessary VCC, GND, TX, and RX pins, alongside a DB9 female connector.
Step-by-Step Pinout Wiring
- VCC: Connect the module's VCC pin to the Arduino's 5V pin. (If using an Arduino Due or ESP32, connect to 3.3V; the MAX3232 will automatically adjust its charge pump output).
- GND: Connect the module's GND to the Arduino's GND. Do not skip this; a shared ground reference is critical for the transceiver's internal comparators.
- TXD (Module) to RX (Arduino): Connect the module's TX pin to Arduino Digital Pin 10 (if using SoftwareSerial).
- RXD (Module) to TX (Arduino): Connect the module's RX pin to Arduino Digital Pin 11.
⚠️ CRITICAL DTE/DCE WARNING: Arduinos act as Data Terminal Equipment (DTE). Most PCs and industrial controllers also act as DTE. If you connect a standard straight-through RS-232 cable between two DTE devices, the TX lines will collide. You must use a Null Modem cable (which crosses Pin 2 and Pin 3 on the DB9 connector) or a DCE-configured adapter to ensure the Arduino's TX reaches the PC's RX.
Software Configuration: Baud Rates and SoftwareSerial
When configuring RS232 for Arduino, managing the serial port in software requires strategic planning. The Arduino Uno's hardware UART (Pins 0 and 1) is shared with the USB-to-Serial chip used for programming and Serial Monitor debugging. If you connect the MAX3232 to Pins 0 and 1, you will encounter upload errors and garbled debug output.
The solution is to use the SoftwareSerial library, which allows you to bit-bang a serial port on any digital pins. However, you must respect the timing limitations of software-based UART.
Code Implementation & Baud Rate Limits
Below is a robust configuration sketch that bridges the RS-232 port to the USB Serial Monitor, allowing you to debug legacy equipment.
#include <SoftwareSerial.h>

// Define SoftwareSerial pins (RX = 10, TX = 11)
SoftwareSerial rs232Port(10, 11);

void setup() {
  // Initialize hardware serial for USB debugging
  Serial.begin(115200);

  // Initialize RS232 port.
  // NOTE: SoftwareSerial is highly unreliable above 38400 baud.
  rs232Port.begin(9600);

  Serial.println("RS232 Bridge Initialized.");
}

void loop() {
  // Forward data from RS232 device to PC Serial Monitor
  if (rs232Port.available()) {
    Serial.write(rs232Port.read());
  }

  // Forward commands from PC Serial Monitor to RS232 device
  if (Serial.available()) {
    rs232Port.write(Serial.read());
  }
}
As documented in SparkFun's Serial Communication Tutorial, asynchronous serial relies on precise timing. Because SoftwareSerial disables interrupts while receiving a byte, it blocks the main loop. If your legacy device requires 115,200 baud, you must use a microcontroller with multiple hardware UARTs, such as the Arduino Mega 2560 (using Serial1, Serial2, or Serial3) or an ESP32.
Real-World Troubleshooting & Edge Cases
Even with correct wiring, RS-232 integrations frequently fail in the field due to environmental and manufacturing variables. Here is how to diagnose the most common issues encountered by engineers and makers.
1. The 'Fake Chip' Capacitor Mismatch
In 2026, the market remains saturated with ultra-cheap, unbranded MAX3232 modules from overseas marketplaces. A known manufacturing defect in these batches is the use of remark, older MAX232 silicon disguised as MAX3232 chips. The Symptom: The circuit works on a benchtop with short cables but fails in the field, or fails to communicate with specific PC USB-to-Serial adapters. The Diagnosis: Use a multimeter to measure the voltage on the transceiver's V+ pin (Pin 2 on the DIP/SOIC chip). A genuine MAX3232 running at 5V will output roughly +8.5V. A mislabeled MAX232 running with 0.1µF capacitors will only generate ~+4.2V, which falls below the ±5V threshold required by the RS-232 standard for reliable noise immunity. The Fix: Desolder the 0.1µF ceramic capacitors (C1 and C2) on the module and replace them with 1.0µF tantalum or electrolytic capacitors, observing correct polarity.
2. Ground Loops and Isolation
When connecting an Arduino to industrial machinery (like a CNC controller or a heavy-duty motor drive), the machinery's ground potential may fluctuate wildly due to high-current switching. This creates a ground loop, pushing destructive current through the MAX3232's ground pin and into your Arduino. The Fix: For industrial environments, abandon standard transceiver modules. Instead, use an optically isolated RS-232 adapter (such as the Analog Devices ADM3251E or isolated modules from Advantech). These use optocouplers and isolated DC-DC converters to ensure there is no direct electrical path between the noisy industrial ground and your sensitive microcontroller logic.
3. Cable Capacitance and Signal Degradation
RS-232 was designed for short runs. The standard specifies a maximum cable capacitance of 2500 pF. At 9600 baud, you can typically push a standard 24 AWG serial cable up to 50 feet (15 meters). However, if you attempt to run 115,200 baud over that same 50-foot cable, the cable's parasitic capacitance will round off the sharp square waves into sine-like curves, causing the receiving UART to misinterpret the start and stop bits. The Fix: Keep high-baud-rate RS-232 runs under 10 feet. If long-distance, high-speed communication is strictly required, transition to an RS-422 or RS-485 differential signaling standard, which is immune to capacitive degradation and ground loops.
Summary Configuration Checklist
- Logic Levels: Never connect raw RS-232 to Arduino TTL pins.
- Transceiver: Use MAX3232 with 0.1µF capacitors (verify V+ is ~8.5V).
- Cabling: Use a Null Modem cable for PC-to-Arduino (DTE-to-DTE) connections.
- Software: Limit
SoftwareSerialto 38,400 baud or lower; use hardware UART for higher speeds. - Isolation: Implement optical isolation when interfacing with heavy industrial machinery.