
The Modern Standard: Programming the Arduino Uno R4
If you are asking, "how do you program an Arduino?", the answer has evolved significantly over the last few years. While the legacy ATmega328P-based Uno R3 was the undisputed king of maker spaces for a decade, the modern standard in 2026 is the Arduino Uno R4 WiFi (retailing around $27.50). Powered by a 32-bit Renesas RA4M1 Arm Cortex-M4 microcontroller clocked at 48 MHz, it offers 256 KB of Flash memory and 32 KB of SRAM—a massive leap from the R3's 2 KB SRAM.
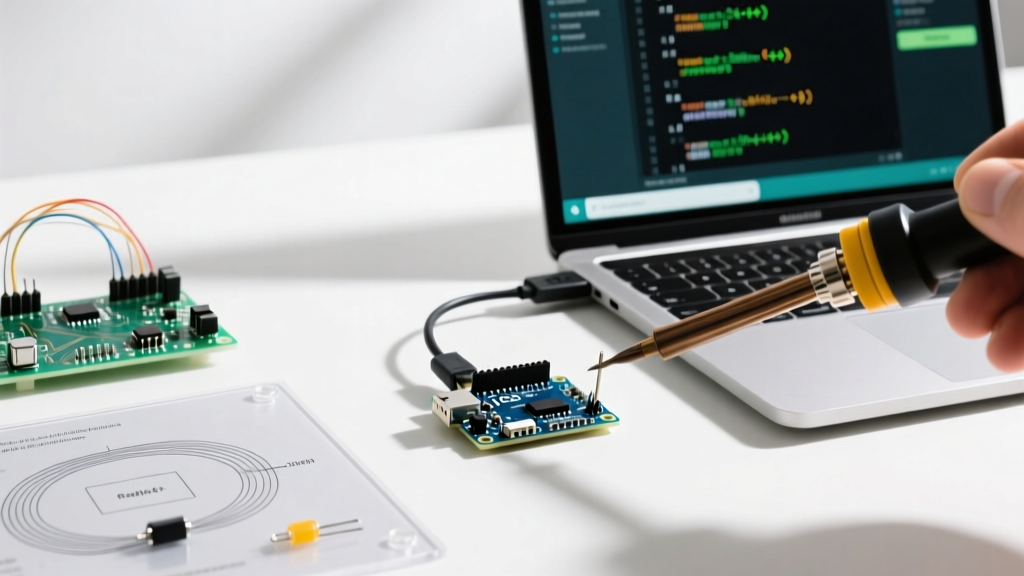
This guide bypasses outdated tutorials and walks you through programming the modern Arduino architecture using the Arduino IDE 2.x, focusing on non-blocking C++ practices, native USB DFU (Device Firmware Upgrade) protocols, and real-world edge cases that trip up beginners.
Phase 1: Environment & Hardware Setup
Before writing a single line of code, your development environment must be correctly configured to communicate with the Renesas ARM chip. The legacy AVR-GCC toolchain will not work here.
1. Install Arduino IDE 2.x
Download the latest stable release of the Arduino IDE 2.x. The 2.x branch includes a modern debugger, auto-completion, and a live serial plotter, which are critical for developing on 32-bit ARM boards.
2. Install the Uno R4 Board Core
- Open the IDE and navigate to File > Preferences (or Arduino IDE > Settings on macOS).
- In the "Additional Boards Manager URLs" field, ensure the official Arduino JSON index is present. (This is default in 2.x, but verify it).
- Open the Board Manager tab on the left sidebar.
- Search for
Arduino UNO R4 Boardsand click Install. This downloads the ARM Cortex-M4 cross-compiler and the specific Renesas hardware abstraction layer (HAL).
3. Hardware Connection & Driver Verification
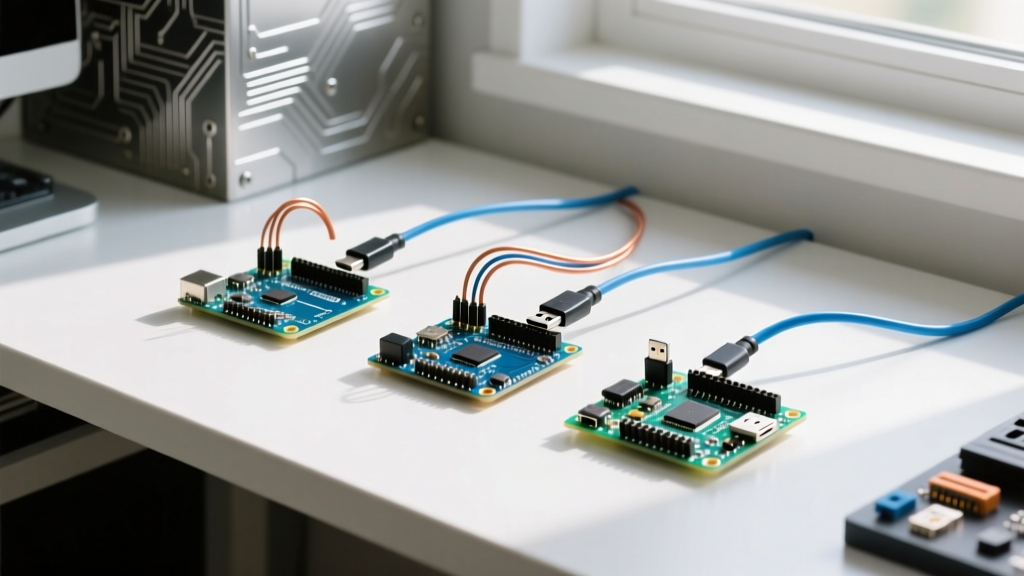
Connect your Uno R4 WiFi to your PC using a high-quality USB-C data cable. Warning: Over 40% of "port not found" errors in maker forums stem from using charge-only USB-C cables that lack the D+ and D- data lines.
- Windows 11: The native CDC driver should install automatically. Check Device Manager under "Ports (COM & LPT)" for "USB Serial Device (COMX)".
- macOS Sequoia/Sonoma: No drivers are needed, but you may need to grant the IDE permission to access accessories in System Settings > Privacy & Security > Security.
- Linux (Ubuntu 22.04+): You must add your user to the
dialoutgroup via terminal:sudo usermod -a -G dialout $USER, then reboot.
Phase 2: The Anatomy of an Arduino Sketch
Every Arduino program (called a "sketch") relies on two mandatory C++ functions. Understanding how the underlying RTOS (Real-Time Operating System) or bare-metal loop handles these is crucial.
The setup() Function
This function runs exactly once when the board powers on or resets. It is used for initializing variables, configuring pin modes, and starting serial communication.
The loop() Function
After setup() finishes, the microcontroller enters loop(), executing its contents infinitely. On the 48 MHz RA4M1, this loop can execute millions of times per second if left empty.
Expert Insight: Unlike the old AVR chips, the Uno R4's ARM Cortex-M4 handles floating-point math natively in hardware (FPU). You no longer need to avoid float variables for performance reasons, though fixed-point math is still preferred for ultra-high-frequency DSP tasks.
Phase 3: Writing Non-Blocking Code (The Right Way)
Most beginner tutorials teach the delay() function. Do not use delay() in production code. It halts the CPU, preventing the board from reading sensors or handling WiFi interrupts. Instead, we use millis() to track time elapsed, allowing for non-blocking, concurrent operations.
Below is a professional-grade "Blink" sketch that toggles the onboard LED without freezing the processor.
// Pin 13 is tied to the onboard LED on the Uno R4
const int LED_PIN = 13;

// Variables to track time state
unsigned long previousMillis = 0;
const long interval = 1000; // 1000ms = 1 second
int ledState = LOW;

void setup() {
  pinMode(LED_PIN, OUTPUT);
  Serial.begin(115200); // Uno R4 supports much higher native USB baud rates
  while (!Serial) {
    ; // Wait for serial port to connect (Native USB requirement)
  }
  Serial.println("Non-blocking Blink Initialized.");
}

void loop() {
  // Check how much time has passed since the last toggle
  unsigned long currentMillis = millis();

  if (currentMillis - previousMillis >= interval) {
    // Save the last time you blinked the LED
    previousMillis = currentMillis;

    // Toggle the LED state
    ledState = (ledState == LOW) ? HIGH : LOW;
    digitalWrite(LED_PIN, ledState);

    Serial.print("LED Toggled at: ");
    Serial.println(currentMillis);
  }

  // The CPU is free to do other tasks here (e.g., read sensors, poll WiFi)
}
Phase 4: Uploading & Real-World Troubleshooting
Programming an Arduino isn't just about writing code; it's about successfully flashing the binary to the silicon. The Uno R4 uses a completely different upload protocol than older boards. Here is how to handle the most common 2026 failure modes.
Troubleshooting Matrix
| Error Message / Symptom | Root Cause | Actionable Fix |
|---|---|---|
| "Port greyed out / No port selected" | The board's firmware crashed, disabling the native USB CDC stack. | Double-tap the reset button quickly. This forces the RA4M1 into DFU (Device Firmware Upgrade) bootloader mode. A new port will appear; upload immediately. |
| "Compilation error: WiFiNINA.h not found" | Using legacy AVR WiFi libraries on the ARM-based R4. | Replace #include <WiFiNINA.h> with #include "WiFiS3.h", which is the correct library for the R4's ESP32-S3 coprocessor. |
| "Upload timeout / dfu-util error" | USB hub power negotiation failure or bad cable. | Bypass unpowered USB hubs. Plug directly into the motherboard's rear I/O. Swap to a certified 10Gbps USB-C data cable. |
| "Sketch too big; SRAM overflow" | Storing large string literals in SRAM instead of Flash. | Use the F() macro for Serial prints: Serial.println(F("Hello")); to force strings into Flash memory. |
Choosing Your Development Environment
While the official IDE is the best starting point for learning how to program an Arduino, professional engineers often migrate to alternative environments as project complexity scales. Below is a comparison of the top three ecosystems in 2026.
| Environment | Best For | Compile Speed | Cost | Offline Support |
|---|---|---|---|---|
| Arduino IDE 2.x | Beginners, Educators, Quick Prototyping | Moderate | Free | Yes (after initial core download) |
| PlatformIO (VS Code) | Advanced Makers, Multi-board CI/CD pipelines | Fast (Parallel builds) | Free / Pro tiers | Yes (Excellent local caching) |
| Arduino Cloud Editor | Chromebook users, IoT fleet management | Slow (Cloud queue dependent) | $6.99/mo (Maker Plan) | No (Requires active connection) |
Advanced Memory Management: Flash vs. SRAM
When programming the Uno R4, you must respect the boundary between volatile and non-volatile memory. The Renesas RA4M1 features 256 KB of Flash (where your compiled C++ instructions and constant data live) and 32 KB of SRAM (where dynamic variables and the stack/heap reside).
A common edge case occurs when initializing large arrays for LED matrices or audio buffers. If you declare a global array like uint8_t frameBuffer[4000];, you instantly consume 12.5% of your total SRAM before setup() even runs. If your sketch dynamically allocates memory using String objects or malloc(), you risk heap fragmentation, leading to a hard fault and a silent reboot loop.
The Fix: Always prefer statically allocated arrays with fixed bounds, and utilize the const keyword aggressively. The ARM GCC compiler will automatically place const variables into Flash memory, preserving your precious SRAM for runtime operations.
Summary
Learning how to program an Arduino in 2026 means embracing 32-bit ARM architectures, native USB protocols, and non-blocking C++ design patterns. By setting up the IDE 2.x environment correctly, utilizing millis() for timing, and understanding the DFU recovery process, you bypass the most common hardware and software bottlenecks. For further reading on the underlying architecture, refer to the official Arduino Uno R4 hardware documentation and the Arduino Language Reference.