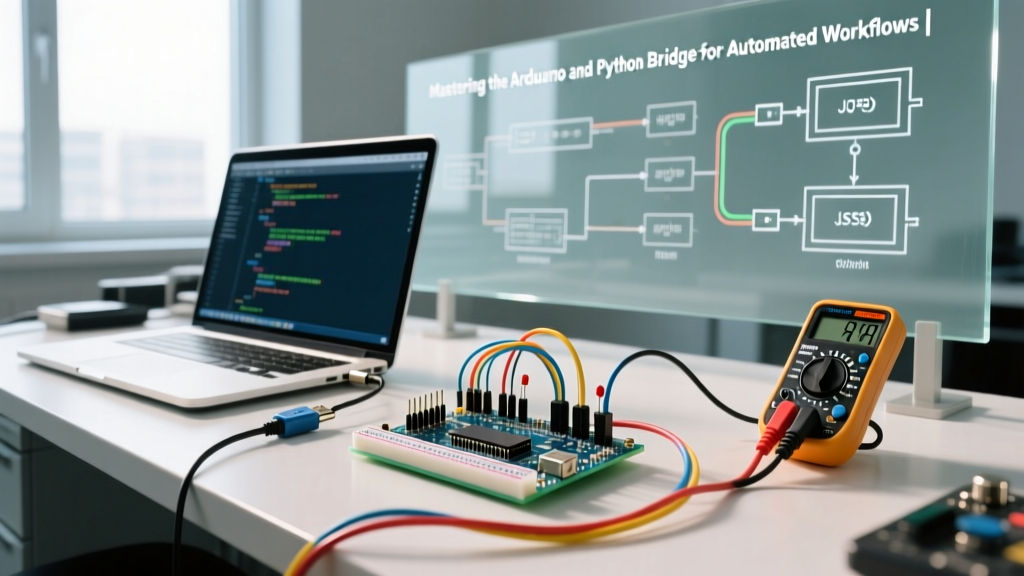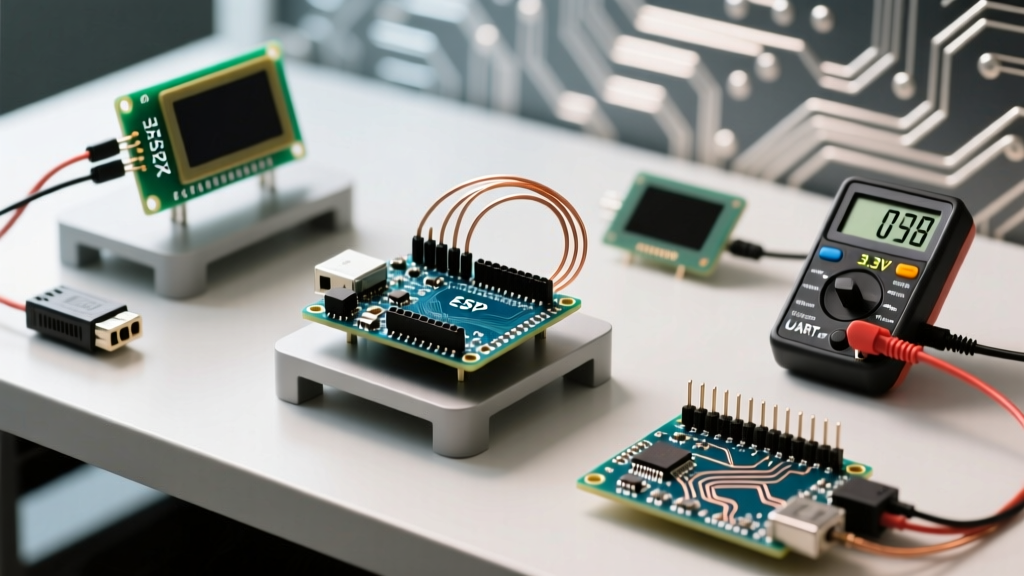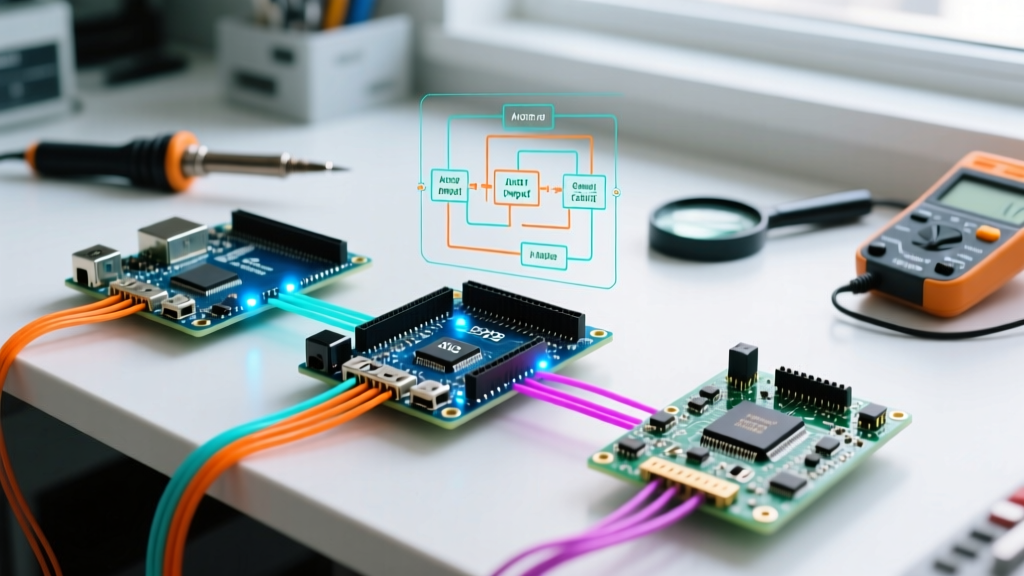

The Evolution of Core Functions of Arduino Across Architectures
When engineers and makers discuss the functions of Arduino, they are usually referring to the Hardware Abstraction Layer (HAL) provided by the Arduino IDE. Functions like digitalWrite(), analogRead(), and attachInterrupt() were originally designed in 2005 to abstract away the complex register manipulation of the ATmega8 and ATmega168 microcontrollers. However, as we navigate the hardware landscape of 2026, the Arduino ecosystem has expanded far beyond 8-bit AVR silicon. Today, developers routinely deploy sketches to 32-bit ARM Cortex-M0+ (SAMD21), Xtensa LX6 (ESP32), and RISC-V architectures.
While the Arduino API strives for universal compatibility, the physical silicon dictates the actual behavior, resolution, and limitations of these functions. A sketch that runs flawlessly on an Arduino Uno R3 might exhibit erratic behavior, compile errors, or silent failures on an ESP32 DevKit or a Nano 33 IoT. This compatibility guide dissects the core functions of Arduino, mapping their architectural nuances and providing actionable frameworks for writing robust, cross-platform firmware.
Board Compatibility Matrix: Core Functions of Arduino
Before diving into register-level edge cases, it is critical to understand how standard functions map across the most popular development boards. The table below highlights the hardware realities hidden behind the Arduino API.
| Function / Feature | Uno R3 (ATmega328P) | Mega 2560 (ATmega2560) | Nano 33 IoT (SAMD21G18A) | ESP32 DevKit (Xtensa LX6) |
|---|---|---|---|---|
analogRead() Resolution | 10-bit (0-1023) | 10-bit (0-1023) | 12-bit (Default 10-bit) | 12-bit (Non-linear extremes) |
analogWrite() PWM | 8-bit, Fixed ~490Hz | 8-bit, Fixed ~490Hz | 8-bit to 16-bit configurable | LEDC Peripheral (v3.x wrapper) |
attachInterrupt() Pins | Pins 2, 3 only | Pins 2, 3, 18, 19, 20, 21 | Most digital pins | Almost all GPIOs (except 6-11) |
I2C (Wire.h) Default Pins | A4 (SDA), A5 (SCL) | 20 (SDA), 21 (SCL) | Dedicated SDA/SCL headers | GPIO 21 (SDA), GPIO 22 (SCL) |
| Internal I2C Pull-ups | Yes (Weak, ~30kΩ) | Yes (Weak, ~30kΩ) | Configurable via SERCOM | No (External 4.7kΩ required) |
PROGMEM Support | Native (Harvard Arch) | Native (Harvard Arch) | Ignored (Flash mapped to RAM) | Ignored / Handled via XIP |
Deep Dive: Analog Input Functions and ADC Variances
The analogRead() function is one of the most frequently used functions of Arduino, yet it is the primary source of cross-board data errors. The underlying Analog-to-Digital Converter (ADC) hardware varies wildly between architectures.
The AVR 10-Bit Standard
On the ATmega328P (Uno/Nano) and ATmega2560 (Mega), the ADC is strictly 10-bit. A reading of 1023 corresponds to the reference voltage (typically 5V or 3.3V). The conversion takes approximately 104 microseconds per read, governed by the ADC prescaler set to 128 in the Arduino core.
SAMD21 and the Resolution Trap
The SAMD21 ARM Cortex-M0+ features a highly configurable 12-bit ADC (and even a 16-bit mode via oversampling). However, to maintain backward compatibility with legacy AVR sketches, the official Arduino SAMD core artificially caps analogRead() at 10 bits by default. To unlock the native 12-bit resolution (0-4095), you must explicitly declare analogReadResolution(12) in your setup() block. Failing to do so results in a loss of precision when interfacing with high-resolution sensors like the ADS1115 or precision thermistors.
ESP32 ADC Non-Linearity and Attenuation
The ESP32-WROOM-32 utilizes a 12-bit SAR ADC, but it is notorious among firmware engineers for its non-linearity at the voltage rails. Readings below 100 and above 4000 are highly inaccurate and should be discarded or calibrated out in software. Furthermore, the ESP32 requires explicit voltage attenuation to read signals above 1.0V. According to the Espressif Arduino Core Documentation, you must use analogSetAttenuation(ADC_11db) to safely read voltages up to ~3.3V. Without this, a 3.3V input will saturate the ADC, returning a hardcoded maximum value regardless of actual voltage fluctuations.
PWM and Timing Functions: Beyond analogWrite()
Pulse Width Modulation (PWM) via analogWrite() abstracts hardware timers, but the implementation details dictate whether your motors will whine, your LEDs will flicker, or your servos will jitter.
- AVR Timers: On the Uno, PWM is tied to specific hardware timers. Pins 5 and 6 use Timer0 (which also handles
millis()anddelay()). Altering the PWM frequency on these pins by manipulating theTCCR0Bregister will break all standard Arduino timing functions. Pins 9 and 10 use Timer1 (16-bit), ideal for high-resolution motor control. - ESP32 LEDC Peripheral: The ESP32 does not have traditional AVR-style PWM. It uses the LED Control (LEDC) peripheral. In older ESP32 Arduino cores (v2.x),
analogWrite()was entirely absent, requiring developers to useledcSetup()andledcAttachPin(). As of the v3.x core standard in 2026, ananalogWrite()wrapper has been reintroduced for drop-in compatibility. However, for high-frequency applications (e.g., 20kHz+ for ultrasonic drivers or silent BLDC motor control), bypassing the wrapper and configuring the LEDC channels directly remains mandatory.
Interrupts and Real-Time Edge Cases
Hardware interrupts allow microcontrollers to respond to external events with microsecond latency. The attachInterrupt(digitalPinToInterrupt(pin), ISR, mode) function is standard, but pin compatibility is rigid.
Expert Tip: Never usedelay()orSerial.print()inside an Interrupt Service Routine (ISR). On ESP32, doing so can trigger a watchdog timer (WDT) reset or cause a core panic due to FreeRTOS task scheduling conflicts. Always set avolatileflag and handle the logic in the mainloop().
On the Uno, only pins 2 and 3 support hardware interrupts (INT0 and INT1). The Mega expands this to six pins. The ESP32, however, supports pin-change interrupts on almost all GPIOs. A critical edge case arises when designing low-power IoT nodes: if you need to wake the ESP32 from deep sleep via an external button, standard GPIO interrupts will fail. You must route the wake signal to one of the dedicated RTC (Real-Time Clock) GPIOs (e.g., GPIO 33 or 34) and use the esp_sleep_enable_ext0_wakeup() function from the ESP-IDF API, as the main CPU and standard interrupt controllers are powered down during deep sleep.
Communication Protocols: I2C and SPI Hardware Mapping
The Wire.h and SPI.h libraries abstract the I2C and SPI buses, but physical pinouts and electrical requirements frequently cause integration failures when migrating from AVR to ARM or Xtensa.
The I2C Pull-Up Resistor Dilemma
The ATmega328P automatically enables internal weak pull-up resistors (approximately 20kΩ to 50kΩ) on the SDA and SCL lines when Wire.begin() is called. While this allows basic modules (like a simple 16x2 I2C LCD) to function without external components, it violates the I2C specification for high-speed (400kHz) or multi-device buses. The ESP32 does not enable internal pull-ups by default for I2C. Attempting to run an I2C bus on an ESP32 without external 4.7kΩ pull-up resistors tied to 3.3V will result in intermittent Wire.endTransmission() timeouts and NACK errors. For professional deployments across any architecture, always disable internal pull-ups and use physical 4.7kΩ (for 100kHz) or 2.2kΩ (for 400kHz) resistors.
SPI and the PROGMEM Deprecation
When reading large data tables or audio samples from SPI Flash memory, AVR developers rely heavily on the PROGMEM keyword to store data in flash rather than SRAM. Because AVR uses a Harvard architecture (separate buses for RAM and Flash), reading flash requires specialized functions like pgm_read_byte(). ARM (SAMD21) and ESP32 utilize a Von Neumann or memory-mapped architecture where Flash is mapped directly into the standard memory space. Consequently, PROGMEM is ignored by the compiler on these boards, and standard pointer dereferencing works natively. To write cross-compatible code, utilize the constexpr keyword or standard const arrays, allowing the compiler to optimize placement based on the target architecture's avr-libc memory guidelines or equivalent toolchain.
Best Practices: Writing Architecture-Agnostic Sketches
To ensure your custom functions of Arduino scale across different boards without maintaining multiple codebases, leverage C++ preprocessor directives. By checking the architecture macros defined by the IDE during compilation, you can branch hardware-specific code cleanly.
#if defined(ARDUINO_ARCH_AVR)
  // AVR-specific initialization
  analogReference(DEFAULT); // 5V on Uno
  #define PWM_PIN 9
#elif defined(ARDUINO_ARCH_SAMD)
  // ARM Cortex-M0+ initialization
  analogReadResolution(12);
  #define PWM_PIN 9
#elif defined(ARDUINO_ARCH_ESP32)
  // ESP32 Xtensa initialization
  analogSetAttenuation(ADC_11db);
  #define PWM_PIN 16
#endif

void setup() {
  pinMode(PWM_PIN, OUTPUT);
  // Refer to the official Arduino Language Reference for standard API limits.
}

void loop() {
  // Unified logic here
}
Summary
Mastering the functions of Arduino requires looking past the simplified IDE API and understanding the silicon executing the instructions. Whether you are managing the 10-bit ADC limits of an ATmega328P, configuring the 12-bit oversampling of a SAMD21, or navigating the LEDC peripherals and RTC wake-states of an ESP32, architectural awareness is the dividing line between a fragile prototype and a production-ready embedded system. Always consult the specific core documentation for your target board, use external pull-ups for communication buses, and leverage preprocessor macros to maintain a single, robust codebase.