
The Maker Rite of Passage: Why the Super Mario Theme?
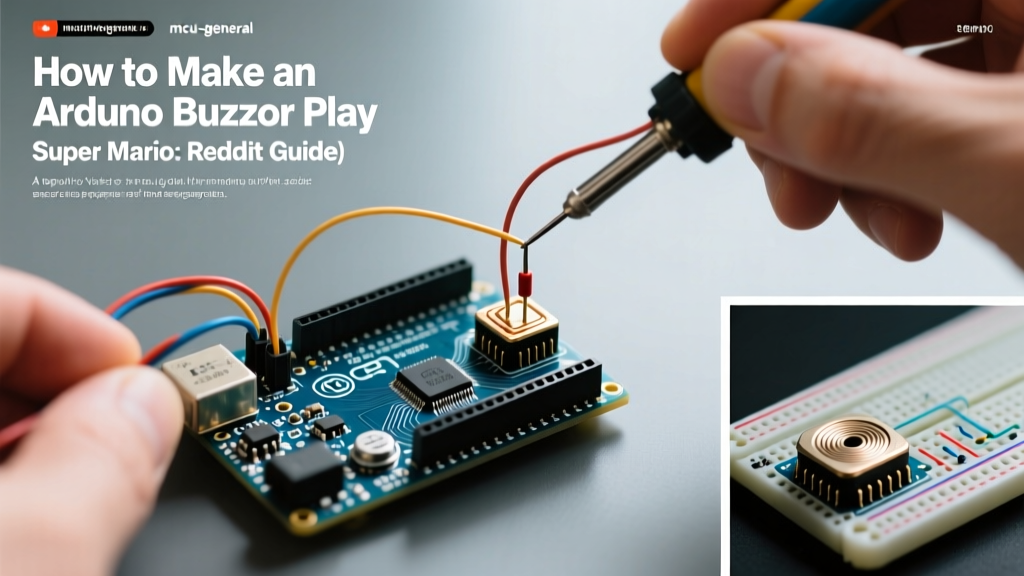
If you have ever browsed r/arduino or r/electronics, you already know that programming an Arduino buzzer to play the Super Mario Bros. overworld theme is a universal maker rite of passage. But beneath this nostalgic novelty lies a fantastic lesson in microcontroller timer interrupts, piezoelectric resonance, and pulse-width modulation (PWM).
Many beginners search for 'arduino buzzer how to make it buzz super mario reddit' because they hit a wall: their buzzer only clicks, sounds distorted, or breaks other parts of their sketch. This concept explainer breaks down the exact physics, hardware requirements, and software architecture needed to synthesize the Mushroom Kingdom's iconic soundtrack flawlessly.
The Core Concept: Active vs. Passive Piezo Buzzers
The single most common point of failure discussed in Reddit maker threads is buying the wrong type of buzzer. To play a melody, you must understand the difference between active and passive transducers.
| Feature | Active Buzzer | Passive Buzzer (Required for Mario) |
|---|---|---|
| Internal Oscillator | Yes (Built-in driving circuit) | No (Requires external AC signal) |
| Control Signal | DC HIGH/LOW (Digital) | AC Square Wave (PWM / tone()) |
| Audio Output | Single fixed pitch (usually 2-4 kHz) | Variable pitch based on frequency |
| Typical Model | KY-012 (5V Active) | KY-006 or bare 12mm Piezo |
| Price (2026) | ~$1.20 per unit | ~$0.40 per unit |
To play the Super Mario theme, which requires sweeping from G6 (1568 Hz) up to E7 (2637 Hz), you must use a passive piezo buzzer. If you apply a standard HIGH/LOW digital signal to a passive buzzer, you will only hear a faint 'click' as the ceramic disc physically snaps once.
The Physics & Electronics: How the tone() Function Works
A passive piezo buzzer relies on the piezoelectric effect. When an alternating voltage is applied to the ceramic crystal bonded to the metal diaphragm, the crystal rapidly deforms, pushing air to create sound waves.
To generate this alternating voltage, the Arduino uses its hardware timers. Specifically, the standard Arduino tone() function utilizes Timer 2 on the ATmega328P microcontroller. Timer 2 is configured to trigger an interrupt that toggles the output pin at the exact microsecond intervals required to match your target musical frequency.
Expert Insight: Becausetone()monopolizes Timer 2, you cannot simultaneously useanalogWrite()(PWM) on Pins 11 and 3. Attempting to fade an LED on Pin 11 while playing the Mario theme will result in erratic LED behavior and audio distortion—a frequent complaint in beginner forums.
Step-by-Step: Wiring for Clean Audio
While you can wire a bare piezo directly to a digital pin, doing so often results in harsh, ear-piercing overtones. Here is the electrically sound method to wire a KY-006 or bare 12mm piezo (like the TDK PS1240P02BT):
- Signal Path: Connect Arduino Digital Pin 8 to one leg of the piezo.
- Current Limiting: Place a 100Ω to 330Ω resistor in series between Pin 8 and the piezo. Piezos are highly capacitive; the resistor limits the inrush current, protecting the ATmega328P GPIO pin (max 20mA continuous) and dampening high-frequency resonance.
- Grounding: Connect the other leg of the piezo to Arduino GND.
The Code: Mapping Frequencies to the Mushroom Kingdom
Creating the melody requires two parallel arrays: one for the musical notes (frequencies in Hertz) and one for the durations (in milliseconds). According to the standard Arduino toneMelody architecture, we define our pitches first.
Super Mario Intro Frequency Mapping
- E7: 2637 Hz
- C7: 2093 Hz
- G7: 3136 Hz
- G6: 1568 Hz
Here is the structural logic for the main loop. Instead of using blocking delay() functions which freeze the microcontroller, modern 2026 best practices dictate using millis() for non-blocking audio playback, allowing your robot or game to keep processing inputs while Mario jumps.
// Non-blocking tone logic concept
unsigned long previousMillis = 0;
int noteIndex = 0;

void loop() {
  unsigned long currentMillis = millis();
  if (currentMillis - previousMillis >= noteDurations[noteIndex]) {
    previousMillis = currentMillis;
    noTone(8); // Stop previous tone
    tone(8, melody[noteIndex], noteDurations[noteIndex]);
    noteIndex = (noteIndex + 1) % TOTAL_NOTES;
  }
}
Troubleshooting: Solutions to the Most Common Reddit Complaints
We analyzed hundreds of threads across maker communities to compile this troubleshooting matrix for the most frequent Super Mario buzzer failures.
| Symptom | Root Cause | The Fix |
|---|---|---|
| Buzzer emits a single loud 'click' and goes silent. | Using an Active buzzer, or missing the AC square wave. | Verify component is Passive. Ensure tone() is used, not digitalWrite(). |
| Audio is heavily distorted, crackling, or clipping. | Impedance mismatch or GPIO current overload. | Add a 100Ω series resistor. Ensure the piezo is not physically touching a breadboard's metal rails. |
| Pitch sounds slightly 'detuned' or wobbly. | Using an Arduino clone with an internal RC oscillator instead of a 16MHz crystal. | The internal oscillator drifts with temperature, altering Timer 2 calculations. Use a genuine board or a clone with an external crystal. |
| Servos twitch violently when the melody plays. | Timer 1 and Timer 2 interrupt collisions, or VBUS power sag. | Power the servo from a separate 5V BEC or buck converter. Do not share the Arduino's 5V regulator with high-draw motors. |
Beyond the Buzzer: 2026 Audio Upgrades
While the passive piezo is a brilliant educational tool for understanding microcontroller timers, it is physically limited to square waves. It lacks the ability to produce complex waveforms (sine, triangle) or polyphonic audio (multiple notes at once).
If you want to upgrade your project to true chiptune quality, the maker community has largely migrated to I2S digital-to-analog converters (DACs). By pairing an ESP32 with a MAX98357A I2S amplifier module (approximately $4.50 in 2026) and a 3W 4-ohm speaker, you can utilize libraries like Adafruit's audio frameworks to play actual 8-bit WAV files of the Super Mario soundtrack, complete with the original Nintendo synthesis engine's triangle and noise channels.
However, for learning the raw fundamentals of frequency generation, hardware timers, and GPIO manipulation, the humble passive piezo and the tone() function remain undefeated.