
The 3.3V vs 5V Logic Level Divide
The most frequent point of failure when migrating from an Arduino Uno to an ESP8266 NodeMCU is ignoring the logic level divide. The ESP8266 SoC operates strictly at 3.3V. While some GPIO pins are technically 5V-tolerant up to 3.6V under highly specific conditions, feeding a standard 5V digital signal directly into a NodeMCU pin will degrade the silicon over time or cause immediate catastrophic failure.
When integrating 5V sensors, such as the classic HC-SR04 ultrasonic sensor or 5V relay modules, you must implement a logic level conversion strategy. The most reliable method is using a bidirectional logic level converter based on the BSS138 MOSFET. Unlike simple resistor voltage dividers—which can distort high-speed signals like I2C or SPI due to parasitic capacitance—a BSS138 circuit safely shifts 5V signals down to 3.3V without compromising signal integrity or timing edges.
For those looking to understand the underlying physics of voltage thresholds, the SparkFun Logic Levels Tutorial provides an excellent breakdown of $V_{IH}$ and $V_{IL}$ specifications that dictate why a 3.3V microcontroller might fail to reliably read a 5V HIGH signal without proper shifting.
USB-to-Serial Bridge Compatibility: CP2102 vs CH340G
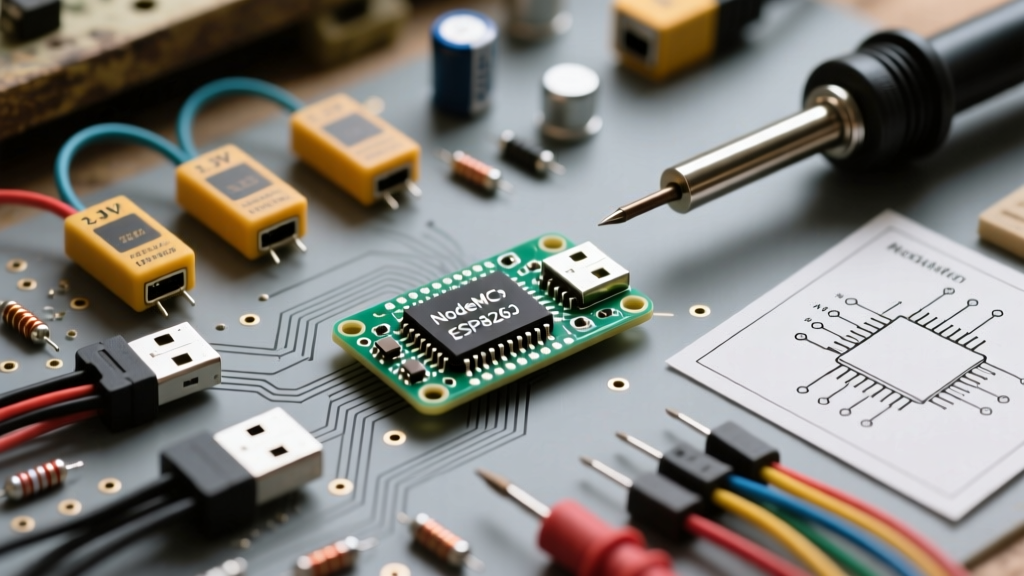
The ESP8266 NodeMCU does not have native USB communication; it relies on an onboard USB-to-UART bridge chip to handle serial data and automated bootloader resetting. The market is dominated by two primary variants, and your operating system compatibility depends entirely on which chip your specific board utilizes.
Driver and Hardware Matrix
| Bridge Chip | Common Board Versions | Windows 10/11 | macOS / Linux | Auto-Reset Circuit |
|---|---|---|---|---|
| CP2102 | NodeMCU v2 (Amica), LoLin v3 | Native / Silicon Labs Driver | Native (macOS 10.15+) | Reliable (Transistor-based) |
| CH340G | NodeMCU v3 (LoLin clone), Generic | Requires WCH Driver | Requires CH34x Driver | Prone to timing failures |
Expert Troubleshooting Note: If your CH340G-based NodeMCU fails to enter flash mode automatically during compilation in the Arduino IDE, the issue is rarely the chip itself. It is usually a flaw in the clone board's DTR/RTS auto-reset circuit. You can bypass this by manually holding the 'FLASH' (GPIO0) button, pressing 'RST' (EN), and releasing the 'FLASH' button exactly when the IDE outputs 'Connecting...' in the console.
Decoding Pinouts: GPIO vs 'D' Labels
Hardware compatibility extends to software mapping. The silkscreen on the NodeMCU PCB labels pins as D0 through D8. However, the underlying ESP8266 silicon uses GPIO numbers. When programming via the ESP8266 Arduino Core, you can use the 'D' macros (e.g., D1), but if you transition to ESP-IDF, MicroPython, or custom C++ frameworks, you must use the raw GPIO numbers.
Critical Boot Strapping Pins
Hardware compatibility is severely restricted by the ESP8266's boot strapping pins. During power-on or reset, the SoC samples specific pins to determine the boot mode (Flash vs. SDIO). If you wire a sensor, relay, or switch to these pins and they pull the voltage to the wrong state, the NodeMCU will fail to boot.
| Silkscreen | GPIO Number | Boot Requirement | Hardware Compatibility Warning |
|---|---|---|---|
| D3 | GPIO0 | HIGH (Pull-up) | Do not connect relays or low-impedance sensors. Must be LOW only during flashing. |
| D4 | GPIO2 | HIGH (Pull-up) | Controls boot mode. Often tied to the onboard blue LED. |
| D8 | GPIO15 | LOW (Pull-down) | Must be pulled to GND. Do not use for I2C or devices that pull HIGH on startup. |
For a comprehensive map of all pin multiplexing and hardware limitations, the official NodeMCU Documentation remains the definitive reference for avoiding fatal pin assignments.
Sensor Ecosystem and I2C Backfeed Risks
The NodeMCU is highly compatible with modern 3.3V I2C sensors like the BME280, SHT31, and VL53L0X. However, integrating legacy 5V Arduino I2C modules introduces a hidden hardware killer: I2C Backfeed.
Many cheap 5V I2C sensor modules (such as older LCD backpack adapters or 5V gyroscopes) include 4.7kΩ pull-up resistors tied directly to the 5V VCC pin. When you connect the SDA and SCL lines to your 3.3V NodeMCU, the 5V current flows backward through the I2C data lines, bypassing the voltage regulator, and directly into the ESP8266's GPIO protection diodes. This backfeed can raise the internal VDD of the ESP8266 to 4V+, causing erratic Wi-Fi behavior, phantom reboots, and eventual thermal death of the SoC.
Maker Rule of Thumb: Before connecting any 5V I2C module to a 3.3V NodeMCU, inspect the PCB for SMD pull-up resistors near the SDA/SCL lines. Desolder them, or use a dedicated I2C level shifter to isolate the 5V and 3.3V buses entirely.
Power Delivery and AMS1117-3.3 Constraints
While the NodeMCU features an onboard AMS1117-3.3 linear voltage regulator, it is not a limitless power supply. The AMS1117 has a dropout voltage of approximately 1.1V and a maximum current output of around 800mA, but its thermal dissipation on the tiny NodeMCU PCB limits practical continuous draw to about 300mA-400mA before thermal shutdown occurs.
The ESP8266's Wi-Fi radio is incredibly power-hungry. During RF transmission spikes, the SoC can draw up to 170mA-300mA in microseconds. If you are powering the NodeMCU via a low-quality USB cable or a weak 500mA PC USB port, the voltage drop across the AMS1117 will cause a brownout, triggering the hardware watchdog and resetting the board. For projects utilizing servos, high-draw LEDs, or cellular add-ons, bypass the onboard regulator entirely and supply a clean, regulated 3.3V directly to the '3V3' pin from an external buck converter (like an LM2596 or MP1584EN) capable of delivering 2A+.
Final Integration Checklist
- Logic Levels: Verify all incoming digital signals are ≤ 3.3V or shifted via BSS138.
- Strapping Pins: Ensure GPIO0, GPIO2, and GPIO15 are free of conflicting startup loads.
- I2C Pull-ups: Confirm no 5V pull-up resistors are backfeeding the I2C bus.
- Power Spikes: Provide adequate capacitance (100μF+ near the VU/3V3 pins) to buffer Wi-Fi TX spikes.
- Driver Selection: Match your USB-UART driver to the specific bridge chip (CP2102 vs CH340G) on your PCB.