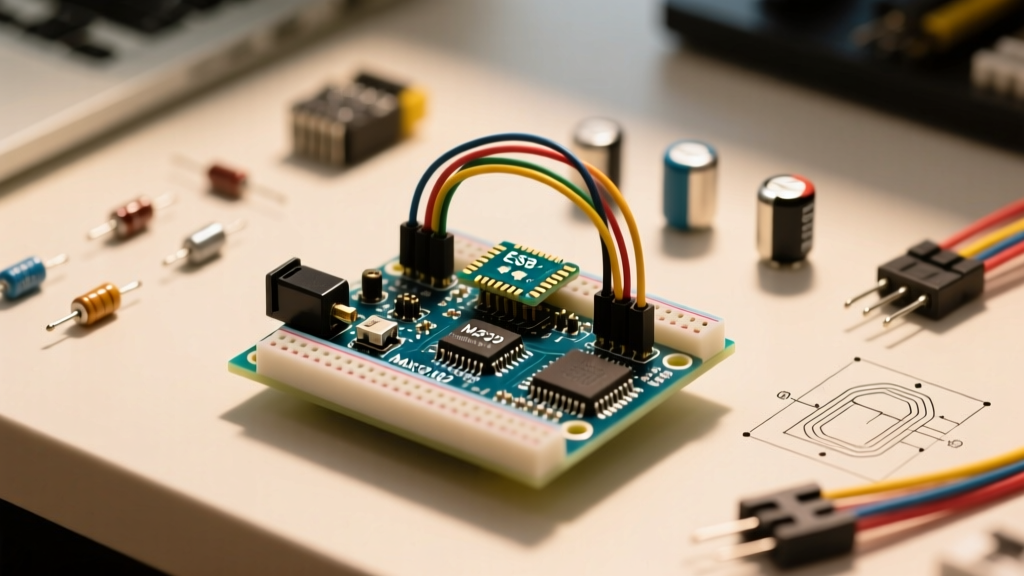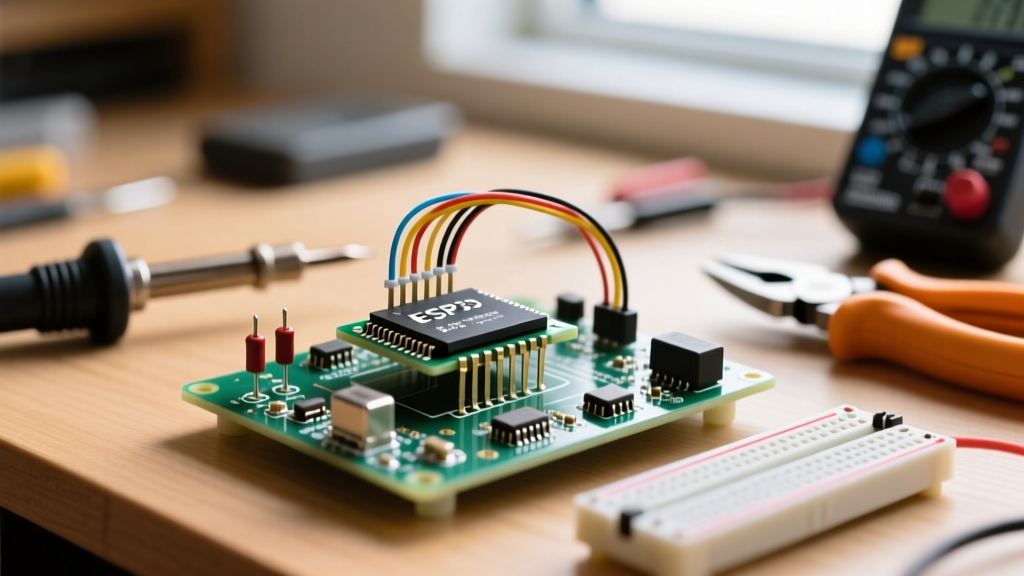

The ESP32 microcontroller has fundamentally shifted the landscape of DIY electronics, commercial IoT design, and rapid prototyping. Combining a dual-core 32-bit Xtensa LX6 processor running at 240MHz with integrated Wi-Fi and dual-mode Bluetooth, it offers immense computational power in a remarkably small footprint. However, migrating from simpler 8-bit microcontrollers like the ATmega328P to the ESP32 introduces new architectural complexities. Issues like bootlooping, brownout resets, and upload failures are common rites of passage for makers.
This comprehensive tutorial bypasses the basic 'blink' examples and dives straight into the hardware realities of the ESP32 microcontroller. We will cover strapping pin configurations, power delivery stabilization, flash memory modes, and dual-core task management to ensure your next IoT project is built on a rock-solid foundation.
The Architecture: Understanding the ESP32 Microcontroller Ecosystem
Before wiring your first sensor, it is critical to understand what sits beneath the metal shield. The classic ESP32-D0WDQ6 chip features two cores: Core 0 and Core 1. By default, the Arduino framework runs network stacks and background tasks on Core 0, leaving Core 1 exclusively for your loop() function. Furthermore, the chip does not contain internal non-volatile memory for your code; it relies on an external SPI flash chip (typically 4MB or 16MB) located adjacent to the main silicon on the PCB.
This external flash architecture is the root cause of many beginner bootloops, as the communication protocol between the main die and the flash chip must be perfectly synchronized during the initial power-on sequence. For a deeper dive into the silicon specifications, refer to the official Espressif Systems ESP32 Datasheet.
Pre-Flight Checklist: IDE and Board Manager Configuration
To program the ESP32 microcontroller using the Arduino IDE, you must install the Espressif hardware packages.
- Navigate to File > Preferences and paste the Espressif board manager URL into the 'Additional Boards Manager URLs' field.
- Open the Boards Manager, search for 'esp32', and install the latest stable version of the 'esp32 by Espressif Systems' package.
- Select your specific board. If you are using a generic clone, 'DOIT ESP32 DEVKIT V1' or 'NodeMCU-32S' are generally the safest fallback selections.
For complete installation troubleshooting and OS-specific driver requirements (like the CP210x or CH340 USB-to-UART bridges), consult the Arduino-ESP32 Documentation.
Critical Wiring Rules: Navigating Strapping Pins
The most frequent cause of silent failures and bootloops when wiring sensors to the ESP32 microcontroller is the accidental misuse of strapping pins. During the EN (Enable) reset phase, the chip samples the voltage levels on specific GPIO pins to determine boot modes and flash voltages. If you wire a relay or a pull-up sensor to these pins, you will inadvertently alter the boot sequence.
| GPIO Pin | Internal State | Boot Behavior & Risks | Safe for I/O? |
|---|---|---|---|
| GPIO0 | Pull-Up | Must be HIGH for normal SPI boot. LOW enters serial bootloader. | Yes, if not pulled LOW on startup. |
| GPIO2 | Pull-Down | Must be LOW or floating. HIGH prevents SPI flash boot. | No, avoid onboard LED conflicts. |
| GPIO12 | Pull-Down | Determines VDD_SDIO voltage. HIGH sets 1.8V, LOW sets 3.3V. | NO. HIGH causes fatal flash brownout. |
| GPIO15 | Pull-Up | HIGH enables boot log output. LOW silences the bootloader. | Yes, but affects serial debugging. |
As detailed in the excellent Random Nerd Tutorials ESP32 Pinout Guide, GPIO12 is the most dangerous pin for beginners. If you connect a component that pulls GPIO12 HIGH during boot, the ESP32 microcontroller will switch the internal flash voltage regulator to 1.8V. Since most development boards use 3.3V flash chips, this voltage mismatch will instantly corrupt the boot process, resulting in an endless reset loop.
Power Delivery: Solving the Infamous Brownout Detector Reset
The ESP32 features a highly sensitive internal brownout detector. When the Wi-Fi radio initializes or transmits data, current draw can spike from 80mA to over 300mA in microseconds. If your power supply or USB cable cannot respond quickly enough, the voltage rail dips below 2.4V, and the chip resets to protect the flash memory from corruption.
Serial Monitor Error:Brownout detector was triggered
Root Cause: Inadequate transient current response on the 3.3V rail during RF transmission spikes.
Hardware Fixes for Power Stability
- Decoupling Capacitors: Always solder a 10µF to 100µF electrolytic capacitor directly across the 3V3 and GND pins on your custom PCB or breadboard power rail. This acts as a localized energy reservoir for RF spikes.
- Upgrade the LDO: The onboard AMS1117-3.3 voltage regulators on cheap clone boards often overheat and drop voltage when drawing >500mA. For projects with servos or neopixels, bypass the onboard regulator and supply a dedicated 3.3V from a high-quality buck converter.
- Cable Quality: Thin, low-quality USB cables introduce significant resistance. A voltage drop across a poor USB cable can easily trigger the brownout detector before the power even reaches the board.
Flash Memory Modes: QIO, DIO, QOUT, and DOUT
When compiling code for the ESP32 microcontroller, the Arduino IDE defaults to QIO (Quad I/O) flash mode. QIO uses four data lines simultaneously to read from the external SPI flash chip, offering the fastest execution speeds. However, QIO requires exclusive use of GPIOs 6, 7, 8, 9, and 10, which are internally routed to the flash chip on the PCB.
If you are using a board with PSRAM (like the ESP32-CAM or custom boards with Octal SPI flash), or if your specific clone board utilizes a mismatched flash IC that doesn't support Quad commands, your sketch will compile and upload successfully, but the board will immediately crash with a rst:0x10 (RTCWDT_RTC_RESET) error.
The Fix: Go to Tools > Flash Mode in the Arduino IDE and change it from 'QIO' to 'DIO' (Dual I/O). DIO only uses two data lines, freeing up internal routing conflicts and providing maximum compatibility across all ESP32 microcontroller variants and clone manufacturers.
Flashing Your First Sketch: Overcoming Upload Failures
Development boards utilize an auto-reset circuit featuring two NPN transistors that manipulate the EN and GPIO0 pins via the DTR and RTS serial signals from the USB-UART bridge. This puts the chip into bootloader mode automatically.
On ultra-cheap clone boards, these transistors are sometimes omitted to save manufacturing costs. If your serial monitor hangs on 'Connecting...' and eventually times out, you must manually sequence the boot pins:
- Press and hold the BOOT button (pulls GPIO0 LOW).
- Press and release the EN/RST button (resets the chip while GPIO0 is held LOW).
- Release the BOOT button.
- The IDE will now successfully handshake and begin flashing.
Advanced Configuration: Assigning Tasks to Dual Cores
To truly leverage the ESP32 microcontroller, you must move beyond the single-threaded loop() and utilize FreeRTOS to pin tasks to specific cores. This is essential for high-frequency sensor sampling or audio processing where Wi-Fi stack interruptions on Core 0 would cause data loss.
TaskHandle_t Task1;

void setup() {
  Serial.begin(115200);
  xTaskCreatePinnedToCore(
    Task1code,   /* Task function */
    "Task1",     /* Name of task */
    10000,       /* Stack size in words */
    NULL,        /* Task input parameter */
    1,           /* Priority of the task */
    &Task1,      /* Task handle */
    0);          /* Core where task should run (0 or 1) */
}

void Task1code(void * pvParameters) {
  for(;;) {
    // High-priority sensor reading isolated from Wi-Fi interrupts
    Serial.print("Core 0 executing: ");
    Serial.println(xPortGetCoreID());
    vTaskDelay(1000 / portTICK_PERIOD_MS);
  }
}

void loop() {
  // This runs on Core 1 by default
  Serial.print("Core 1 executing: ");
  Serial.println(xPortGetCoreID());
  delay(1000);
}
By isolating time-critical operations on Core 0 and leaving network management and general logic to Core 1, you eliminate the micro-stutters that plague single-core IoT devices. Mastering these hardware and software nuances is what separates a fragile prototype from a production-ready ESP32 microcontroller deployment.