
The Hidden Hardware Conflicts of Breadboarding an ESP32
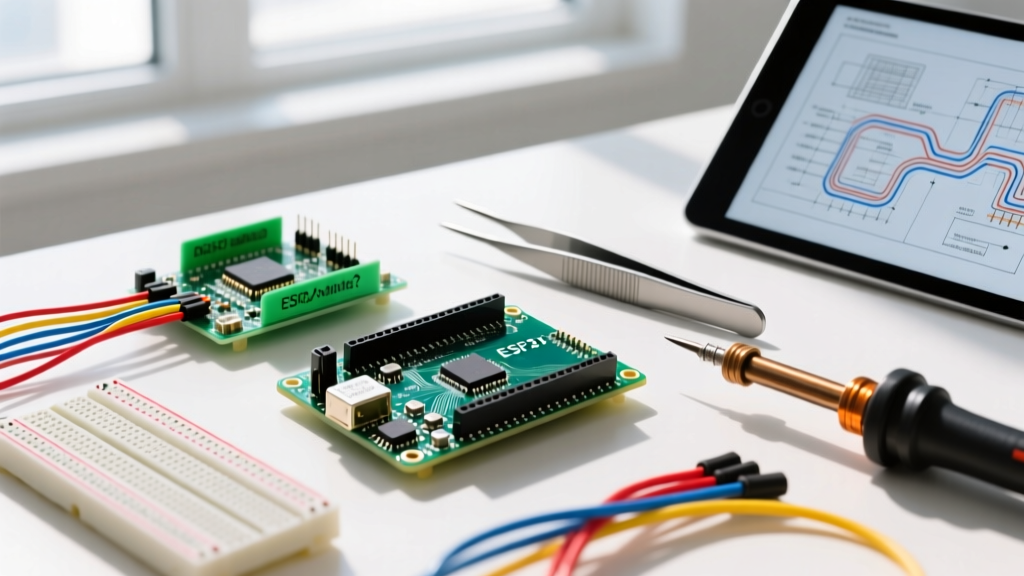
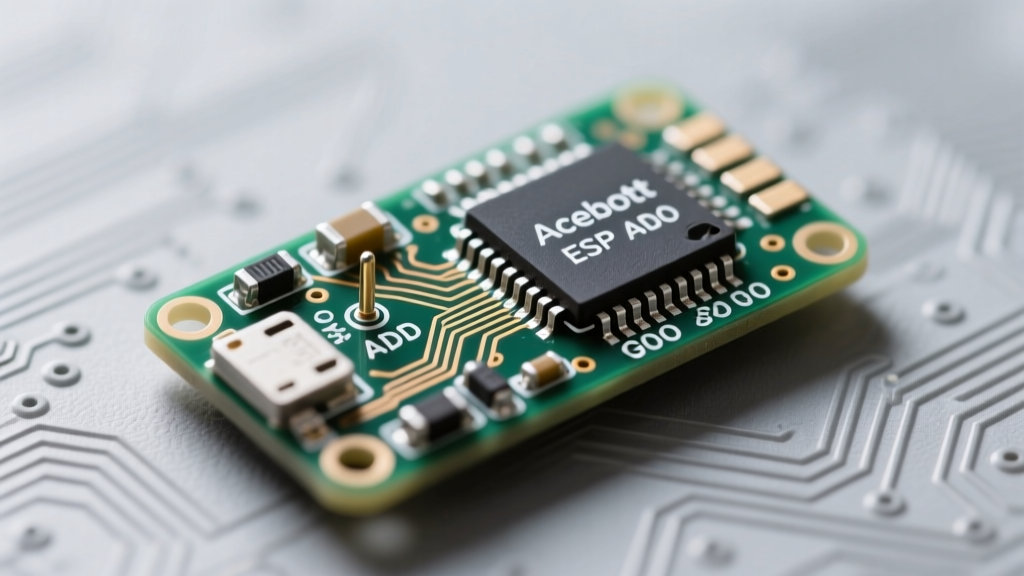
The transition from 5V Arduino boards to the 3.3V ESP32 ecosystem has revolutionized IoT prototyping. However, dropping an ESP32-WROOM-32 DevKit onto a standard solderless breadboard introduces a unique set of hardware conflicts that rarely affect simpler microcontrollers. Unlike the ATmega328P, the ESP32 is an RF transceiver capable of drawing massive current spikes, and its auto-program circuit relies on microsecond-precise timing that breadboard parasitics can easily disrupt.
If you are battling upload timeouts, random reboots, or mysteriously weak Wi-Fi signals, the issue is likely not your code or your ESP32 module itself. It is the physical and electrical interface between the module and the breadboard. This guide provides deep-dive troubleshooting and hardware-level fixes for the most persistent ESP32 breadboard integration failures.
Diagnostic Matrix: Identifying Your ESP32 Breadboard Failure
Before tearing apart your circuit, match your symptoms to the underlying physical cause. The following matrix outlines the three most common failure modes when prototyping with an ESP32 on a breadboard.
| Symptom / Error Message | Probable Hardware Cause | Required Fix Strategy |
|---|---|---|
| 'Timed out waiting for packet header' during upload | Parasitic capacitance disrupting the RTS/DTR auto-reset transistor timing. | Manual boot sequence or adding 10k pull-up resistors. |
| 'Guru Meditation Error: Core 1 panic'ed (Brownout detector)' | Breadboard power rail contact resistance causing voltage sag during RF TX. | Local decoupling capacitors and dedicated power routing. |
| Weak Wi-Fi RSSI / Dropped MQTT Connections | Breadboard metal strips acting as a detuned ground plane beneath the PCB antenna. | Elevate the ESP32 or move to the breadboard edge. |
| Unable to insert jumper wires next to the DevKit | Using a 38-pin DevKit on a standard 5-hole trench breadboard. | Switch to a 30-pin NodeMCU-32S variant or use a breakout board. |
Symptom 1: 'Failed to Connect to ESP32: Timed Out Waiting for Packet Header'
The ESP32 requires a specific sequence on the EN (Reset) and GPIO0 (Boot) pins to enter the serial bootloader. On DevKits equipped with CP2102 or CH340G USB-to-UART bridges, this is handled by an auto-reset circuit utilizing two NPN transistors (typically MMBT3904) that manipulate the DTR and RTS lines.
When you plug the DevKit into a breadboard, you introduce parasitic capacitance and contact resistance. Long, unshielded jumper wires connected to GPIO0 or EN act as tiny antennas, picking up noise and delaying the voltage transitions required for the bootloader handshake. If the timing skews by even a few microseconds, the ESP32 boots into normal flash execution mode instead of download mode, resulting in the dreaded timeout error in the Arduino IDE.
Symptom 2: Wi-Fi Disconnects and Random Reboots (Brownouts)
The ESP32 is not a low-power device when transmitting. During RF calibration and peak Wi-Fi transmission, the ESP32-WROOM-32 can draw instantaneous current spikes exceeding 500mA. Standard breadboard power rails—especially budget models with thin, oxidized metal strips—exhibit significant contact resistance.
When the ESP32 demands 500mA, Ohm's Law dictates that the voltage across the breadboard's internal resistance will drop. If the voltage at the ESP32's VIN pin falls below the brownout detection threshold (typically around 2.4V to 2.7V depending on the specific module's LDO), the internal brownout detector (BOR) triggers a hardware reset. This manifests as a 'Guru Meditation Error' in the serial monitor, completely unrelated to your C++ code.
Symptom 3: The 38-Pin Straddle Problem (No Free GPIOs)
Not all ESP32 DevKits are created equal. The physical width of the module dictates how it interacts with the breadboard's center trench, which is designed to span 0.3 inches (5 holes).
- 30-Pin Variants (e.g., NodeMCU-32S): These feature 15 pins per side. When straddling the trench, they leave exactly 5 holes exposed on each side, perfectly aligning with standard breadboard rows and leaving ample room for jumper wires.
- 38-Pin Variants (e.g., AZ-Delivery, HiLetgo clones): These feature 19 pins per side. When placed on a standard breadboard, they leave only 1 hole exposed on each side. This makes it physically impossible to insert standard 0.1-inch male jumper wires without bending the pins or accidentally bridging the adjacent power rails.
Step-by-Step Fixes for ESP32 Breadboard Integration
Fix A: Resolving Auto-Flash Circuit Capacitance Issues
If you are constantly forced to hold down the 'BOOT' button on your ESP32 to initiate an upload, the breadboard's parasitic capacitance is ruining the auto-reset timing. To fix this without resorting to manual button presses:
- Add Pull-Up Resistors: Insert a 10kΩ resistor between the 3.3V pin and the EN pin, and another 10kΩ resistor between 3.3V and GPIO0. This stiffens the voltage lines and fights the capacitive drag introduced by the breadboard contacts.
- Minimize Wire Length: Never use long jumper wires for the EN or GPIO0 lines if you are building an external reset circuit. Keep them under 2 inches.
- Bypass the Breadboard for UART: If you are using a bare ESP32 module (not a DevKit) with an external FTDI programmer, wire the DTR/RTS auto-reset transistors directly to the module pins using enameled copper wire, completely bypassing the breadboard contacts for those specific traces.
Fix B: Upgrading the Power Delivery Network (PDN)
To eliminate brownout resets, you must decouple the ESP32's power demands from the breadboard's high-resistance power rails.
Pro-Tip: Never rely solely on the breadboard's 5V rail to power an ESP32 during active Wi-Fi or Bluetooth operations. The voltage drop across the breadboard's internal metal clips will almost always trigger a reset under load.
The Decoupling Fix:
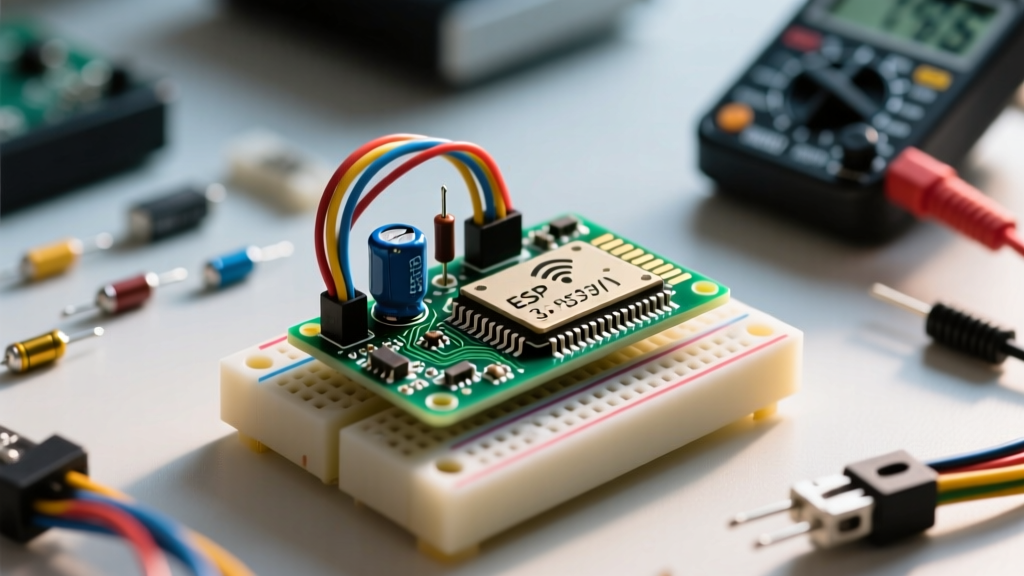
Solder or insert a 100µF electrolytic capacitor and a 100nF (0.1µF) ceramic capacitor directly across the 5V (or 3.3V) and GND pins on the ESP32 side of the breadboard contacts. The ceramic capacitor handles the high-frequency RF spikes, while the electrolytic capacitor acts as a local reservoir for the 500mA macro-spikes.
The Direct-Wire Fix:
For permanent prototypes, use a dedicated buck converter (like an LM2596 module set to 5V). Wire the output of the buck converter directly to the ESP32's VIN and GND pins using thick 22AWG solid core wire, bypassing the breadboard's power rails entirely. Use the breadboard only for low-current GPIO signal routing.
Antenna Detuning: The Breadboard Rail Effect
A frequently overlooked issue in ESP32 breadboard prototyping is severe Wi-Fi range degradation. The ESP32-WROOM-32 utilizes a PCB trace antenna located at the top of the metal shield. According to the Espressif Hardware Design Guidelines, the antenna requires a specific keep-out zone and is highly sensitive to nearby ground planes.
When you push the ESP32 deep into the center of a breadboard, the metal strips running horizontally beneath the plastic housing act as an unintended, poorly tuned ground plane. This shifts the resonant frequency of the antenna away from the 2.4 GHz ISM band, resulting in Voltage Standing Wave Ratio (VSWR) mismatches and RSSI drops of 10dB to 15dB.
How to fix antenna detuning:
- Elevate the Module: Use female-to-male header extensions to raise the ESP32 at least 15mm above the breadboard surface.
- Edge Placement: Place the ESP32 at the extreme top or bottom edge of the breadboard so the antenna overhangs the plastic, removing the metal strips from the antenna's near-field radiation zone.
- Use an External Antenna: If your project requires a metal enclosure or dense breadboard wiring, switch to an ESP32-WROOM-32U variant with a U.FL connector and route a 2.4GHz patch antenna away from the breadboard.
Recommended Breadboard Adapters and Breakouts
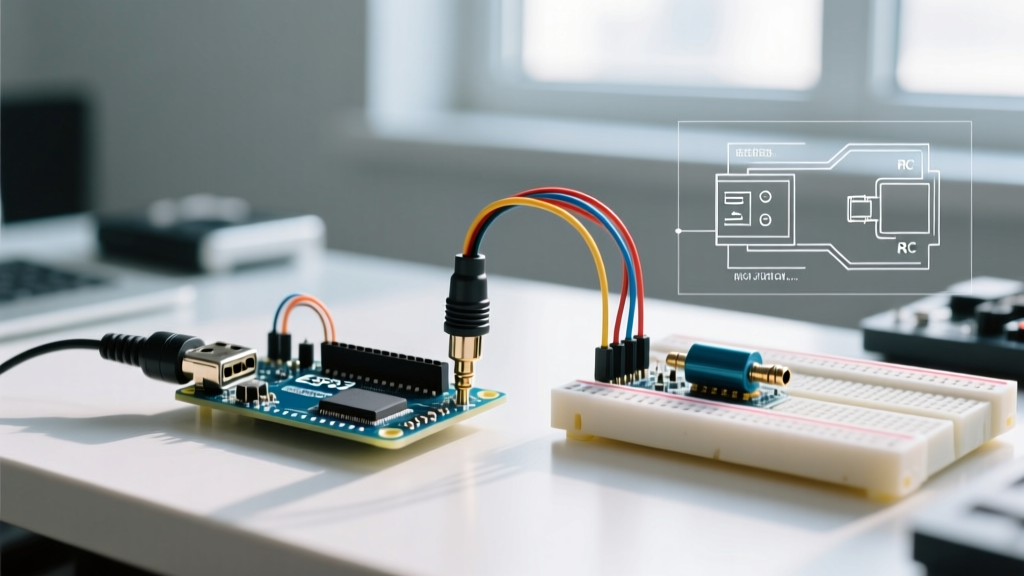
If the physical limitations of the 38-pin DevKit are ruining your prototyping workflow, consider abandoning the direct-insert method entirely. Using a breadboard-friendly breakout board or adapter resolves the straddle issue and improves signal integrity.
Many makers utilize custom 3D-printed risers or commercially available 'ESP32 Breadboard Adapters' that map the 38-pin layout to a single row of pins, or offset the dual rows to fit standard 0.3-inch trenches while leaving 3 holes free on each side. Alternatively, designing a simple custom PCB on a service like JLCPCB that breaks out the ESP32-WROOM-32 to a 0.6-inch wide DIP footprint is the ultimate fix for repeated prototyping. For comprehensive wiring diagrams and safe GPIO assignments, always cross-reference the SparkFun ESP32 Hookup Guide to ensure you are not routing signals to strapping pins that conflict with the breadboard's default boot states.
By addressing power delivery parasitics, respecting the RF keep-out zones, and selecting the correct physical form factor, you can transform the ESP32 from a frustrating breadboard guest into a highly reliable prototyping powerhouse.