
The Critical Role of Capacitors in MCU Stability
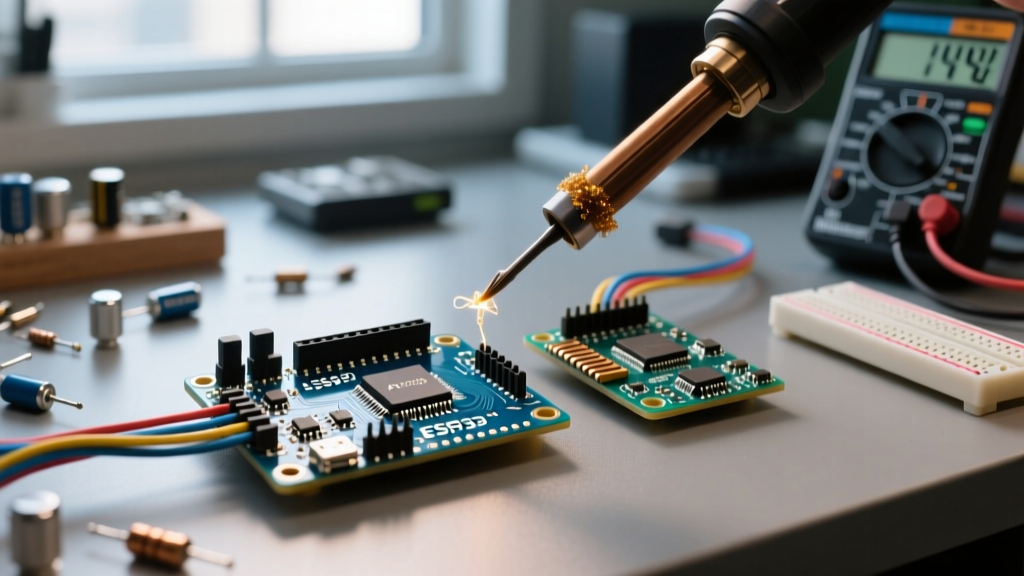
When designing custom PCBs or wiring complex breadboard circuits around an ATmega328P, ESP32, or STM32, power integrity is the dividing line between a reliable device and a frustrating paperweight. Microcontrollers draw current in rapid, high-frequency spikes during clock transitions and peripheral toggling. Without proper capacitor Arduino compatibility and placement, these transient spikes cause localized voltage droops, leading to brownout resets, corrupted I2C data, and erratic ADC readings.
This compatibility guide breaks down the exact capacitor values, dielectric materials, and placement strategies required for robust Arduino-based designs in 2026, moving beyond generic advice into actionable, component-level engineering.
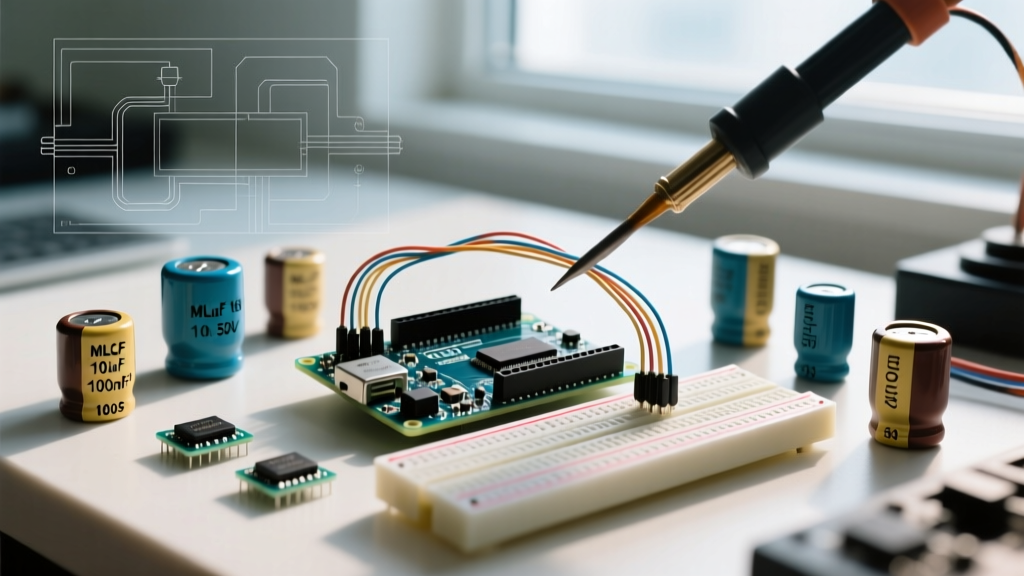
Expert Insight: The physical distance between a decoupling capacitor and the MCU VCC pin is just as critical as the capacitance value itself. A 100nF capacitor placed 2 inches away on a breadboard possesses too much parasitic trace inductance to suppress high-frequency noise. Always place MLCCs within 2mm of the power pins on custom PCBs.
Decoupling vs. Bulk Storage: A Compatibility Matrix
Capacitors in Arduino ecosystems serve two distinct electrical functions. Decoupling (Bypass) capacitors act as localized, high-speed energy reservoirs to filter out high-frequency switching noise. Bulk capacitors provide sustained current during heavy load transients, such as when a servo motor or GSM module activates.
| Application | Recommended Type | Value Range | Voltage Rating | Dielectric / Chemistry |
|---|---|---|---|---|
| MCU VCC Decoupling | Ceramic MLCC | 100nF (0.1µF) | 16V - 50V | X7R / C0G |
| Power Rail Bulk Storage | Aluminum Electrolytic / Polymer | 10µF - 470µF | 10V - 25V | N/A (Polarized) |
| Reset Pin Auto-Reset | Ceramic MLCC | 100nF | 16V | X7R |
| Reset Pin Disable (Serial) | Electrolytic | 10µF - 47µF | 16V | N/A (Polarized) |
| Crystal Oscillator Load | Ceramic MLCC | 12pF - 22pF | 50V | C0G / NP0 |
Dielectric Compatibility: Why X7R and C0G Dominate
Not all ceramic capacitors are created equal. The dielectric material dictates how the capacitor behaves under temperature and voltage stress. According to the Analog Dialogue guide on bypass capacitors, selecting the wrong dielectric can render your decoupling network useless.
X7R: The Workhorse for Decoupling
X7R dielectrics offer a stable capacitance that varies by no more than ±15% across a temperature range of -55°C to +125°C. For standard 5V or 3.3V Arduino logic decoupling, a 100nF X7R MLCC is the undisputed industry standard.
- Recommended Part: Murata GRM188R71H104KA93D (0603 SMD) or KEMET C315C104K5R5TA (Through-hole radial).
- 2026 Pricing: Approximately $0.02 per unit in cut-tape quantities, or $14.50 for a 4,000-unit reel via DigiKey.
C0G / NP0: Mandatory for Crystals and RF
If you are building a standalone ATmega328P-PU on a breadboard or custom PCB using an external 16MHz crystal oscillator, you must use C0G (also known as NP0) capacitors for the load capacitors (typically 22pF). C0G offers near-zero temperature and voltage coefficients. Using X7R or Y5V here will cause the crystal frequency to drift with temperature, leading to UART baud-rate mismatches and failed firmware uploads.
Y5V: The Compatibility Trap
Never use Y5V capacitors for MCU decoupling. While cheap and physically small, Y5V dielectrics suffer from severe voltage derating. A 100nF Y5V capacitor rated for 16V may exhibit only 20nF of actual capacitance when biased at 5V, starving your microcontroller of the high-frequency charge it needs.
The Reset Pin Capacitor: Auto-Reset vs. Serial Monitor Lock
One of the most highly searched capacitor Arduino compatibility issues revolves around the RESET pin. How you configure the reset capacitor completely changes how the board interacts with the Arduino IDE.
Scenario A: Enabling Auto-Reset for Custom PCBs
When designing a custom PCB with a USB-to-Serial chip (like the CH340, CP2102, or FT232RL), you want the board to automatically reset when you click 'Upload' in the IDE.
- Route the DTR (Data Terminal Ready) line from the USB chip to the RESET pin of the ATmega328P.
- Place a 100nF (0.1µF) X7R ceramic capacitor in series between the DTR line and the RESET pin.
- This capacitor acts as an AC coupler, converting the DTR voltage drop into a brief negative spike that triggers the MCU reset without holding the pin low permanently.
Scenario B: Disabling Auto-Reset for Serial Monitoring
Opening the Arduino IDE Serial Monitor toggles the DTR line, which resets the board and wipes your variables. If you are debugging a sensor that takes 5 minutes to calibrate, this is infuriating. To disable auto-reset on a standard Arduino Uno R3 or Nano:
- Place a 10µF to 47µF electrolytic capacitor between the RESET pin and GND.
- Polarity Warning: The anode (positive/long leg) must connect to RESET, and the cathode (negative/stripe) to GND.
- This bulk capacitor absorbs the DTR transient spike, preventing the voltage on the RESET pin from dropping below the ATmega's logical low threshold. (Note: You must manually press the physical reset button when uploading new sketches with this mod in place).
Real-World Failure Modes and Troubleshooting
Improper capacitor selection manifests in subtle, maddening ways. Here are three common failure modes and their exact capacitor-based solutions.
1. I2C Bus Hanging and Ghost Data
Symptom: Your OLED display or BME280 sensor randomly freezes or returns -127 on the I2C bus when a nearby relay switches.
The Fix: Relays induce massive EMI and ground bounce. Ensure there is a 100nF MLCC placed directly across the VCC and GND pins of the sensor itself, not just the Arduino. Furthermore, ensure your I2C pull-up resistors (typically 4.7kΩ) are tied to a clean, locally decoupled 3.3V or 5V rail.
2. Servo Motor Brownout Resets
Symptom: The Arduino reboots the moment a high-torque servo (like the MG996R) begins to move under load.
The Fix: Servos can draw 2A+ stall currents. Do not power them from the Arduino's onboard 5V regulator. Power them from an external 5V buck converter and place a 470µF to 1000µF low-ESR Aluminum Polymer capacitor on the servo's power rail. Never place a massive bulk capacitor directly on the Arduino's 5V pin, as backfeeding current when the board is unpowered can destroy the USB protection diodes.
3. Erratic Capacitive Touch Readings
Symptom: The CapacitiveSensor library returns wildly fluctuating baseline values.
The Fix: Capacitive touch relies on measuring picofarad-level changes. USB power from a PC is notoriously noisy. Place a 10µF tantalum and a 100nF ceramic in parallel on the Arduino's 5V rail to smooth out the USB switching noise, stabilizing the analog reference baseline.
Sourcing and Breadboard Compatibility
For prototyping on standard 0.1-inch solderless breadboards, surface mount (SMD) MLCCs are incompatible without breakout boards. You must source radial through-hole capacitors with a 2.54mm (0.1") or 5.08mm (0.2") lead pitch.
When consulting the Microchip ATmega328P Datasheet, section 31.3 explicitly recommends external decoupling for the AVCC pin (used for ADC). Even if you are not using the ADC, tying AVCC to VCC through a low-pass LC filter (a 10Ω resistor in series, followed by a 100nF capacitor to ground) drastically reduces digital noise coupling into the analog domain, a trick heavily utilized in professional audio-DAQ shields.
Frequently Asked Questions
Can I use a 1µF capacitor instead of 100nF for decoupling?
Yes, modern 1µF X7R MLCCs in 0402 or 0603 packages have low enough parasitic inductance to serve as excellent decoupling capacitors. In fact, many 2026 ESP32-S3 reference designs utilize 1µF or even 10µF MLCCs per VCC pin to handle the massive current transients of Wi-Fi TX bursts. However, for legacy ATmega328P designs, 100nF remains the standard.
Why does my Arduino Nano clone fail to upload code?
Many cheap clones use the CH340G USB chip and omit the 100nF auto-reset capacitor on the DTR line to save fractions of a cent. Without this capacitor, the IDE cannot pulse the reset pin. You must manually press and release the physical reset button on the Nano exactly when the IDE status bar changes from 'Compiling' to 'Uploading'.
Do I need load capacitors for the internal 8MHz oscillator?
No. If you are using the ATmega's internal RC oscillator (often done for low-pin-count ATTiny85 projects), external load capacitors are not required. They are only necessary when using an external quartz crystal or ceramic resonator, as detailed in the SparkFun Capacitor Tutorial regarding resonant circuits.