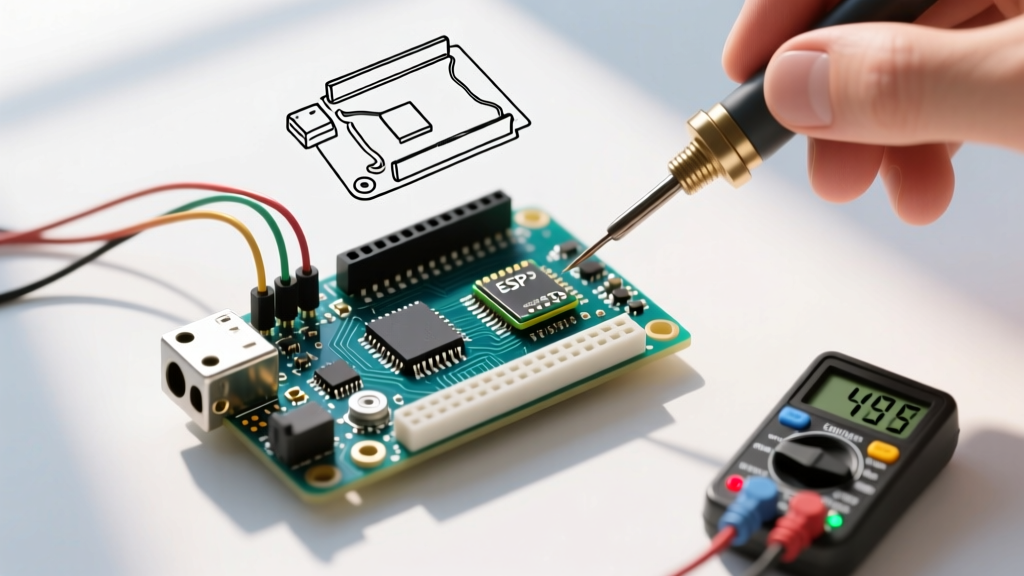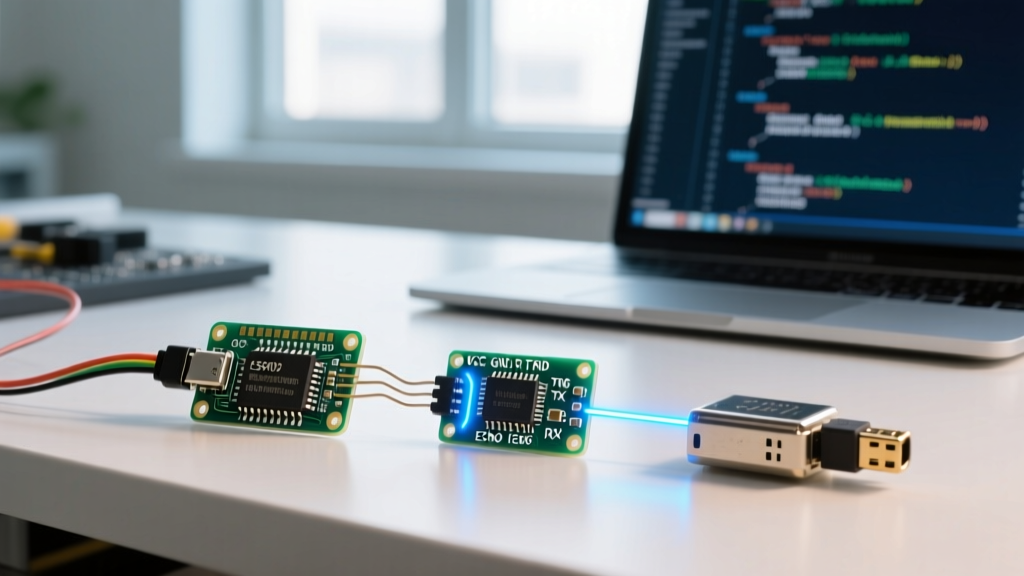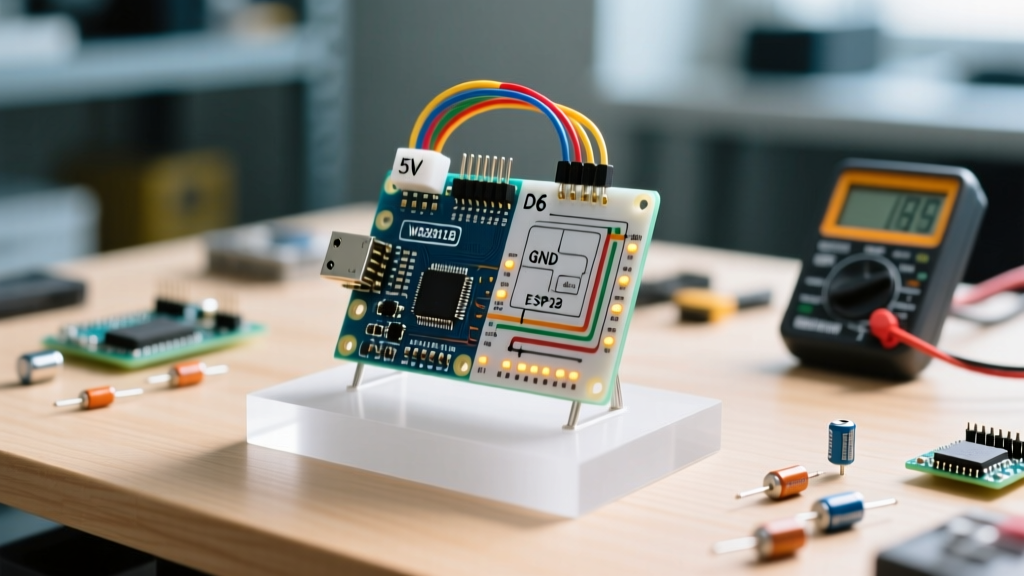

Why Build a Custom Arduino LED Strip Controller?
Off-the-shelf RF and Bluetooth LED controllers are convenient, but they lock you into pre-baked animations, limited color palettes, and isolated ecosystems. Building your own Arduino LED strip controller for WS2812B (commonly known as NeoPixel) addressable LEDs unlocks per-pixel manipulation, custom algorithmic patterns, and seamless integration into smart home networks via MQTT or Matter. In 2026, with the maturity of the FastLED library and the dropping cost of high-density COB LED strips, there has never been a better time to transition from a consumer of lighting effects to an architect of them.
This tutorial provides a rigorous, engineering-focused guide to designing, wiring, and programming a robust WS2812B controller using an Arduino Nano. We will cover power injection mathematics, data line conditioning, and edge-case troubleshooting to ensure your installation runs without flickering or voltage sag.
Bill of Materials (2026 Pricing & Sourcing)
To build a reliable controller capable of driving up to 150 WS2812B LEDs (approximately 2.5 meters at 60 LEDs/m), you need components that can handle the transient current spikes. Avoid undersized USB power banks; they will brown out under load.
| Component | Specification / Model | Est. Price (2026) |
|---|---|---|
| Microcontroller | Arduino Nano (Official or ATmega328P Clone) | $14.00 - $22.00 |
| Power Supply | Mean Well LRS-50-5 (5V, 10A, Enclosed) | $18.50 |
| LED Strip | WS2812B 5050 SMD, 60 LEDs/m, 5V | $16.00 (per 5m reel) |
| Filter Capacitor | 1000µF 6.3V (or 10V) Electrolytic | $0.85 |
| Data Resistor | 330Ω to 470Ω Through-Hole (1/4W) | $0.10 |
| Wiring | 18 AWG Silicone (Power), 22 AWG (Data) | $8.00 |
Hardware Wiring: Avoiding the Magic Smoke
The most common failure mode in DIY LED projects is not software bugs, but hardware destruction due to inrush current or signal reflection. Follow this exact wiring sequence.
1. Power Distribution and Capacitor Placement
WS2812B LEDs draw up to 60mA per pixel when rendering full-brightness white. When a strip transitions from black to white, the sudden current draw can cause a massive voltage dip, resetting your Arduino or permanently damaging the first few LEDs in the chain.
- The Fix: Solder or screw a 1000µF electrolytic capacitor directly across the 5V and GND terminals at the power supply output or at the strip's input pads. This acts as a local energy reservoir to absorb transient spikes.
- Polarity Warning: Ensure the capacitor's negative stripe aligns with Ground. Reversing it will cause the capacitor to vent violently.
2. Data Line Conditioning
The WS2812B protocol uses an 800kHz asynchronous serial signal. Long data wires act as antennas, picking up electromagnetic interference (EMI) which manifests as random color flashing.
- The Fix: Place a 330Ω to 470Ω resistor in-line on the data wire, as close to the LED strip's DIN pad as possible. This resistor dampens signal ringing and protects the first LED's data pin from voltage spikes if the power is connected before the data line.
Expert Rule of Thumb: Always connect the 5V power to the strip before connecting the data line from the Arduino. Disconnect the data line before cutting power. Backpowering the LED strip's logic chip through the data pin when VCC is unpowered can fry the IC.
The Math: Power Injection and Voltage Drop
Copper traces on flexible printed circuit boards (FPCBs) have inherent resistance. A standard WS2812B strip uses 2oz copper, which still results in noticeable voltage drop over distances greater than 1 meter.
Calculating Your Amperage Needs
Use this formula to size your power supply:
Total LEDs × 0.06A = Minimum Power Supply Amperage
For a 5-meter strip with 60 LEDs/m (300 total LEDs):
300 × 0.06A = 18 Amps.
Since the Mean Well LRS-50-5 only provides 10A, it is sufficient for roughly 150 LEDs. If you plan to drive the full 5 meters, you must upgrade to a 5V 20A power supply (like the Mean Well LRS-100-5).
Implementing Power Injection
If your strip exceeds 1 meter, you must inject power at both the beginning and the end of the strip. For runs over 3 meters, inject power every 1.5 meters. Connect the 5V and GND wires from your power supply in parallel to these injection points. Never inject 5V power into the middle of a strip without cutting the VCC trace if you are using dual power supplies, as slight voltage differences between supplies will cause cross-currents and melted traces.
Programming the Controller with FastLED
For 2026 development, the FastLED library remains the gold standard for AVR and ARM microcontrollers due to its highly optimized assembly-level timing routines. Install it via the Arduino Library Manager.
#include <FastLED.h>

// Hardware definitions
#define DATA_PIN      6
#define LED_TYPE      WS2812B
#define COLOR_ORDER   GRB
#define NUM_LEDS      60
#define BRIGHTNESS    128 // Max 255, but 128 saves power and reduces heat

CRGB leds[NUM_LEDS];

void setup() {
    // Delay required for FastLED to stabilize power
    delay(2000);

    // Initialize the LED strip
    FastLED.addLeds<LED_TYPE, DATA_PIN, COLOR_ORDER>(leds, NUM_LEDS).setCorrection(TypicalLEDStrip);
    FastLED.setBrightness(BRIGHTNESS);

    // Set maximum power limit to prevent PSU overload (5V, 2000mA limit)
    FastLED.setMaxPowerInVoltsAndMilliamps(5, 2000);
}

void loop() {
    // Example: Simple moving rainbow pattern
    for(int i = 0; i < NUM_LEDS; i++) {
        leds[i] = CHSV((i * 4) + millis() / 10, 255, 255);
    }
    FastLED.show();
}
Code Insight: The setMaxPowerInVoltsAndMilliamps() function is a critical safety net. If your animation demands more current than your power supply can provide, FastLED will automatically dim the LEDs globally to stay within the defined wattage limit, preventing your power supply from tripping its over-current protection.
Advanced Edge Case: 3.3V vs 5V Logic Mismatches
While the 5V Arduino Nano outputs a clean 5V logic HIGH (which perfectly matches the WS2812B's required VDD × 0.7 threshold), modern makers often pivot to the ESP32 for Wi-Fi capabilities. The ESP32 operates at 3.3V logic.
According to the SparkFun Logic Levels tutorial, a 3.3V output falls into the 'undefined' region for a 5V CMOS input like the WS2812B. This results in intermittent flickering, especially on the first pixel. If you upgrade your controller to an ESP32, you must place a 74AHCT125 logic level shifter between the ESP32 GPIO and the LED DIN. Power the 74AHCT125 with 5V, feed the 3.3V data into the input, and take the 5V output to the strip.
Troubleshooting Matrix
When your custom Arduino LED strip controller misbehaves, use this diagnostic matrix to isolate the fault.
| Symptom | Probable Cause | Engineering Solution |
|---|---|---|
| First LED is yellow/green, rest are off or flickering. | Data line voltage drop or missing ground reference. | Ensure Arduino GND and Power Supply GND are tied together. Add the 470Ω data resistor. |
| LEDs at the end of the strip appear orange instead of white. | Voltage drop across the FPCB copper traces. | Inject 5V power at the end of the strip. Upgrade to thicker (16 AWG) injection wires. |
| Arduino randomly resets during bright white animations. | Inrush current causing 5V rail brownout. | Verify the 1000µF capacitor is installed. Use a dedicated power supply, not USB. |
| Random pixels flash like 'static' on a TV. | EMI interference on the data line or untimed interrupts. | Shorten the data wire. Disable serial prints or Wi-Fi polling during FastLED.show(). |
Conclusion
Building a dedicated Arduino LED strip controller for WS2812B arrays bridges the gap between basic hobbyist tinkering and professional lighting design. By respecting the physics of current draw, implementing proper data line conditioning, and leveraging FastLED's power-management APIs, you create a system that is as reliable as it is visually striking. For further reading on addressable LED timing protocols, consult the Adafruit NeoPixel Überguide, which remains an essential reference for pixel-level hardware behavior.