
The Core Divide: Microcontroller vs. Microprocessor
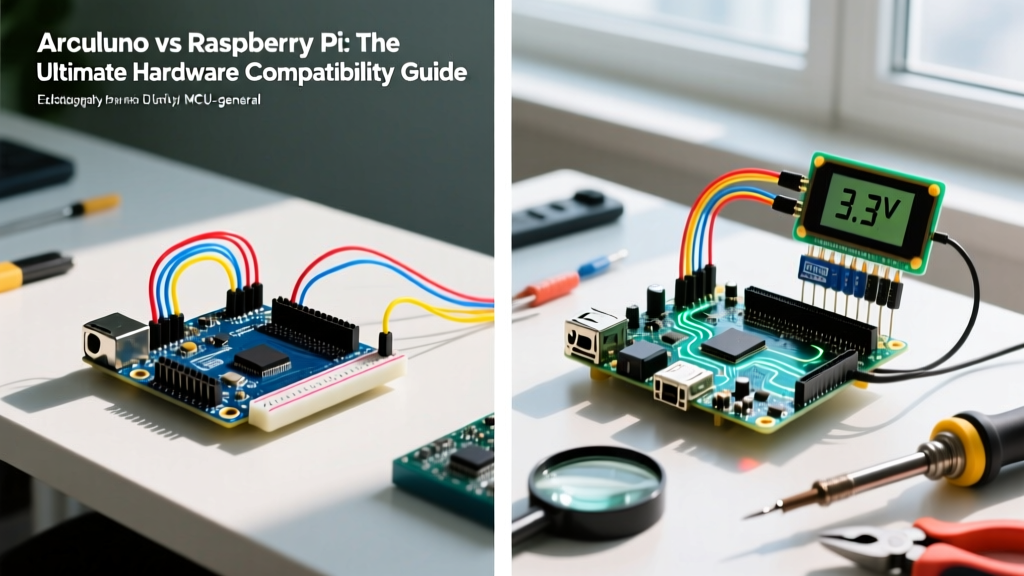
When makers and engineers search for arduino vs raspberry, they are usually trying to decide which board to use for a project. However, in advanced robotics, home automation, and IoT edge computing, the real question is not which one to choose, but how to make them work together. The Raspberry Pi is a full-fledged single-board computer (SBC) running a Linux OS, while the Arduino is a real-time microcontroller (MCU) designed for deterministic hardware control. Bridging the two requires a deep understanding of voltage logic, communication protocols, and power delivery.
This compatibility guide breaks down the exact hardware intersections between the current-generation Raspberry Pi 5 and the Arduino Uno R4 series, providing actionable engineering solutions to prevent catastrophic hardware failures.
Logic Level Compatibility: The 5V vs 3.3V Danger Zone
The most critical compatibility hurdle between these ecosystems is logic voltage. The standard Arduino Uno R3 (ATmega328P) and the newer Uno R4 Minima (Renesas RA4M1) operate with 5V logic levels. Conversely, the Raspberry Pi 4 and Pi 5 (BCM2712 SoC) are strictly 3.3V devices.
Critical Failure Mode: Feeding a 5V Arduino digital output directly into a Raspberry Pi GPIO pin will permanently destroy the Broadcom SoC's input pad. The absolute maximum voltage tolerance on any Pi GPIO is 3.6V. Always use a level shifter when connecting Arduino outputs to Pi inputs.
Safe Translation Solutions
To safely bridge this gap, you must use bidirectional logic level converters. Avoid simple resistor voltage dividers for high-speed protocols like SPI, as they degrade signal edges and introduce capacitance.
- MOSFET-Based Shifters (BSS138): Boards like the SparkFun Bi-Directional Logic Level Converter (approx. $2.95) use BSS138 N-channel MOSFETs. These are ideal for I2C and UART but can struggle with SPI clock speeds above 10 MHz due to gate capacitance.
- Active IC Shifters (TXB0108): For high-speed SPI or parallel data buses, the Texas Instruments TXB0108 (approx. $3.50) provides active edge-rate acceleration. According to the TI Voltage Translation Guide, this IC supports data rates up to 100 Mbps, making it perfect for driving Arduino-shift registers from a Pi.
Protocol Interoperability: I2C, SPI, and UART
Getting the two boards to talk requires aligning their communication peripherals. Here is how to handle the three primary serial protocols.
I2C Bus Sharing and Pull-Up Resistor Conflicts
The Raspberry Pi features 1.8kΩ hardware pull-up resistors on its primary I2C bus (SDA on GPIO 2, SCL on GPIO 3) tied to 3.3V. Many Arduino shields and sensors feature 4.7kΩ or 10kΩ pull-up resistors tied to 5V. If you wire them directly together, the 5V pull-ups will back-feed voltage into the Pi's 3.3V I2C lines, risking SoC damage.
The Fix: Use an I2C bus isolator like the PCA9515A or the Adafruit I2C Isolator. These chips not only shift the voltage but also electrically isolate the bus capacitance, preventing the combined capacitance from exceeding the 400pF I2C standard limit.
UART Serial Bridging
Connecting the Pi's /dev/serial0 to the Arduino's hardware serial (Pins 0 and 1) is the most reliable way to send high-level commands from Python to C++.
- Connect Pi TX to Arduino RX (via a 3.3V to 5V level shifter).
- Connect Pi RX to Arduino TX (The Pi's 3.3V input is generally 5V-tolerant on UART lines, but a shifter is recommended for safety).
- Crucial Step: You must connect a common Ground (GND) wire between the two boards, or the serial data will be unreadable due to floating reference voltages.
Physical Shield and HAT Compatibility
A common question in the arduino vs raspberry debate is whether physical add-on boards are cross-compatible. The short answer is no. Arduino shields utilize a specific 2x15, 1x10, and 1x8 header layout with 0.1" spacing. Raspberry Pi HATs use a 2x20 header. Furthermore, the pinout mappings are entirely different.
As detailed on Pinout.xyz, the Pi's GPIO matrix includes dedicated SPI0, SPI1, and PCM pins that do not align physically with the Arduino's ICSP or digital headers. If you need to use an Arduino motor shield with a Raspberry Pi, you must use a GPIO breakout board and wire the connections manually, or utilize a dedicated adapter board like the RasPiIO Duino, which maps Pi GPIOs to an Arduino-compatible female header footprint.
Power Delivery and Backpowering Risks
Powering a hybrid system requires careful planning. The Raspberry Pi 5 requires a 5V/5A (27W) USB-C Power Delivery (PD) source to operate at full capacity and support peripheral USB devices. The Arduino Uno R4 can be powered via its USB-C port (5V) or the VIN barrel jack (recommended 7-12V).
The Backpowering Trap
Never attempt to power the Raspberry Pi by back-feeding 5V from the Arduino's 5V pin. The Arduino's onboard polyfuse and USB traces are rated for roughly 500mA to 1A. A Raspberry Pi idling at 600mA and spiking to 2A+ under load will instantly trip the Arduino's protection circuitry, cause severe voltage sag, and potentially melt the Arduino's USB traces.
Best Practice: Use a shared 5V DC-DC buck converter (like an LM2596 module set precisely to 5.1V) powered by a 12V wall adapter. Feed the Pi via its GPIO 5V pins (Pins 2 and 4) and the Arduino via its 5V pin, ensuring both share a common ground. This bypasses the Pi's USB-C PD negotiation, though it disables the Pi's built-in over-current protection.
Real-World Architecture: The Hybrid Approach
To truly leverage both ecosystems, assign tasks based on their architectural strengths. In a 2026 automated greenhouse project, for example:
- Raspberry Pi 5 (The Brain): Runs Python scripts, hosts an MQTT broker, logs data to a local InfluxDB, and uses OpenCV to analyze plant health via a camera module.
- Arduino Uno R4 (The Muscle): Handles deterministic, real-time interrupts for soil moisture sensors, drives 12V relays for water pumps via MOSFETs, and manages PWM dimming for grow lights without the jitter introduced by Linux's non-real-time kernel.
The Pi sends high-level JSON commands over UART (e.g., {"pump_1": "on", "duration": 5000}), and the Arduino parses the string and executes the hardware timing flawlessly.
Specification Comparison Matrix
Below is a technical comparison of the current mainstream boards to help you allocate your project budget and architecture.
| Feature | Arduino Uno R4 Minima | Raspberry Pi 5 (8GB) | Raspberry Pi Pico W |
|---|---|---|---|
| Core Processor | Renesas RA4M1 (Cortex-M4) | Broadcom BCM2712 (Cortex-A76) | Raspberry Pi RP2040 (Cortex-M0+) |
| Clock Speed | 48 MHz | 2.4 GHz | 133 MHz |
| Logic Voltage | 5V Tolerant | 3.3V (Strict) | 3.3V |
| Operating System | Bare Metal / RTOS | Linux (Raspberry Pi OS) | Bare Metal / MicroPython |
| Typical Price (2026) | ~$20.00 | ~$80.00 | ~$6.00 |
| Best Use Case | Real-time motor control, ADC | Computer vision, networking, UI | Low-cost IoT, custom HID |
Software Ecosystem Interoperability
While the hardware requires level shifters, the software ecosystem has become increasingly unified. According to the official Arduino documentation, the Arduino IDE now natively supports a wide array of non-AVR microcontrollers. If you want the Raspberry Pi hardware experience but prefer the Arduino IDE, the Raspberry Pi Pico (RP2040) can be programmed directly using the Arduino IDE via the Earle Philhower board manager core. This allows you to write standard C++ sketches, utilize the Wire and SPI libraries, and flash the Pi hardware without ever touching a Linux terminal.
Conclusion
The arduino vs raspberry comparison is not a zero-sum game. By respecting the 3.3V vs 5V logic boundaries, isolating I2C pull-up networks, and designing a robust shared power delivery system, you can seamlessly integrate the deterministic, real-time capabilities of an Arduino with the massive computational power of a Raspberry Pi. Always prioritize signal integrity and common grounding, and your hybrid embedded systems will run reliably for years.