
The Bottleneck: Why Legacy Serial Fails in Modern AV
When building interactive AV installations, your Arduino TouchDesigner pipeline is only as fast as its weakest link. For years, makers relied on standard Serial.print() over USB-to-UART bridges at 115200 baud. While sufficient for basic sensor logging, this legacy approach introduces 3ms to 8ms of latency, severe jitter, and heavy string-parsing overhead in TouchDesigner. In 2026, high-framerate generative visuals, real-time DMX mapping, and interactive spatial audio demand sub-millisecond precision and robust data structures.
Migrating away from comma-separated string parsing to structured protocols like Open Sound Control (OSC) and Native USB MIDI fundamentally changes how TouchDesigner ingests hardware data. This guide provides a comprehensive migration path for upgrading both your microcontroller hardware and your communication protocols to achieve professional-grade, ultra-low latency performance.
Hardware Migration Matrix: Choosing Your 2026 Microcontroller
Not all boards handle USB communication equally. The classic Arduino Uno R3 uses an ATmega16U2 chip as a serial bridge, which inherently bottlenecks data transfer. To achieve true native USB speeds, you must migrate to boards with integrated USB PHYs or high-speed network interfaces.
| Microcontroller | Est. Price (2026) | USB / Network Speed | Optimal Protocol | TouchDesigner Node |
|---|---|---|---|---|
| Teensy 4.1 | $89.95 | 480 Mbps (Native USB) | Native USB MIDI | MIDI In CHOP |
| Arduino Giga R1 WiFi | $115.00 | WiFi 802.11 b/g/n | UDP OSC | OSC In CHOP |
| ESP32-S3 DevKitC-1 | $12.00 | WiFi / Native USB | UDP OSC / Serial | OSC In CHOP |
| Arduino Uno R4 Minima | $27.50 | 12 Mbps (Native USB) | HID / Custom Serial | Serial CHOP |
The Workhorse: Teensy 4.1 for Native MIDI
For physical computing projects requiring dozens of potentiometers, faders, or capacitive touch inputs, the Teensy 4.1 remains the undisputed king. Its 600MHz ARM Cortex-M7 processor can poll analog inputs and format MIDI Control Change (CC) messages faster than the USB bus can transmit them. Because it enumerates as a native USB MIDI device, TouchDesigner recognizes it instantly without requiring custom drivers or baud-rate configurations.
The Networked Node: Arduino Giga R1 WiFi & ESP32-S3
When your sensors are located far from the TouchDesigner host machine, running a 50-foot USB cable introduces signal degradation and ground loop risks. Migrating to UDP OSC over WiFi or Ethernet via the Arduino Giga R1 WiFi or ESP32-S3 allows you to transmit floating-point sensor arrays wirelessly. OSC natively supports floats, eliminating the need to map 10-bit ADC values (0-1023) to 7-bit MIDI integers (0-127) and losing resolution in the process.
Protocol Upgrade Path A: Native USB MIDI
Migrating to MIDI is ideal for control surfaces, motorized faders, and button matrices. TouchDesigner's MIDI In CHOP automatically maps MIDI CC data to named channels, bypassing the need for complex string splitting.
Firmware Migration (Teensyduino)
Replace your legacy serial string builders with the native MIDI library. Ensure your Arduino IDE is configured with Tools > USB Type > MIDI.
#include <Bounce.h>

// Pin 0 reading a potentiometer
const int POT_PIN = A0;
int previousValue = 0;

void setup() {
  // No Serial.begin() required for native USB MIDI
}

void loop() {
  int currentValue = analogRead(POT_PIN);
  // Map 10-bit ADC to 7-bit MIDI CC (0-127)
  int midiValue = map(currentValue, 0, 1023, 0, 127);

  // Hysteresis to prevent MIDI jitter on analog inputs
  if (abs(midiValue - previousValue) > 2) {
    usbMIDI.sendControlChange(1, midiValue, 1); // CC#1, Value, Channel 1
    previousValue = midiValue;
  }

  while (usbMIDI.read()) {
    // Process incoming MIDI from TouchDesigner if needed
  }
}
For deeper implementation details on native USB messaging, refer to the PJRC Teensy MIDI Documentation, which outlines exact timing constraints and SysEx handling.
TouchDesigner Configuration
- Drop a
MIDI In CHOPinto your network. - In the parameters, set the Device to your Teensy board.
- Set Format to 'Channel and Controller' to automatically generate CHOP channels named
ch1ctrl1. - Enable Time Slice in the Common tab to ensure data is processed exactly once per frame, eliminating buffer pile-up.
Protocol Upgrade Path B: Open Sound Control (OSC) via UDP
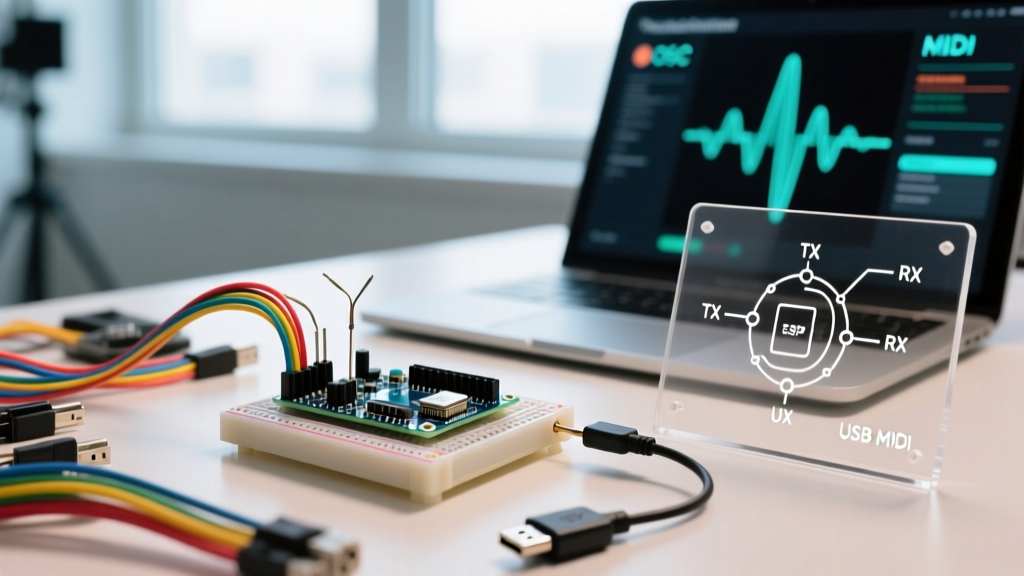
When you need to transmit high-resolution floating-point data, IMU quaternion arrays, or complex nested sensor data, MIDI's 7-bit limitation becomes a hard ceiling. OSC over UDP is the industry standard for modern interactive media.
Firmware Migration (OSCuino Library)
Using an ESP32-S3 or Arduino Giga R1, install the CNMAT OSCuino Library. This library handles the binary encoding of OSC bundles, ensuring data arrives structured and type-safe.
#include <WiFi.h>
#include <WiFiUdp.h>
#include <OSCMessage.h>

const char* ssid = "StudioNetwork_5G";
const char* password = "secure_password_2026";
IPAddress tdHost(192, 168, 1, 50); // TouchDesigner PC IP
const unsigned int tdPort = 8000;

WiFiUDP Udp;

void setup() {
  WiFi.begin(ssid, password);
  while (WiFi.status() != WL_CONNECTED) { delay(500); }
  Udp.begin(9000); // Local port for ESP32
}

void loop() {
  float sensorFloat = analogRead(A0) / 1023.0;

  OSCMessage msg("/sensors/potentiometer/1");
  msg.add(sensorFloat);

  Udp.beginPacket(tdHost, tdPort);
  msg.send(Udp);
  Udp.endPacket();
  msg.empty();

  delay(5); // ~200Hz polling rate
}
TouchDesigner Configuration
- Place an
OSC In CHOPin your network. - Set the Network Port to 8000 (matching your firmware).
- Set the Address parameter to
/sensors/*to capture all nested sensor data dynamically. - The resulting CHOP channels will automatically name themselves based on the OSC address tail (e.g.,
1), which you can rename using aRename CHOP.
TouchDesigner Node Optimization & Jitter Elimination
Upgrading your hardware and protocol is only half the battle. TouchDesigner's execution engine must be configured to handle high-frequency hardware interrupts without dropping frames or causing visual stutter.
Expert Insight: The most common cause of 'lag' in Arduino TouchDesigner setups is not the microcontroller, but TouchDesigner's CHOP cook mode. If a sensor sends data at 500Hz and your TouchDesigner project runs at 60fps, the CHOP buffer will overflow, causing a growing latency delay over time.
Critical Parameter Adjustments
- Time Slice Mode: On all incoming hardware CHOPs (
Serial,MIDI In,OSC In), go to the Common page and ensure Time Slice is turned ON. This forces the CHOP to process only the data received since the last frame, discarding stale buffer data and keeping latency pinned to a single frame (~16ms at 60fps). - DAT to CHOP Overhead: If you are still using
Serial DATto parse custom strings and converting viaDAT to CHOP, you are wasting CPU cycles. Migrating toOSC In DATor native CHOPs bypasses Python/string evaluation entirely, executing on compiled C++ under the hood. - Network Buffer Size: For UDP OSC over WiFi, packet loss is inevitable. In your
OSC In CHOP, increase the Queue Size parameter slightly if you notice dropped sensor spikes, but keep it under 10 to prevent latency accumulation.
Real-World Edge Cases & Troubleshooting
When deploying interactive installations in galleries or live venues, theoretical performance often meets physical reality. Here are specific failure modes and their solutions:
1. The USB Hub Polling Limit (Windows)
Windows limits the polling rate of USB Interrupt Endpoints. If you daisy-chain multiple Teensy boards through an unpowered USB hub, the OS will throttle the polling rate, introducing massive jitter. Solution: Always use a powered, industrial-grade USB hub (like the Sabrent 60W hub) and connect high-speed MIDI devices directly to the motherboard's rear I/O ports.
2. Ground Loops in Analog Sensors
When connecting long analog sensor cables (like FSRs or conductive thread) to an Arduino powered by the same PC running TouchDesigner, you may introduce 50/60Hz mains hum into your analog readings, appearing as high-frequency noise in your CHOPs. Solution: Implement software low-pass filtering using a Filter CHOP in TouchDesigner (set to a 15Hz cutoff), or use hardware optocouplers and isolated DC-DC converters on the microcontroller side to break the ground loop.
3. ESP32 WiFi Stack Panics
Sending OSC packets via UDP in the main loop() without yielding can cause the ESP32's WiFi stack to crash, triggering a watchdog reset. Solution: Ensure you include yield() or a small delay(1) in your transmission loop, or migrate your OSC transmission to the secondary core using FreeRTOS tasks for rock-solid stability. For more on ESP32 architecture, consult the Arduino Official Documentation regarding dual-core processing.
Conclusion
Upgrading your Arduino TouchDesigner workflow from legacy serial strings to native MIDI and UDP OSC is no longer optional for professional interactive media. By selecting the right hardware—like the Teensy 4.1 for tactile control or the ESP32-S3 for wireless sensor networks—and configuring TouchDesigner's Time Slice parameters correctly, you can achieve a flawless, sub-millisecond pipeline capable of driving the most demanding generative art and stage lighting rigs.