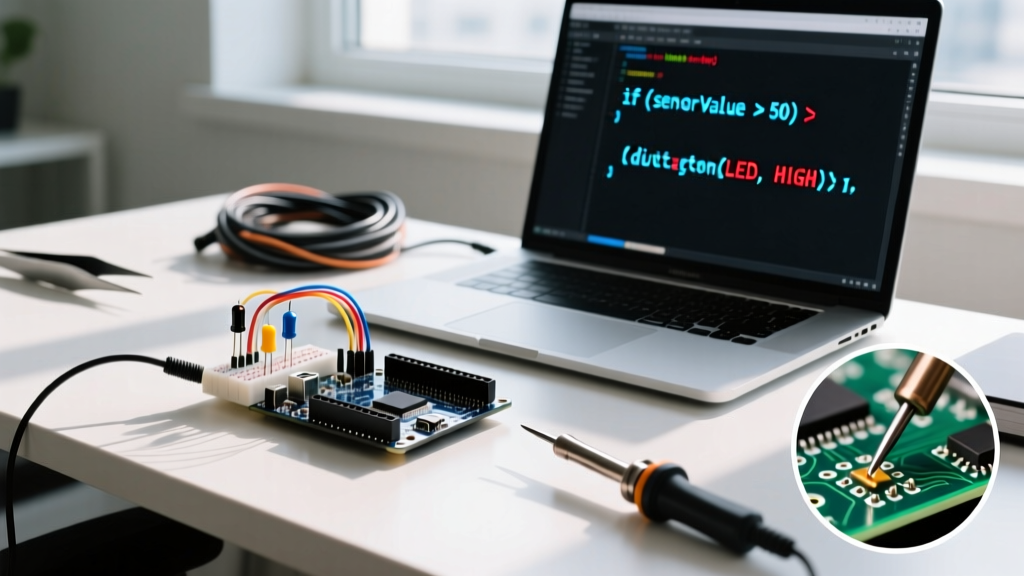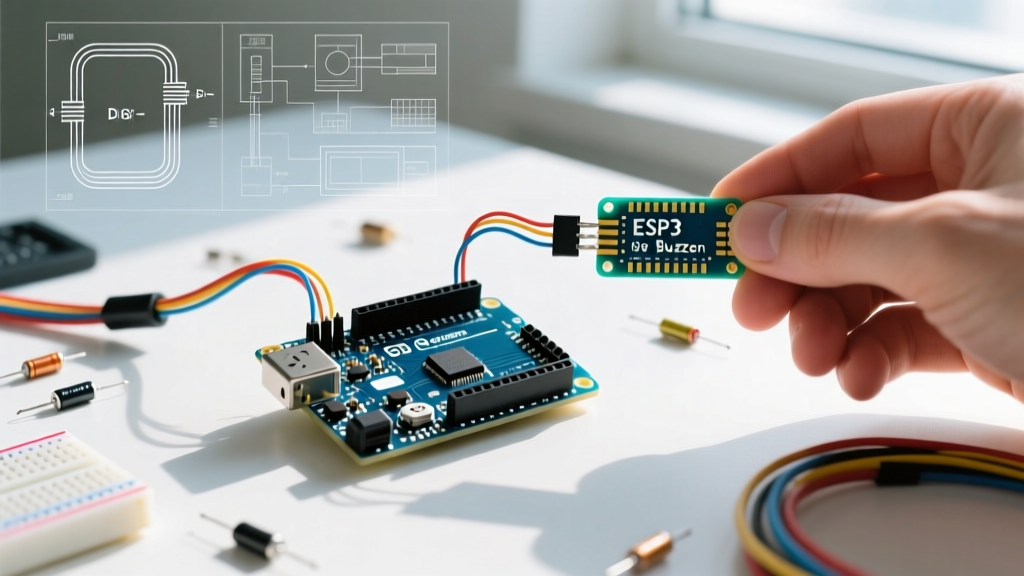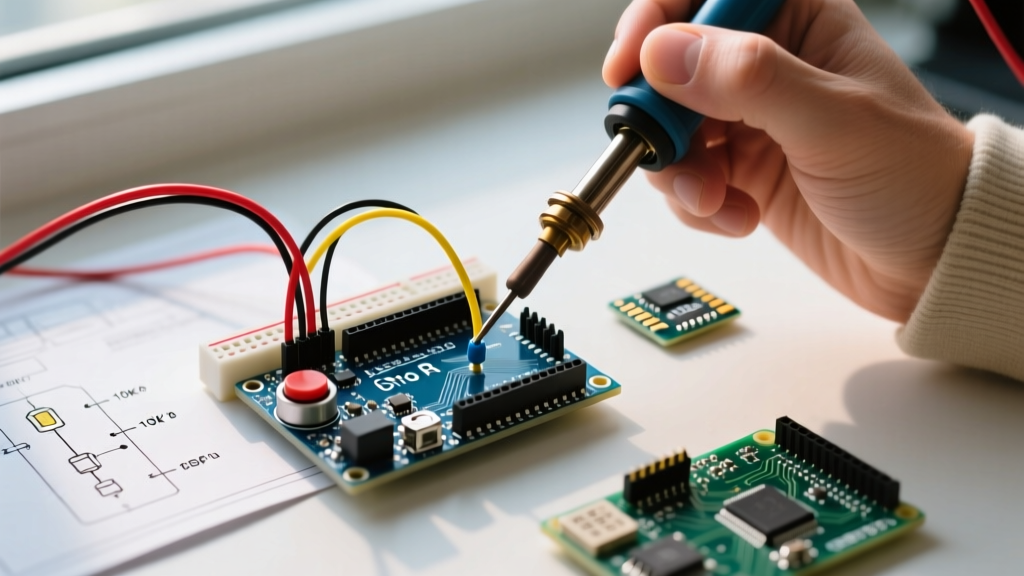

The 2026 Landscape: Why Optimize the Arduino R3 Uno?
Even in 2026, with the Arduino Uno R4 Minima and WiFi variants dominating new product announcements, the classic Arduino R3 Uno remains the undisputed workhorse of the maker and industrial prototyping world. Its ATmega328P-PU microcontroller is ubiquitous, cheap to replace (around $3 to $4 for a genuine chip), and supported by a massive legacy codebase. However, the default out-of-the-box workflow—relying on the standard Arduino IDE GUI and default bootloader configurations—can severely bottleneck professional development and rapid iteration.
Optimizing your workflow for the Arduino R3 Uno isn't just about writing cleaner code; it is about minimizing compilation wait times, eliminating hardware debugging friction, and maximizing the limited 2KB SRAM and 32KB Flash memory. This guide provides actionable, deep-level strategies to transform your R3 Uno prototyping process from a hobbyist pace to an engineering-grade pipeline.
Ditching the GUI: CLI and PlatformIO Workflows
The standard Arduino IDE 2.x has improved significantly over the years, but for serious workflow optimization, relying on a graphical interface for compilation and uploading introduces unnecessary overhead. Transitioning to command-line tools or advanced IDE integrations drastically reduces the time from 'save' to 'silicon'.
Arduino-CLI Quick Start
The Arduino CLI is a lightweight, single-binary tool that allows you to compile, upload, and manage libraries without opening a heavy IDE. By integrating it into a custom shell script or Makefile, you can automate your build pipeline.
- Install and Update:
curl -fsSL https://raw.githubusercontent.com/arduino/arduino-cli/master/install.sh | sh - Compile:
arduino-cli compile -b arduino:avr:uno --fqbn arduino:avr:uno ./my_sketch - Upload:
arduino-cli upload -p /dev/ttyACM0 -b arduino:avr:uno ./my_sketch
Using the CLI allows you to chain commands. For example, you can write a bash script that compiles your sketch, checks the Flash utilization output via grep to ensure it is under 90%, and only then triggers the upload sequence, saving you from bricking a board with an oversized binary.
PlatformIO Configuration
For developers using VS Code, PlatformIO is the gold standard. According to the PlatformIO Uno Board Documentation, you can define exact build flags, monitor speeds, and library dependencies in a simple platformio.ini file. This ensures that every team member or CI/CD pipeline uses the exact same compiler versions and library revisions, eliminating the 'it works on my machine' syndrome that plagues Arduino development.
[env:uno]
platform = atmelavr
board = uno
framework = arduino
monitor_speed = 115200
build_flags = -Wall -Wextra -O3
Adding -O3 to your build flags instructs the AVR-GCC compiler to aggressively optimize for speed, which can shave crucial microseconds off interrupt service routines (ISRs) on the 16MHz ATmega328P.
Memory Management: Escaping the 2KB SRAM Trap
The most common point of failure in complex Arduino R3 Uno projects is SRAM exhaustion. The ATmega328P has only 2048 bytes of SRAM. When you use the String class or hardcode long serial print statements, you rapidly consume this space, leading to silent memory leaks and random reboots.
| Technique | Implementation | Impact on Workflow & Resources |
|---|---|---|
| F() Macro for Flash Strings | Serial.println(F("Debug")); |
Moves static strings from SRAM to Flash. Saves up to 500+ bytes of SRAM in verbose logging sketches. |
| PROGMEM for Lookup Tables | Use pgm_read_byte() with AVR PROGMEM |
Essential for sine waves, CRC tables, or large arrays. Keeps SRAM free for dynamic variables. |
| Eliminate the String Class | Use C-style char arrays and snprintf() |
Prevents heap fragmentation. Fragmentation is the primary cause of sudden R3 Uno crashes after hours of runtime. |
| Reduce Serial Buffer | Modify HardwareSerial.cpp (advanced) | If you only send short telemetry, reducing the default 64-byte TX/RX buffers reclaims 128 bytes of SRAM. |
Hardware Workflow: Bypassing the Bootloader Delay
Every time you reset the Arduino R3 Uno or power it on, the default Optiboot bootloader pauses execution for approximately 1.5 to 2 seconds while it waits for a serial upload handshake. In a rapid prototyping environment where you are testing hardware reset circuits or power-cycling relays, this delay is unacceptable. Furthermore, the bootloader consumes 512 bytes of precious Flash memory.
The ICSP Flashing Method
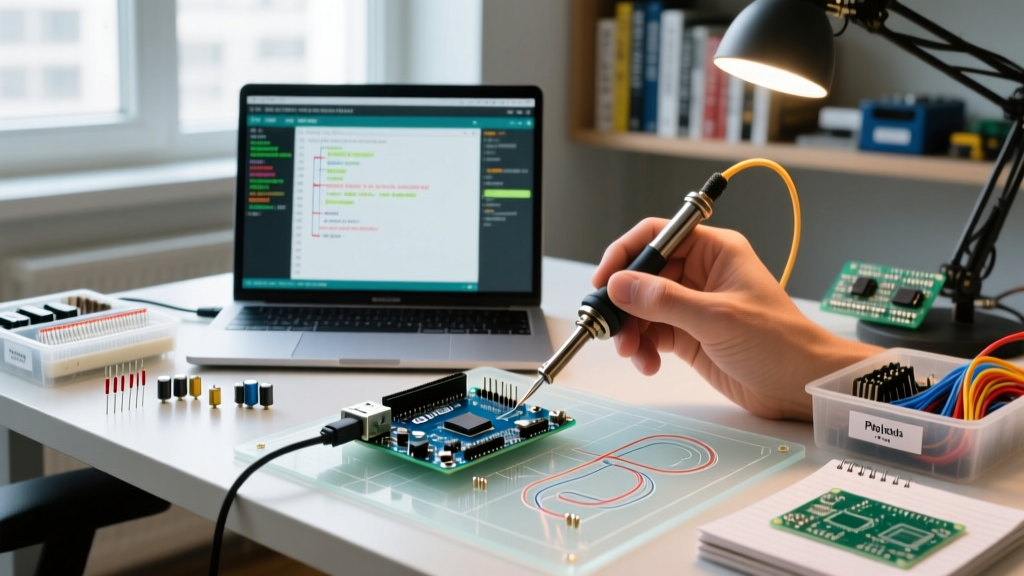
To optimize your deployment workflow, bypass the bootloader entirely by flashing the compiled .hex file directly via the ICSP (In-Circuit Serial Programming) header. You will need a USBasp programmer (typically $4 to $8 online) or an AVRISP mkII clone.
- Compile your sketch to generate the
.hexfile (easily located in the PlatformIO.pio/build/uno/directory). - Connect the USBasp to the 2x3 ICSP header on the R3 Uno.
- Execute the flash command:
avrdude -c usbasp -p m328p -U flash:w:firmware.hex:i - Crucial Step: To remove the bootloader delay, you must also change the fuse bits to boot directly to the application vector. Use:
avrdude -c usbasp -p m328p -U hfuse:w:0xD9:m(Note: Always double-check fuse calculators for your specific crystal setup before writing high fuses to avoid bricking the chip).
This workflow modification results in instant boot times (under 10ms) and recovers 0.5KB of Flash, which is often enough to fit that one extra sensor library you needed.
High-Speed I/O: Direct Port Manipulation
When your workflow requires reading high-frequency sensors or generating precise PWM signals, the standard digitalWrite() function is too slow. It includes overhead for pin mapping and timer checks, taking roughly 4 to 5 microseconds per call. For a 16MHz board, this is an eternity.
Optimize your I/O workflow by using direct port manipulation. By writing directly to the AVR hardware registers, you can toggle pins in a single clock cycle (62.5 nanoseconds).
Expert Insight: Instead ofdigitalWrite(2, HIGH);, usePORTD |= (1 << 2);to set Pin 2 high. To set it low, usePORTD &= ~(1 << 2);. This single optimization can increase your sensor polling rate by a factor of 50x, completely changing how you approach signal processing on the R3.
Physical Prototyping Organization
Workflow optimization is not purely digital; physical cable management and hardware modularity dictate how fast you can swap components. The R3 Uno's female headers are great for Dupont wires, but they are terrible for vibration-heavy or mobile prototypes.
- Use Proto Screw Shields: Invest in stackable screw-terminal shields ($6 to $10). They allow you to terminate bare wires securely without soldering, making teardown and reconfiguration 80% faster.
- Color-Coded Wiring Standards: Adopt a strict internal standard. Red for 5V, Black for GND, Yellow for I2C SDA, Green for I2C SCL, and Blue for SPI. This eliminates the 'tracing wires with a multimeter' bottleneck when debugging hardware faults.
- Modular Breakouts: Never wire raw sensor modules directly to the Uno if you plan to reuse them. Mount sensors on small perfboards with standardized 4-pin JST connectors. This turns your R3 Uno into a plug-and-play hub rather than a tangled bird's nest.
Frequently Asked Questions
Is the Arduino R3 Uno still relevant for professional prototyping in 2026?
Absolutely. While the R4 offers more RAM and a 32-bit ARM Cortex-M4, the R3 Uno's 5V logic level, immense shield compatibility, and the sheer availability of replacement ATmega328P chips make it the safest bet for rapid hardware validation before moving to custom PCBs.
How do I debug the Arduino R3 Uno without a hardware debugger?
The R3 lacks the native SWD/JTAG debugging of ARM boards. Optimize your debugging workflow by implementing a structured serial logging library that timestamps outputs using millis(), and use conditional compilation macros (e.g., #ifdef DEBUG_MODE) to strip logging code out of your production builds instantly.
Can I use the Arduino R3 Uno for battery-powered IoT projects?
Out of the box, no. The onboard USB-to-serial chip and voltage regulator draw a constant 15mA to 20mA. To optimize for low power, you must physically remove the power LED, use the ICSP header to flash the code (bypassing the USB chip), and run the board directly from a 3.3V LiPo battery via the 3.3V pin, dropping sleep-mode current to microamps.