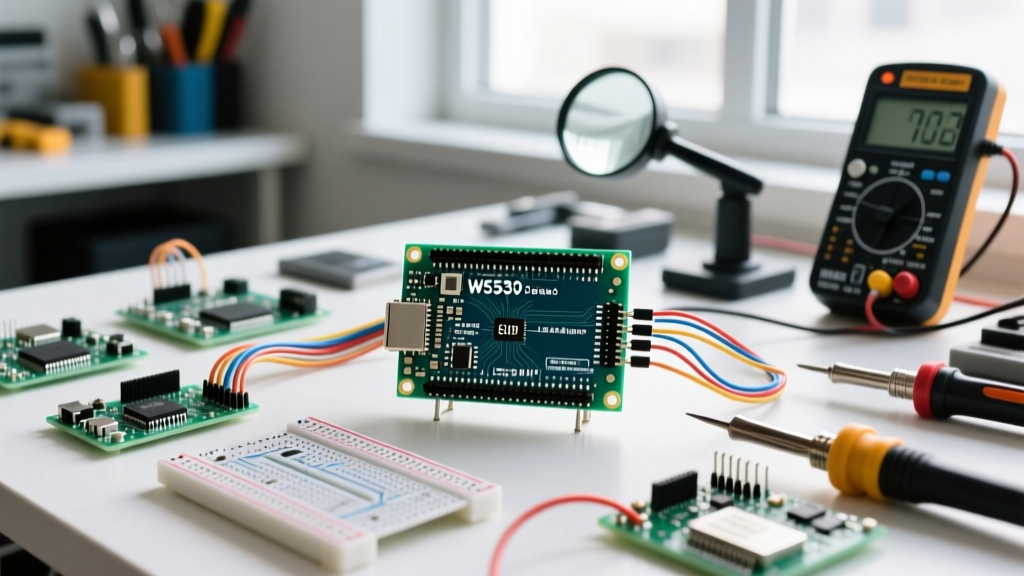

Connecting a microcontroller to a Local Area Network (LAN) is a foundational skill for IoT and industrial automation projects. While Wi-Fi modules like the ESP32 dominate hobbyist spaces, wired Arduino LAN connections remain the gold standard for reliability, low latency, and EMI resistance in 2026. This quick reference guide and FAQ cuts through the fluff, providing exact hardware comparisons, wiring pinouts, and advanced troubleshooting steps for your Ethernet projects.
Arduino LAN Hardware Quick Comparison Matrix
Choosing the right Ethernet controller is critical. The market is dominated by two chipsets: the Wiznet W5500 and the Microchip ENC28J60. Below is a technical comparison to help you select the right module or shield for your ATmega328P or ATmega2560 board.
| Hardware Type | Controller Chip | TCP/IP Stack | MCU SRAM Impact | Avg Price (2026) | Best Application |
|---|---|---|---|---|---|
| Official Ethernet Shield Rev3 | Wiznet W5500 | Hardware (On-chip) | Minimal (~200 bytes) | $32.00 - $38.00 | Rapid prototyping, beginners |
| Standalone W5500 Mini Module | Wiznet W5500 | Hardware (On-chip) | Minimal (~200 bytes) | $4.50 - $6.00 | Custom PCBs, compact enclosures |
| ENC28J60 Ethernet Module | Microchip ENC28J60 | Software (UIPEthernet) | Heavy (~1.2 KB) | $3.00 - $4.50 | Basic UDP, low-budget legacy |
| PoE W5500 Shield (e.g., HanRun) | W5500 + Ag9120 | Hardware (On-chip) | Minimal (~200 bytes) | $18.00 - $24.00 | Remote sensors, ceiling mounts |
Arduino LAN Frequently Asked Questions
1. W5500 vs ENC28J60: Which Controller Should I Choose?
Always choose the Wiznet W5500 for 95% of projects. The fundamental difference lies in how they handle network protocols. The W5500 features a hardcoded, silicon-based TCP/IP stack. It handles TCP, UDP, IPv4, ICMP, and ARP internally. Your Arduino merely sends and receives payload data over the SPI bus. According to the Wiznet W5500 Product Page, this offloads processing from the ATmega328P, leaving your 2KB SRAM virtually untouched.
Conversely, the Microchip ENC28J60 is merely a MAC/PHY controller. It does not understand TCP or IP. You must use a software library like UIPEthernet to process network packets in the Arduino's memory. This consumes roughly 1.2KB of SRAM just to maintain the network stack, leaving barely 800 bytes for your actual application logic, often leading to memory fragmentation and random reboots.
2. How Do I Wire a Standalone W5500 Module?
Standalone W5500 modules (often sold as "W5500 Mini") use the SPI bus. Unlike the official shields that plug directly into the ICSP header, standalone modules require manual jumper wires. Note that W5500 modules operate at 3.3V logic. If you are using a 5V Arduino Uno or Mega, you must use a logic level shifter (like the BSS138 or CD4050) on the MOSI, SCK, and SS lines to prevent degrading the W5500 silicon over time.
- VCC: 3.3V (Do not connect to 5V! The onboard LDO is usually rated for 3.3V input only).
- GND: Ground
- RST: Connect to Arduino Pin 9 (or configure in software)
- SS (CS): Pin 10 (Uno/Nano) or Pin 53 (Mega)
- MOSI: Pin 11 (Uno/Nano) or Pin 51 (Mega)
- MISO: Pin 12 (Uno/Nano) or Pin 50 (Mega)
- SCK: Pin 13 (Uno/Nano) or Pin 52 (Mega)
Pro-Tip: If your W5500 module has an interrupt (INT) pin, connect it to Pin 2 or 3 to enable hardware-interrupt-driven packet polling, drastically reducing CPU load compared to software polling loops.
3. Troubleshooting: Why Won't My Arduino Get a DHCP IP Address?
DHCP failures are the most common Arduino LAN issue. If Ethernet.begin(mac) returns 0 or hangs, work through this specific checklist:
- MAC Address Conflicts: Ensure the 6-byte MAC address array in your sketch is globally unique on your network. If you flashed the same sketch to multiple boards without changing the MAC array, your router's DHCP server will reject the duplicate requests.
- SPI Bus Conflicts: The W5500 shares the SPI bus with the onboard microSD card slot. If you are not using the SD card, you must explicitly disable its Chip Select pin to prevent it from corrupting SPI traffic. Add
pinMode(4, OUTPUT); digitalWrite(4, HIGH);to yoursetup()before initializing Ethernet. - SPI Clock Speed: The Arduino Ethernet Library Documentation defaults to 14MHz SPI. Some cheap clone W5500 modules struggle at this speed. Force the SPI clock lower by adding
Ethernet.init(10);or modifying the library's SPI transaction settings to 8MHz. - Hardware Reset Floating: Many standalone modules lack a strong internal pull-up on the RST pin. If the Arduino pin is floating during boot, the W5500 may latch into a reset state. Solder a 10kΩ pull-up resistor between the module's VCC and RST pins to guarantee a clean hardware startup.
- Physical Layer Issues: Verify your RJ45 magnetics. Many cheap modules lack the center-tap termination resistors required for clean signal edges over long Cat6 runs. Test with a cable under 3 meters to rule out physical degradation.
4. Is Power over Ethernet (PoE) Safe for Arduino LAN Projects?
Yes, but you cannot wire 48V PoE directly to an Arduino. Standard 802.3af PoE delivers 48V DC. To use this safely, you need a PoE extraction module (like the Ag9120 or Ag9900 series). These modules sit between the RJ45 jack and your microcontroller, negotiating power with the PoE switch and stepping the 48V down to an isolated 5V or 9V DC output.
Warning on Passive PoE: Never connect a passive 24V PoE injector to an Ag9120 extraction module. Passive injectors do not perform the 802.3af handshake and will blindly push voltage into the data lines, instantly destroying the Ethernet magnetics and the W5500 chip.
Current Limits: An Ag9120 typically provides up to 1.2A at 5V. This is more than enough for an Arduino Nano (approx. 20mA), a W5500 chip (approx. 130mA peak during transmission), and a few I2C sensors. However, if you are driving relays or high-power LED strips, a standard PoE extractor will overcurrent and trigger its internal thermal shutdown. For high-current remote nodes, consider a PoE-powered buck converter rated for 3A+.
5. Static IP vs DHCP: Which is Better for Industrial Sensors?
For temporary testing, DHCP is fine. For permanent Arduino LAN sensor deployments (e.g., water tank monitoring, greenhouse climate control), always use a Static IP. Network infrastructure changes, DHCP leases expire, and router reboots can assign your sensor a new IP, breaking your MQTT broker connections or Grafana dashboard queries.
Use the following syntax to assign a static IP, Subnet, Gateway, and DNS:
IPAddress ip(192, 168, 1, 177);
IPAddress myDns(192, 168, 1, 1);
IPAddress gateway(192, 168, 1, 1);
IPAddress subnet(255, 255, 255, 0);
Ethernet.begin(mac, ip, myDns, gateway, subnet);
This guarantees your node is instantly reachable at a known address the millisecond it powers on, bypassing the 3-to-5 second DHCP negotiation delay and ensuring seamless integration with static firewall rules.