
The Anatomy of an Arduino Increment Failure
When building frequency counters, rotary encoder interfaces, or simple button-triggered state machines, the ++ operator is the most fundamental tool in your C++ arsenal. Yet, the Arduino increment operation is a frequent source of silent logic errors, skipped counts, and catastrophic integer overflows. If your counter variable is stalling, wrapping around to negative numbers, or incrementing erratically, the issue rarely lies with the compiler. Instead, it stems from hardware bounce, interrupt mismanagement, or architectural misunderstandings of the underlying microcontroller.
In 2026, with the maker community heavily adopting 32-bit architectures like the RP2040 and ESP32-S3 alongside legacy 8-bit AVR boards, understanding how memory allocation and clock cycles affect variable incrementation is more critical than ever. This guide dissects the most common reasons your Arduino increment logic fails and provides exact, actionable fixes.
1. The volatile Keyword: Why ISR Increments Vanish
The most common reason an increment inside an Interrupt Service Routine (ISR) fails to update in the main loop() is the omission of the volatile keyword. When a hardware interrupt triggers (e.g., a pin change or timer overflow), the CPU pauses the main program, increments the variable, and resumes. However, the C++ compiler aggressively optimizes code. If it sees a variable being incremented inside an ISR but doesn't recognize the interrupt context, it may cache the variable in a CPU register rather than reading it from SRAM.
Expert Insight: The compiler assumes variables only change when explicitly modified in the visible execution flow. Because an ISR is triggered asynchronously by hardware, the compiler is 'blind' to the change unless you explicitly declare the variable as volatile.
The Fix
Always prefix ISR-modified counters with volatile. Furthermore, when reading a multi-byte volatile variable (like a 16-bit int or 32-bit long) in the main loop, you must temporarily disable interrupts to prevent a partial read if the ISR fires mid-read.
volatile unsigned long pulseCount = 0;

void ISR_Count() {
  pulseCount++;
}

void loop() {
  noInterrupts();
  unsigned long safeCount = pulseCount;
  interrupts();
  // Use safeCount for calculations
}
For a deeper understanding of memory qualifiers, consult the official Arduino volatile keyword documentation.
2. Integer Overflow: The 32,767 Ceiling
If your counter works perfectly for a few minutes and then suddenly drops to a negative number, you have hit an integer overflow. The physical architecture of your microcontroller dictates the maximum value a variable can hold before it 'rolls over'.
| Data Type | AVR (Uno/Nano/Mega) Size | ARM (ESP32/RP2040/Due) Size | Max Positive Value | Rollover Result |
|---|---|---|---|---|
byte / uint8_t |
8-bit | 8-bit | 255 | 0 |
int / int16_t |
16-bit | 32-bit (ESP32/Due) | 32,767 (AVR) / 2.14B (ARM) | -32,768 (AVR) |
long / int32_t |
32-bit | 32-bit | 2,147,483,647 | -2,147,483,648 |
unsigned long |
32-bit | 32-bit | 4,294,967,295 | 0 |
The Fix
If you are tracking high-frequency pulses or long-running uptime, never use a standard int on an 8-bit AVR board. Use unsigned long or the explicitly sized uint32_t from the <stdint.h> library. This guarantees a 32-bit unsigned integer regardless of whether your code is compiled for an ATmega328P or an ESP32, preventing cross-platform porting bugs.
3. Hardware Bounce: The Phantom Increment
If pressing a single tactile button results in an increment of 3, 5, or 12, you are experiencing mechanical switch bounce. Inside a tactile switch, microscopic metal contacts physically bounce against each other for 5 to 50 milliseconds before settling. The Arduino, executing millions of instructions per second, reads each physical bounce as a distinct, intentional button press.
Hardware vs. Software Debouncing
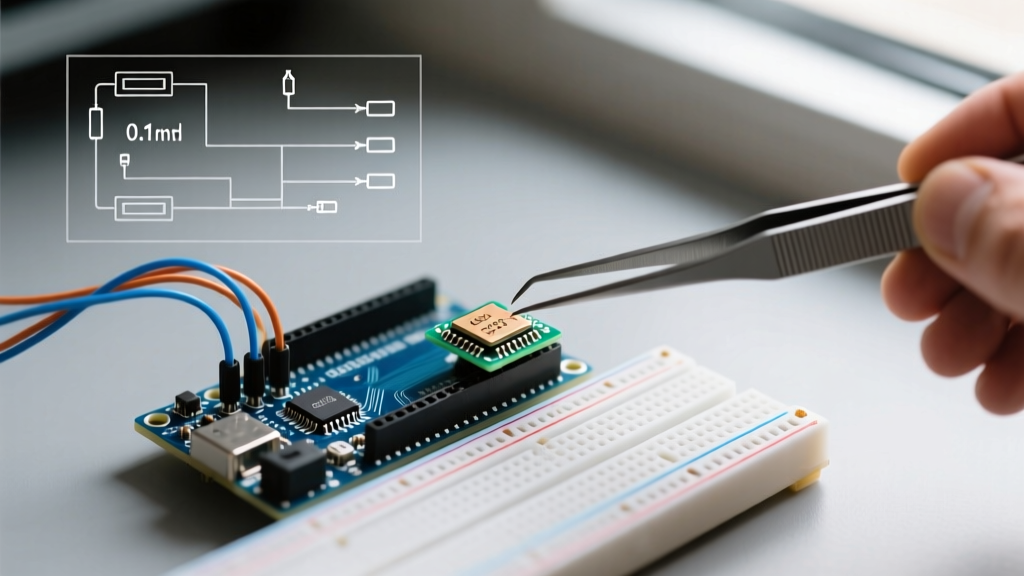
- Hardware Fix: Solder a 100nF (0.1µF) ceramic capacitor in parallel with the switch, paired with a 10kΩ pull-up resistor. This creates an RC low-pass filter that physically smooths the voltage transient, eliminating bounce before it reaches the GPIO pin.
- Software Fix: Do not write custom
delay()based debounce loops; they block the CPU. Instead, use the highly optimizedBounce2library. It tracks state changes using non-blocking timestamps.
#include <Bounce2.h>
Bounce debouncer = Bounce();
int count = 0;

void setup() {
  debouncer.attach(2, INPUT_PULLUP);
  debouncer.interval(25); // 25ms debounce window
}

void loop() {
  debouncer.update();
  if (debouncer.fell()) { // Trigger only on stable HIGH-to-LOW transition
    count++;
  }
}
4. Pre-Increment vs. Post-Increment in Macros
A notorious trap in C/C++ programming that frequently breaks Arduino increment logic occurs when using the increment operator inside preprocessor macros. Consider this common macro for squaring a number:
#define SQUARE(x) ((x) * (x))If you call SQUARE(i++), the preprocessor expands it to ((i++) * (i++)). According to the Arduino arithmetic operators reference, modifying the same variable multiple times between sequence points results in undefined behavior. Your counter will increment unpredictably, often skipping values or causing compiler-specific anomalies.
The Fix: Never pass increment/decrement operators into macros. Always increment the variable on a separate line before passing it to the macro, or better yet, replace legacy #define macros with inline functions or C++ templates which evaluate arguments safely.
5. The millis() Rollover Trap
When incrementing a counter based on time intervals, many beginners write logic that fails after exactly 49.7 days. This is the millis() rollover bug. The millis() function returns an unsigned long that maxes out at 4,294,967,295 milliseconds before resetting to zero.
If your logic relies on addition (e.g., if (millis() > nextTime)), the sketch will freeze or misfire during the rollover event. The mathematically correct way to handle time-based increments relies on unsigned subtraction, which inherently handles the rollover wrap-around due to binary two's complement arithmetic.
Correct Time-Based Increment Pattern
unsigned long previousMillis = 0;
const long interval = 1000; // 1 second

void loop() {
  unsigned long currentMillis = millis();
  // Safe subtraction handles the 49.7-day rollover automatically
  if (currentMillis - previousMillis >= interval) {
    previousMillis = currentMillis;
    myCounter++; // Safe time-based increment
  }
}
For more on non-blocking timing, review the official millis() timing guide.
Diagnostic Checklist for Stubborn Counters
If your Arduino increment is still misbehaving after reviewing the above concepts, run through this rapid diagnostic checklist:
- Check Pin Mode: Are you using
INPUT_PULLUP? Floating pins will pick up electromagnetic interference, causing random, ghost increments. - Verify Interrupt Triggers: If using
attachInterrupt(), ensure you are triggering onRISINGorFALLING. UsingCHANGEwill increment your counter twice per pulse cycle. - Inspect Serial Print Latency: Printing to the Serial Monitor inside a high-speed interrupt or fast loop will bottleneck the CPU. The serial buffer will fill, causing skipped increments. Buffer your data and print only once per second.
- Rotary Encoder Gray Code: If tracking a rotary encoder, reading just the CLK pin will yield 4 increments per physical detent. You must read the quadrature phase relationship between CLK and DT pins, or use a dedicated library like Paul Stoffregen's
Encoderlibrary.
Summary
Troubleshooting an Arduino increment issue requires looking past the simple ++ syntax and examining the hardware physics, memory architecture, and compiler optimization rules. By enforcing volatile declarations, respecting integer boundaries, and implementing proper debouncing, you can build robust, skip-free counters for any embedded application.