
The Reality of Learning Arduino How to Program
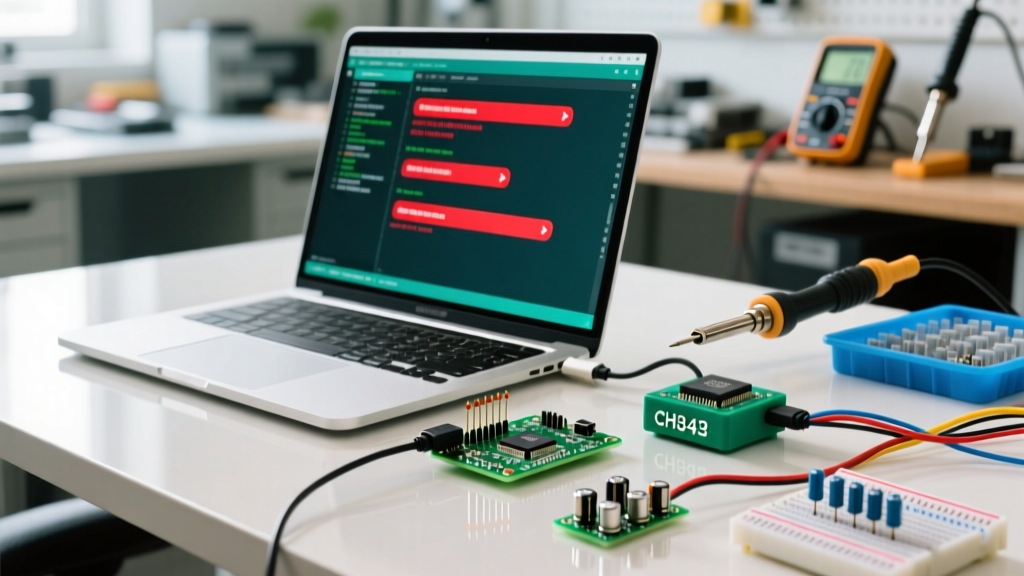
When makers search for arduino how to program, they are rarely looking for basic syntax tutorials; they are usually staring at a blinking red error log in the Arduino IDE. The gap between writing a sketch and successfully flashing it to a microcontroller is where 90% of beginner and intermediate projects stall. Whether you are using a genuine Arduino Uno R4 Minima ($27.50) or a bulk-pack Elegoo ATmega328P clone ($12.00), the programming pipeline relies on a fragile chain of USB enumeration, serial baud-rate handshakes, and bootloader integrity.
This guide bypasses generic advice and dives directly into the hardware-level and software-level failure modes that prevent successful programming, providing exact diagnostic steps and fixes for the modern Arduino IDE 2.3.x environment.
Quick Diagnostic Checklist:
- Is the OS enumerating a COM/tty port, or just an 'Unknown USB Device'?
- Does the onboard 'L' LED pulse when the reset button is pressed?
- Is the IDE output showing
avrdude: stk500_recv(): programmer is not responding?- Are you using a verified data-sync USB cable, not a charge-only cable?
Phase 1: Hardware & Connection Failures (The Port Not Found Nightmare)
Before the IDE can compile and upload, the host operating system must correctly enumerate the microcontroller's USB-to-Serial bridge. If your device manager shows an unrecognized device, or the IDE port dropdown is grayed out, the issue is physical or driver-level.
The Charge-Only Cable Trap
A standard USB Type-A to Type-B (or Type-C for the R4 series) cable contains four internal wires: VBUS (5V), GND, D+ (Data), and D- (Data). Charge-only cables omit the D+ and D- lines to save manufacturing costs. If you plug in a charge-only cable, the board will power on (the green 'ON' LED illuminates), but the host PC will never detect a serial port. Fix: Test the cable with a multimeter for continuity on the D+ and D- pins, or swap to a verified data cable.
Driver Mapping: Genuine vs. Clone Boards
The most common roadblock when figuring out arduino how to program on third-party hardware is the USB-to-Serial bridge chip. Genuine boards use native chips that modern OS environments recognize automatically, while clones use cheaper alternatives that require manual driver installation.
| Board Type | USB Bridge Chip | Driver Requirement (Windows 11/12) |
|---|---|---|
| Genuine Uno R3 | ATmega16U2 | Native CDC-ACM (Plug & Play) |
| Genuine Uno R4 Minima | Renesas RA4M1 (Native USB) | Native CDC-ACM (Plug & Play) |
| Elegoo / HiLetgo Clones | WCH CH340G or CH340C | Requires WCH CH340 Driver v3.8+ |
| Older Clones (FTDI) | FT232RL (or counterfeit) | FTDI VCP (Beware counterfeit bricking) |
If you are using a CH340-based clone, you must download the official WCH drivers. Attempting to force a CH340 chip to use standard FTDI drivers will result in a silent failure where the COM port appears but immediately drops during the upload handshake. For detailed installation steps, refer to the SparkFun CH340 Driver Guide.
Phase 2: IDE Compilation Errors (Syntax & Library Nightmares)
Once the port is visible, the next hurdle is compilation. The Arduino IDE 2.x series introduced a new language server and CMake-based backend, which changed how libraries and sketchbooks are indexed.
Fatal Error: Library.h Not Found
If your console outputs fatal error: Adafruit_Sensor.h: No such file or directory, the compiler cannot locate the library path. In IDE 2.3.x, libraries are strictly sandboxed in the Documents/Arduino/libraries folder (on Windows) or ~/Arduino/libraries (on macOS/Linux).
The Fix Flow:
- Do not manually extract ZIP files into the sketch folder. This breaks the IDE's dependency tree.
- Open the Library Manager (Ctrl+Shift+I or Cmd+Shift+I).
- Search for the exact library name and click 'Install'.
- Edge Case: If the library is installed but still throws an error, check for duplicate library folders. If you have
Adafruit_BME280andAdafruit_BME280-1.0.8in your libraries folder, the compiler will throw a 'multiple definition' or 'not found' error. Delete the redundant folder and restart the IDE.
Board Manager JSON Parsing Failures
When programming ESP32 or ATtiny boards, you must add custom URLs to the 'Additional Boards Manager URLs' preference. A common error is Failed to download: Invalid URL. This occurs when multiple URLs are separated by spaces instead of commas, or when an HTTPS certificate has expired on the vendor's JSON server. Ensure URLs are comma-separated and verify the JSON link via the Arduino IDE V2 Documentation.
Phase 3: The Infinite 'Uploading...' Hang
The most frustrating scenario when learning arduino how to program is when the code compiles perfectly, the upload begins, and the progress bar hangs indefinitely at 0% or 10% before timing out with avrdude: stk500_recv(): programmer is not responding.
Understanding the Auto-Reset Circuit
The ATmega328P bootloader only listens for new code for about 500 milliseconds immediately after a hardware reset. In a genuine Arduino, the DTR (Data Terminal Ready) line from the USB bridge is routed through a 0.1µF ceramic capacitor to the RESET pin on the microcontroller. When the IDE initiates an upload, it toggles the DTR line, creating a momentary voltage drop that resets the MCU, perfectly syncing the bootloader's listening window with the IDE's data transmission.
Fixing the Handshake
- The Manual Reset Trick: If the 0.1µF capacitor on your clone board is missing or defective, you must manually press and release the physical RESET button on the board exactly when the IDE console switches from 'Compiling' to 'Uploading'.
- Baud Rate Mismatch: Ensure the 'Programmer' menu is set to 'AVRISP mkII' and the upload speed in the IDE matches the bootloader (usually 115200 for Uno, 57600 for older Duemilanove boards).
- USB 3.0 Hub Interference: High-speed USB 3.0/3.1 hubs can introduce latency that disrupts the 1200bps serial touch used to trigger the bootloader on native USB boards like the Leonardo or Micro. Plug native USB boards directly into a motherboard USB 2.0 port.
Phase 4: Advanced Edge Case - Bricked Bootloader Recovery
If you accidentally overwrite the bootloader section of the flash memory, or if a power surge corrupted the fuses, your board will no longer accept serial uploads. The PC will recognize the USB bridge, but the MCU will ignore the serial handshake. You must use an In-System Programmer (ISP) to burn a fresh bootloader.
Wiring an Arduino as ISP
You can use a second, working Arduino to rescue the bricked board. Upload the File > Examples > ArduinoISP sketch to the working board. Then, wire the boards together using the SPI bus. For detailed schematic references, consult the official ArduinoISP built-in example page.
| Programmer Board (Working) | Target Board (Bricked) | Function |
|---|---|---|
| Pin 10 (SS) | RESET Pin | Target Reset Control |
| Pin 11 (MOSI) | Pin 11 (MOSI) | Master Out Slave In |
| Pin 12 (MISO) | Pin 12 (MISO) | Master In Slave Out |
| Pin 13 (SCK) | Pin 13 (SCK) | Serial Clock |
| 5V | 5V | Logic Power |
| GND | GND | Common Ground |
Once wired, go to Tools > Burn Bootloader. The IDE will use avrdude via the SPI bus to flash the Optiboot bootloader directly to the ATmega328P, reset the lock bits, and restore the board's ability to accept standard USB serial uploads. This hardware-level recovery is the ultimate safety net in your programming toolkit.
Frequently Asked Questions
Why does my code upload but the serial monitor shows gibberish?
This is a baud rate mismatch. If your sketch initializes Serial.begin(9600) but the Serial Monitor dropdown in the top right corner is set to 115200, the characters will render as random symbols. Always ensure the software monitor rate exactly matches the Serial.begin() parameter in your setup() loop.
Can I program an Arduino without the IDE?
Yes. Advanced users often use VS Code with the PlatformIO extension, or compile directly via avr-gcc and upload via command-line avrdude. This bypasses the IDE's GUI overhead and provides granular control over compiler flags and memory optimization, though it requires a steeper understanding of makefiles and toolchains.