
The Hardware Debate: Legacy Bipolar vs. Modern MOSFET Drivers
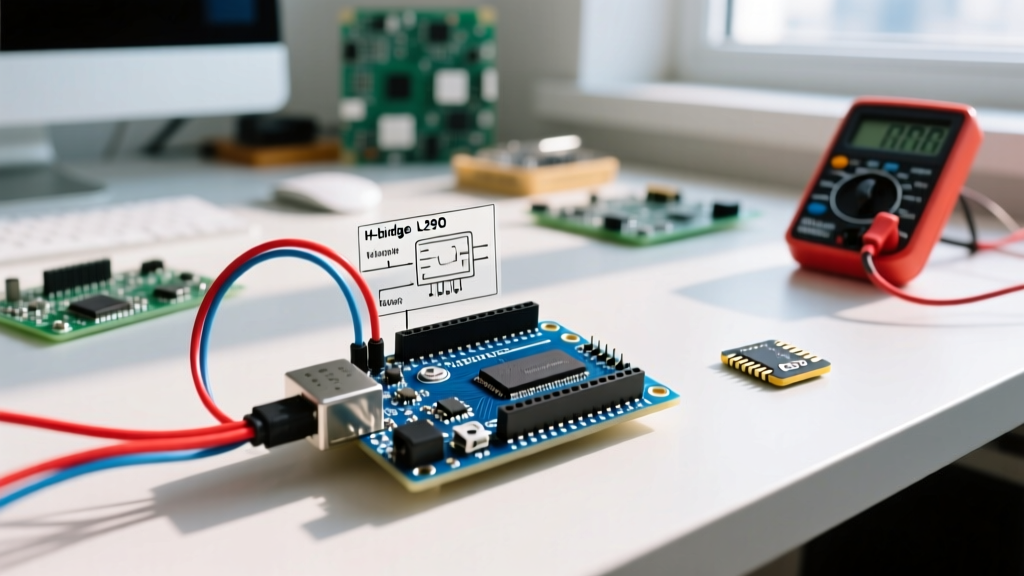
When navigating the vast ecosystem of maker forums and engineering subreddits, the discussion around an Arduino and H bridge integration almost always begins with hardware selection. An H-bridge topology is the fundamental circuit required to drive a DC motor bidirectionally, but the silicon executing that topology has evolved drastically.
For years, the L298N module was the undisputed king of beginner robotics. However, the 2026 community consensus heavily favors modern MOSFET-based drivers for anything beyond basic classroom demonstrations. The L298N relies on older Darlington BJT pairs, resulting in a voltage drop of roughly 1.5V to 2.0V at just 1A of current. This means if you supply a 5V motor with a 7V battery through an L298N, the motor only sees about 5V, and the remaining 2W of power is wasted as heat.
Community Hardware Comparison Matrix (2026)
| IC / Module | Topology | Max Continuous Current | Typical Voltage Drop | Avg. Price (2026) | Best Application |
|---|---|---|---|---|---|
| L298N | Bipolar (BJT) | 2A per channel | ~1.8V - 2.0V | $3.00 - $5.00 | Education, low-budget legacy replacements |
| DRV8871 | MOSFET | 3.6A | ~0.25V (RDS(on)) | $4.00 - $6.50 | Small rovers, 12V/24V precision actuation |
| BTS7960 | High-Power MOSFET | 15A (Clone boards)* | ~0.1V | $9.00 - $14.00 | Heavy-duty combat robots, e-bike mods |
| VNH5019 | Automotive MOSFET | 12A | ~0.15V | $12.00 - $18.00 | Reliable industrial automation, CNCs |
*Note: While the genuine Infineon BTS7960 IC is rated for 43A, the popular red clone boards found on Amazon and AliExpress frequently suffer from inadequate copper pour and poor solder joints, safely limiting them to ~15A continuous before thermal throttling or failure.
Top GitHub Libraries for Precision PWM Control
Writing raw analogWrite() commands is sufficient for simple toys, but the community has developed robust libraries to handle advanced features like current sensing, fault flag reading, and dead-time insertion.
1. Pololu Dual VNH5019 Motor Shield Library
Available on GitHub and the Arduino Library Manager, Pololu's library is the gold standard for high-reliability motor control. It abstracts the complex fault-handling logic. If the motor stalls and triggers the VNH5019's over-current protection, the library provides built-in methods to read the getFault() pin and execute a safe shutdown sequence, preventing the Arduino from locking up.
2. Custom Timer1 PWM Implementations (The 20kHz Trick)
A frequent complaint on the Arduino Forum is the high-pitched 'whine' emitted by DC motors. This occurs because the default Arduino PWM frequency on pins 5 and 6 is 980Hz, and on pins 9, 10, 11 is 490Hz—both squarely in the human audible range. Community experts recommend using the TimerOne library to push the PWM frequency to 20kHz or 25kHz. This moves the switching noise above human hearing and results in significantly smoother low-speed motor torque.
Community Troubleshooting: Avoiding the 'Brownout Reset'
If you have ever uploaded a sketch, watched your motor twitch, and then seen your Arduino reboot itself, you have encountered the infamous Ground Loop and Back-EMF Brownout. This is the single most documented issue in Arduino motor fundamentals.
Expert Insight: "Never share the 5V logic rail with your motor's main power rail. When a DC motor starts, it draws stall current (often 5x to 10x the running current). This massive inrush causes a voltage sag on the battery. If your Arduino is powered by that same sagging battery via a cheap linear regulator, the MCU's brownout detection (BOD) triggers a reset." — EEVblog Forum Contributor
The Decoupling & Snubber Protocol
To solve this, the community mandates a strict decoupling protocol for every H-bridge build:
- The Common Ground: The Arduino GND, the H-bridge logic GND, and the high-current motor battery GND must be tied together at a single star-ground point. Without a common ground, the Arduino's 5V PWM signals have no reference voltage and the H-bridge will behave erratically.
- Motor Terminals: Solder a 100nF (0.1µF) ceramic capacitor directly across the physical terminals of the DC motor. This absorbs high-frequency brush noise before it travels back up the wires and corrupts the Arduino's ADC readings.
- Rail Decoupling: Place a large electrolytic capacitor (e.g., 470µF to 1000µF, rated for at least 25V) across the main power input terminals of the H-bridge module to act as a local energy reservoir during motor startup.
The Bulletproof Wiring Checklist
Before applying power to your Arduino and H bridge setup, run through this community-verified checklist to ensure you do not release the 'magic smoke'.
- Isolate Power Sources: Use a dedicated LiPo or SLA battery for the H-bridge motor terminals (VCC/B+). Use a separate 5V USB supply or a high-quality buck converter for the Arduino logic.
- Verify Optoisolation: If using a high-current BTS7960 module, ensure the logic enable pins (R_EN, L_EN) are pulled to 5V from the Arduino, not the 24V motor rail.
- Check PWM Pin Assignments: Ensure your direction pins (IN1, IN2) are connected to standard digital I/O pins, while your speed pins (PWM/EN) are strictly connected to Arduino pins marked with the tilde (
~) symbol. - Test Without Load: Upload a simple sweep sketch with the motor disconnected. Use a multimeter to verify the output terminals swing from +V to -V as the sketch dictates before attaching the physical motor.
Authoritative References & Further Reading
To deepen your understanding of motor driver ICs and advanced topologies, the community highly recommends consulting primary silicon datasheets rather than relying solely on secondary tutorials. For instance, reviewing the Texas Instruments DRV8871 Datasheet provides critical insights into thermal shutdown thresholds, current regulation decay modes, and exact timing diagrams for dead-band insertion that you will not find in standard maker blogs.
By leveraging these community-vetted hardware alternatives, advanced libraries, and rigorous wiring standards, you can elevate your next robotics or automation project from a fragile prototype to a reliable, field-ready machine.