
The Anatomy of Serial.read() in Arduino
When working with microcontrollers, serial communication is the primary bridge between your hardware and the outside world. At the heart of this bridge in the Arduino ecosystem is the Serial.read() function. While beginners often treat it as a simple "get text" command, mastering Serial.read() requires a deep understanding of UART hardware, circular memory buffers, and non-blocking state machines.
Unlike higher-level languages that abstract data streams into strings, Arduino's Serial.read() operates at the byte level. It reads exactly one byte (8 bits) from the serial receive (RX) buffer and returns it as an int. If no data is available, it returns -1.
Why Does Serial.read() Return an Integer?
A common point of confusion for newcomers is why a function that reads a single character returns an int (16-bit on AVR, 32-bit on ARM) rather than a char or byte. The answer lies in error handling. A byte can hold values from 0 to 255. To signal that the buffer is empty, the underlying C++ implementation uses -1. Since -1 cannot be represented in an unsigned 8-bit byte, the return type must be a signed integer.
Inside the RX Circular Buffer
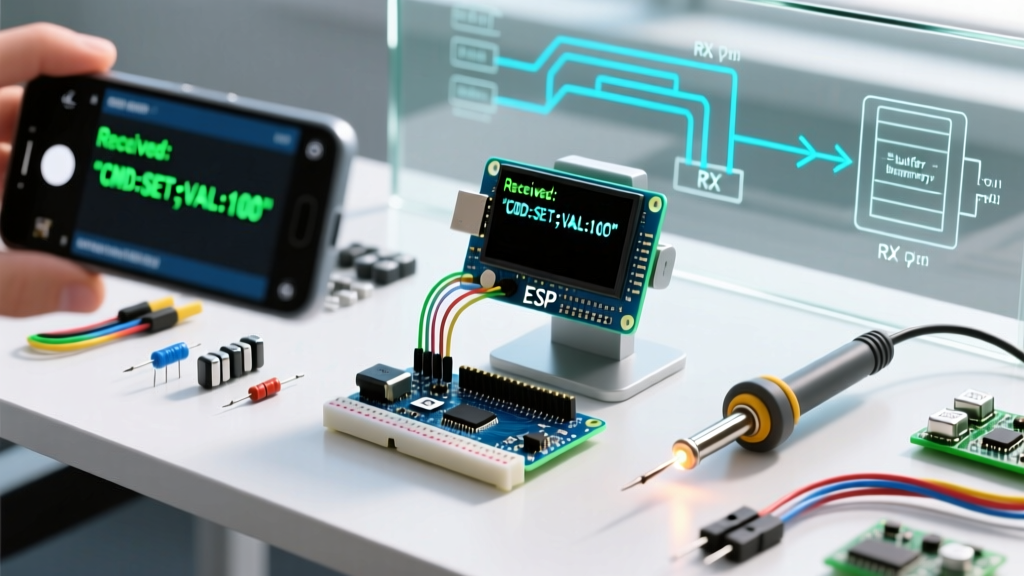
To use Serial.read() effectively, you must understand where it reads from. When a voltage transition occurs on the RX pin, the microcontroller's UART hardware triggers an Interrupt Service Routine (ISR). This ISR fetches the byte and places it into a circular buffer in SRAM.
On classic 8-bit AVR boards (like the Arduino Uno R3 or Nano), this buffer is defined in the HardwareSerial.h core file and defaults to 64 bytes. Modern 32-bit boards like the ESP32 or Arduino Zero utilize much larger hardware FIFO buffers and software rings (often 128 to 256 bytes).
Expert Insight: If your sketch spends too much time inside a blocking function (likedelay()or a longwhileloop) and more than 64 bytes arrive on the RX pin, the circular buffer will overflow. The ISR will drop the new bytes silently. The microcontroller will not crash, but your data stream will suffer irreversible corruption.
Method Comparison: Choosing the Right Read Function
While Serial.read() is the foundational byte-level function, the Arduino API provides several wrappers. Choosing the wrong one is the leading cause of laggy, unresponsive sketches.
| Function | Return Type | Blocking? | Best Use Case |
|---|---|---|---|
Serial.read() | int | No | Custom state-machine parsers, high-speed byte streaming. |
Serial.readString() | String | Yes (Timeout) | Quick prototyping where a 1-second blocking delay is acceptable. |
Serial.readBytes() | size_t | Yes (Timeout) | Reading fixed-length binary packets or structs. |
Serial.parseInt() | long | Yes (Timeout) | Extracting integers from messy text streams (skips non-numeric chars). |
For production-grade firmware, avoid blocking functions. Rely on Serial.available() paired with Serial.read() to build non-blocking parsers, ensuring your MCU can simultaneously handle sensor polling and motor control.
Building a Robust Non-Blocking Serial Parser
The most reliable way to handle incoming serial data in 2026 is using a start-marker/end-marker state machine. This approach, heavily popularized by expert embedded developers, prevents buffer fragmentation and handles partial packet arrivals gracefully.
Step-by-Step Implementation
- Define Markers: Use distinct characters (e.g.,
<for start,>for end) that will never appear in your payload. - Track State: Use a boolean flag (
recvInProgress) to know if you are currently inside a valid packet. - Read Byte-by-Byte: Poll
Serial.available()in theloop()and process one byte per iteration.
bool recvInProgress = false;
byte ndx = 0;
char startMarker = '<';
char endMarker = '>';
char receivedChars[32];

void recvWithStartEndMarkers() {
  while (Serial.available() > 0) {
    char rc = Serial.read();
    if (recvInProgress == true) {
      if (rc != endMarker) {
        receivedChars[ndx] = rc;
        ndx++;
        if (ndx >= 31) ndx = 31; // Prevent buffer overflow
      } else {
        receivedChars[ndx] = '\0'; // Null-terminate
        recvInProgress = false;
        ndx = 0;
        processNewData();
      }
    } else if (rc == startMarker) {
      recvInProgress = true;
    }
  }
}
This architecture guarantees that your main loop() executes thousands of times per second, keeping your application responsive while safely assembling serial strings in the background.
Binary Data vs. ASCII Strings
A frequent mistake in embedded systems is transmitting binary sensor data (like raw 16-bit ADC values) as ASCII strings. Sending the number "1023" requires four bytes (0x31, 0x30, 0x32, 0x33) plus a delimiter. Transmitting it as raw binary requires only two bytes. When using Serial.read() for binary streams, you must reconstruct multi-byte variables using bitwise shift operations.
// Reconstructing a 16-bit integer from two serial bytes
uint16_t highByte = Serial.read();
uint16_t lowByte = Serial.read();
uint16_t fullValue = (highByte << 8) | lowByte;
Be warned: raw binary streams lack inherent synchronization. If your receiver misses a single byte due to a buffer overflow, the high and low bytes will permanently desynchronize, causing every subsequent reading to be garbage. This is why ASCII strings with start/end markers, despite their bandwidth inefficiency, remain the gold standard for reliable debugging and low-to-medium speed telemetry.
Critical Failure Modes and Edge Cases
Even with perfect code, physical layer issues and configuration mismatches can cause Serial.read() to return garbage data. Here are the most common culprits:
- Baud Rate Drift: If you use the internal oscillator on an ATmega328P (without an external 16MHz crystal) at high baud rates like 115200, the clock tolerance can exceed the UART's acceptable margin of error. This results in framing errors, and
Serial.read()will return corrupted bytes. Fix: Drop to 38400 or 9600 baud when using internal RC oscillators. - Carriage Return vs. Line Feed: The Arduino Serial Monitor sends
\r\n(CRLF) by default when "Both NL & CR" is selected. If your parser only checks for\n, the lingering\rwill be processed as an empty command on the next loop. Always strip both characters usingtrim()or explicit checks. - USB-to-Serial Chip Latency: On clone boards using the CH340G chip, aggressive power-saving settings in the OS drivers can buffer USB packets and deliver them in sudden bursts. While
Serial.read()handles this fine, it can cause unexpected spikes inSerial.available()that overflow small local char arrays if not bounded correctly.
Interrupt Safety and Atomic Operations
Because the UART ISR modifies the buffer's head pointer while your main loop modifies the tail pointer via Serial.read(), race conditions are theoretically possible on 8-bit AVR architectures. The Arduino core developers mitigate this by temporarily disabling interrupts when updating the tail pointer inside Serial.read(). However, if you are writing custom serial handlers or directly manipulating the UDR0 registers for ultra-low latency, you must manually wrap your buffer reads in noInterrupts() and interrupts() blocks to prevent memory corruption.
Frequently Asked Questions
Does Serial.read() clear the buffer?
Yes. Every time you call Serial.read(), it removes that specific byte from the head of the circular buffer and advances the internal pointer. If you need to inspect data without removing it, use Serial.peek().
How can I increase the 64-byte buffer limit?
On AVR boards, you can manually edit the HardwareSerial.h file in your Arduino core installation and change the SERIAL_RX_BUFFER_SIZE macro to 128 or 256. However, this consumes precious SRAM. A better approach is to optimize your loop() to read data faster than it arrives.
For more foundational knowledge on UART protocols and voltage levels, refer to the comprehensive SparkFun Serial Communication Tutorial. Additionally, always consult the official Arduino Serial.read() Reference for the latest API nuances across different board architectures.