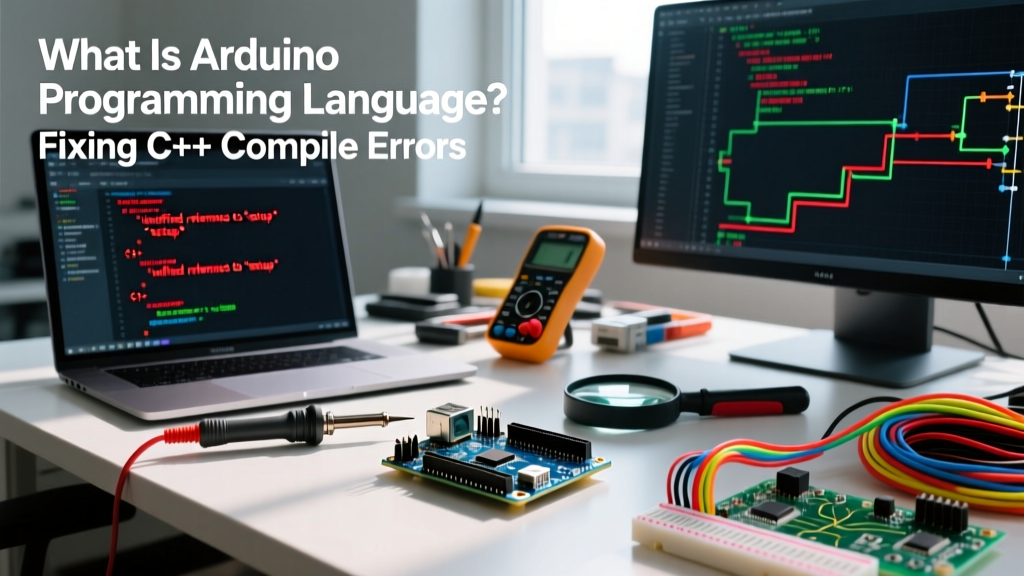

The Reality: What Is Arduino Programming Language?
When makers and engineers first ask, "what is arduino programming language," they often assume it is a bespoke, simplified coding language built exclusively for microcontrollers. In reality, Arduino does not have its own programming language. The code you write in the Arduino IDE is standard C++ (specifically C++14 or C++17, depending on your board core), wrapped in an abstraction framework called Wiring, and compiled using standard GNU toolchains.
If you are using an 8-bit AVR board like the classic Uno R3, the IDE uses avr-gcc. If you have upgraded to a modern 32-bit ARM board like the Arduino Uno R4 Minima (retailing around $27.50 in 2026), it uses the arm-none-eabi-gcc toolchain. Understanding this fundamental truth is the key to solving the most frustrating compilation and runtime errors you will encounter. Because the Arduino IDE tries to "help" beginners by hiding standard C++ mechanics, it inadvertently creates edge cases that break standard coding practices.
This error fix guide explores the hidden C++ reality of the Arduino environment and provides actionable solutions to the most common compiler and linker errors caused by this abstraction.
Error 1: The Prototype Generation Trap
The Error Message
error: variable or field 'myFunction' declared void
error: 'CustomType' was not declared in this scope
Why This Happens
To answer "what is arduino programming language" from a compiler perspective: it is a pre-processed C++ file. When you click 'Verify' in Arduino IDE 2.x, the underlying arduino-cli takes your .ino file, concatenates all tabs, and automatically generates function prototypes at the top of the file so you don't have to declare them manually.
However, the IDE's regex-based parser is notoriously fragile. If you use a custom struct, class, or typedef defined later in the sketch as a parameter in a function, the auto-generated prototype will reference that type before it is actually declared in the C++ translation unit. Standard C++ requires types to be declared before use, resulting in a fatal compile error.
The Fix
- Manual Prototyping: Bypass the IDE's flawed auto-generator by writing your own prototypes at the very top of your sketch, immediately after your
#includestatements and custom type definitions. - Use Standard .cpp/.h Files: For projects exceeding 300 lines, abandon the
.inoformat. Create amain.cppand custom header files. The Arduino builder compiles.cppfiles strictly according to standard C++ rules, completely bypassing the.inopreprocessor trap.
Error 2: Multiple Definition Linker Failures
The Error Message
multiple definition of `Sensor::readData()'
ld returned 1 exit status
Why This Happens
This is a classic C++ linker error that confuses users who think they are writing in a "custom" Arduino language. It occurs when you define a function or instantiate a global variable inside a header file (.h) and then include that header in multiple .cpp or .ino tabs. The compiler generates an object file for each translation unit, and the linker (avr-ld) panics when it sees the same memory symbol allocated twice.
The Fix
- For Variables: Use the
externkeyword in your header file (e.g.,extern int sensorState;), and define the actual variable in exactly one.cppfile. - For Functions: If a function must live entirely in a header file (common in modern C++ template libraries), prepend the
inlinekeyword. This instructs the linker to merge duplicate definitions safely. - Header Guards: Always wrap your headers in standard guards to prevent recursive inclusion:
#ifndef SENSOR_H
#define SENSOR_H
// Code here
#endif
Error 3: SRAM Overflow and Silent Reboots
The Error Message
Sketch uses 28450 bytes (88%) of program storage space.
Global variables use 1950 bytes (95%) of dynamic memory.
(Followed by random runtime reboots or corrupted Serial output)
Why This Happens
Understanding the hardware limits is crucial when exploring what is arduino programming language in practice. The beloved ATmega328P microcontroller has 32KB of Flash memory but a mere 2KB of SRAM. In standard C++, string literals like Serial.println("Initializing WiFi module..."); are copied from Flash into SRAM at boot. If you have extensive debugging logs or LCD menus, you will exhaust the 2KB SRAM. When the stack collides with the heap, the microcontroller silently resets or behaves erratically.
The Fix
You must force the compiler to leave string literals in Flash memory and read them on-the-fly using the F() macro or PROGMEM. This leverages the avr-libc pgmspace library.
Incorrect (Drains SRAM):
Serial.println("Error: Temperature sensor disconnected.");
Correct (Preserves SRAM):
Serial.println(F("Error: Temperature sensor disconnected."));
For large arrays of constants (like lookup tables for thermistors or sine waves), declare them with the PROGMEM attribute and read them using pgm_read_word().
Abstraction Mapping: Wiring API vs. Standard C++
To master error fixing, you must understand what the Arduino "language" is actually doing under the hood. Here is a translation matrix of common Wiring abstractions to their standard C/C++ equivalents.
| Arduino / Wiring Function | Standard C/C++ / AVR Equivalent | Why It Matters for Debugging |
|---|---|---|
pinMode(pin, OUTPUT) |
DDRB |= (1 << PB5); |
Wiring adds overhead. Direct port manipulation is 50x faster for high-frequency bit-banging. |
digitalRead(pin) |
(PINB & (1 << PB5)) |
Wiring disables PWM and checks pin maps. Standard C reads the hardware register instantly. |
delay(ms) |
_delay_ms() or Timer Interrupts |
delay() blocks the CPU. Use millis() state machines for non-blocking multitasking. |
String (Object) |
char[] or std::string |
The Arduino String class causes severe heap fragmentation on AVR boards. Use C-strings. |
Advanced Troubleshooting: Inspecting the Binary
When the Arduino IDE throws a vague linker error or you suspect memory corruption, you need to look past the "Arduino language" and inspect the compiled ELF binary. The Arduino CLI makes this accessible.
- Enable verbose compilation in the IDE preferences.
- Locate the temporary build folder path in the console output.
- Use the
avr-objdumptool (included in the Arduino IDE's hardware tools directory) to disassemble your code:avr-objdump -t -S sketch.elf > disassembly.txt
This outputs the symbol table and assembly code. You can verify exactly where your variables are placed in memory, check the size of the .bss (uninitialized data) and .data (initialized data) sections, and pinpoint exactly which library is bloating your Flash footprint.
Summary: Embrace the C++ Foundation
So, what is arduino programming language? It is a highly accessible, hardware-abstracted dialect of C++. By recognizing that you are writing C++14 code processed by GCC, you can stop treating compiler errors as "Arduino bugs" and start applying standard software engineering fixes. Ditch the String class in favor of character arrays, utilize the F() macro to protect your SRAM, and structure your projects with proper .h and .cpp files to bypass the IDE's preprocessor limitations. For deeper hardware-level insights, always refer to the official Arduino Language Reference and the underlying AVR Libc documentation.