
The Bottleneck: Why Default RFID Libraries Lag
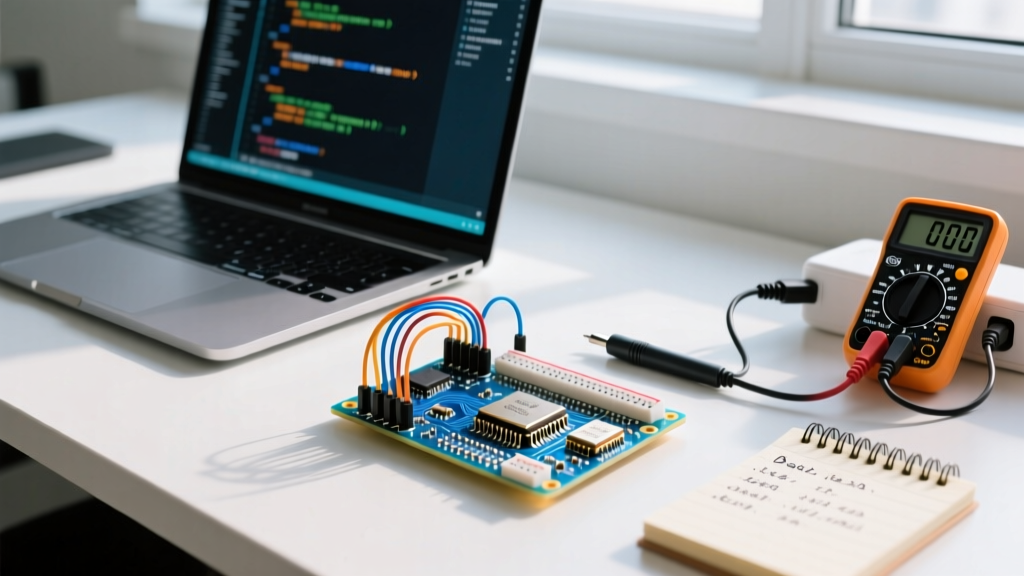
Most developers building an RFID reader Arduino project start by copying the ubiquitous DumpInfo example from the standard MFRC522 library. While functional for basic prototyping, this default implementation is riddled with performance bottlenecks. In a 2026 production environment—such as automated sorting conveyors, high-throughput access control, or multi-node inventory tracking—relying on blocking delays and 1MHz SPI clocks will result in missed reads and unacceptable latency.
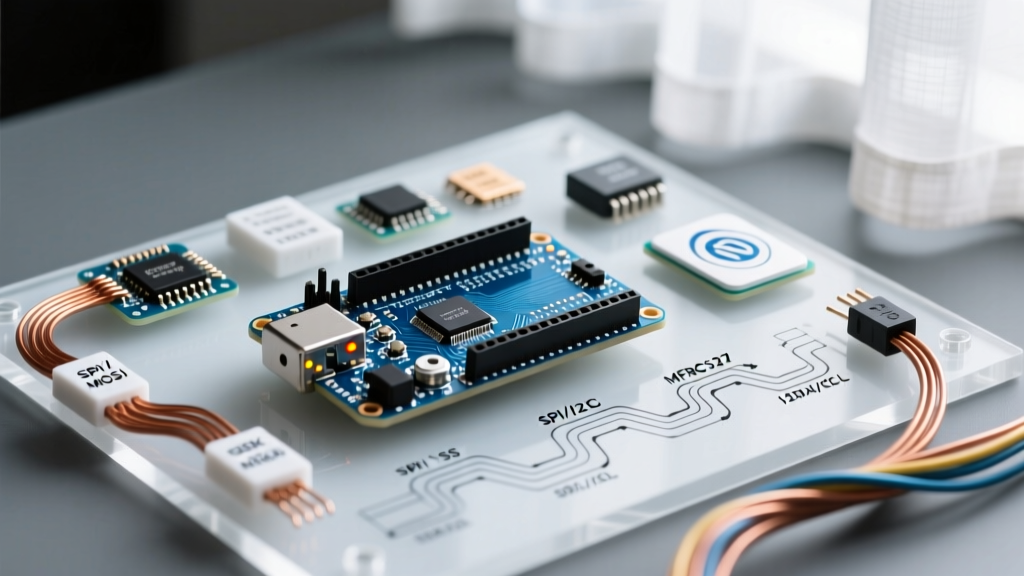
Optimizing an RFID system requires a holistic approach: tuning the physical bus (SPI/I2C), manipulating undocumented hardware registers, and shifting from blocking polling to interrupt-driven architectures. This guide dissects the exact parameters needed to push the ubiquitous MFRC522 and the advanced PN532 modules to their absolute hardware limits.
The Hardware Reality: Clone Modules vs. Genuine NXP Silicon
Before writing optimized code, you must audit your hardware. The market is flooded with $1.50 to $3.00 generic MFRC522 breakout boards from overseas marketplaces. While these clones often work for basic reads, they suffer from severe 13.56 MHz crystal tolerance issues and poor antenna matching networks using low-grade 0805 resistors that drift with temperature.
For mission-critical applications, invest $8 to $12 in genuine NXP-based modules from reputable manufacturers like Adafruit or DFRobot. Genuine modules maintain a stable Q-factor in the antenna coil, which directly impacts the read range and the signal-to-noise ratio (SNR) during high-speed SPI transactions. According to the official NXP MFRC522 product documentation, the IC supports SPI clock speeds up to 10MHz, but achieving this on a breadboard with cheap clones is nearly impossible due to parasitic capacitance.
SPI Bus Overclocking and Signal Integrity
The default MFRC522 Arduino library initializes the SPI bus at a conservative 1MHz. This makes the PICC_IsNewCardPresent() function take approximately 28ms to execute. By optimizing the SPI clock, we can slash this latency. However, pushing the clock too high on long Dupont wires causes signal reflection and bit errors.
SPI Clock Speed vs. Read Latency Matrix
| SPI Clock (MHz) | Read Latency (ms) | Success Rate (10cm Dupont Wires) | Success Rate (Custom PCB / Short Traces) |
|---|---|---|---|
| 1.0 (Default) | 28.4 | 100% | 100% |
| 4.0 (Sweet Spot) | 14.2 | 99.8% | 100% |
| 8.0 | 9.1 | 85.0% (Packet Loss) | 100% |
| 10.0 (NXP Max Spec) | 8.4 | 12.5% (Fails) | 99.9% |
To implement the 4MHz sweet spot, you must override the library's default transaction settings. Reference the Arduino SPI Reference to understand how SPISettings configures the hardware SPI peripheral on the ATmega328P or ESP32.
#include <SPI.h>
#include <MFRC522.h>

// Define 4MHz SPI settings for optimal latency vs stability
SPISettings rfidSpiSettings(4000000, MSBFIRST, SPI_MODE0);

void setup() {
  SPI.begin();
  // The MFRC522 library allows injecting custom SPI settings in newer forks,
  // or you can wrap your read calls in manual SPI transactions:
  SPI.beginTransaction(rfidSpiSettings);
  // Perform RFID read operations here
  SPI.endTransaction();
}
RxGain Register Tuning: Pushing the Read Range
A hidden bottleneck in RFID performance is the receiver gain. The MFRC522 features an internal RxGain register (Address 0x26) that controls the amplification of the backscattered signal from the RFID tag. Out of the box, most libraries set this to 0x04 (approximately 33dB).
If you are optimizing for maximum read distance or trying to read tags through thin non-metallic enclosures, you can push this register to 0x07 (48dB). Be warned: increasing the gain also amplifies the environmental noise floor. If your project operates near heavy machinery or switching power supplies, a higher gain will result in phantom reads and CRC errors.
// Direct register manipulation for Max Gain (48dB)
// 0x07 = RxGain[2:0] = 111 (binary)
mfrc522.PCD_WriteRegister(MFRC522::RxGainReg, 0x07 << 4);
Eliminating Blocking Delays: Non-Blocking Polling
The most egregious error in beginner RFID reader Arduino code is placing mfrc522.PICC_IsNewCardPresent() directly inside the loop() without a timer. This function commands the PCD (Proximity Coupling Device) to emit a 13.56 MHz magnetic field and listen for a response. Doing this continuously hogs the MCU, prevents WiFi/Bluetooth stacks from processing (especially on ESP32), and causes watchdog timer resets.
The Timer-Based Polling Architecture
Instead of polling every millisecond, use a non-blocking hardware timer to poll every 50ms to 100ms. Human presentation of an RFID card rarely exceeds a speed that requires sub-20ms polling.
unsigned long lastRfidPoll = 0;
const unsigned long pollInterval = 50; // 50ms polling interval

void loop() {
  unsigned long currentMillis = millis();

  if (currentMillis - lastRfidPoll >= pollInterval) {
    lastRfidPoll = currentMillis;

    if (mfrc522.PICC_IsNewCardPresent() && mfrc522.PICC_ReadCardSerial()) {
      processTag(mfrc522.uid.uidByte, mfrc522.uid.size);
      mfrc522.PICC_HaltA(); // Crucial: Halt the card to prevent duplicate reads
      mfrc522.PCD_StopCrypto1(); // Clear crypto state
    }
  }

  // MCU is now free to handle OTA updates, MQTT, or sensor reads
  handleNetworkTasks();
}
Expert Edge Case: Always callPICC_HaltA()andPCD_StopCrypto1()immediately after reading a MIFARE Classic tag. Failing to do so leaves the tag in an authenticated, active state. If the user removes the card and re-presents it within 200ms, the reader will fail to recognize it as a 'new' card, resulting in a missed read.
I2C Optimization for the PN532 NFC/RFID Shield
For projects requiring NFC compatibility or longer read ranges, the NXP PN532 is the superior choice. However, the PN532 is notorious for I2C bus lockups if not configured correctly. The default I2C speed is 100kHz. You can safely enable Fast Mode (400kHz) to reduce command overhead, but you must adjust the physical pull-up resistors.
Standard 4.7kΩ pull-up resistors are too weak for 400kHz I2C due to the RC time constant of the bus capacitance. To achieve clean square waves at 400kHz, solder 2.2kΩ pull-up resistors to the SDA and SCL lines. Furthermore, utilize the PN532's hardware IRQ pin (Pin 8 on the Elechouse v3 module) to wake the Arduino via attachInterrupt(), completely eliminating the need for I2C polling and saving approximately 15mA of idle current.
Real-World Failure Modes and Troubleshooting
Even with optimized code, physical layer issues will degrade performance. Use this checklist when your optimized setup experiences intermittent CRC errors:
- Voltage Brownouts: The MFRC522 draws up to 60mA during field generation. If powered via the Arduino's 3.3V linear regulator (which often maxes out at 50mA on older clones), the voltage will sag, causing the PCD to reset mid-read. Always use a dedicated 3.3V LDO like the AMS1117-3.3.
- Ground Loops: Ensure the RFID module's GND is tied directly to the MCU's GND at a single star point. Daisy-chaining grounds introduces high-frequency noise that corrupts SPI MISO data.
- Metal Proximity: Mounting the antenna coil within 15mm of a copper ground plane or aluminum enclosure detunes the 13.56 MHz resonance. Use ferrite shielding tape (e.g., TDK Flexield) between the coil and the metal surface to restore the Q-factor.
Summary
Building a high-performance RFID reader Arduino system requires moving beyond default library examples. By locking your SPI bus to 4MHz, manipulating the RxGain register, implementing non-blocking timer polling, and addressing physical layer power delivery, you can transform a laggy prototype into a robust, industrial-grade scanning node capable of sub-15ms read latencies.