
The 2026 Arduino Ecosystem: Choosing Your First Board
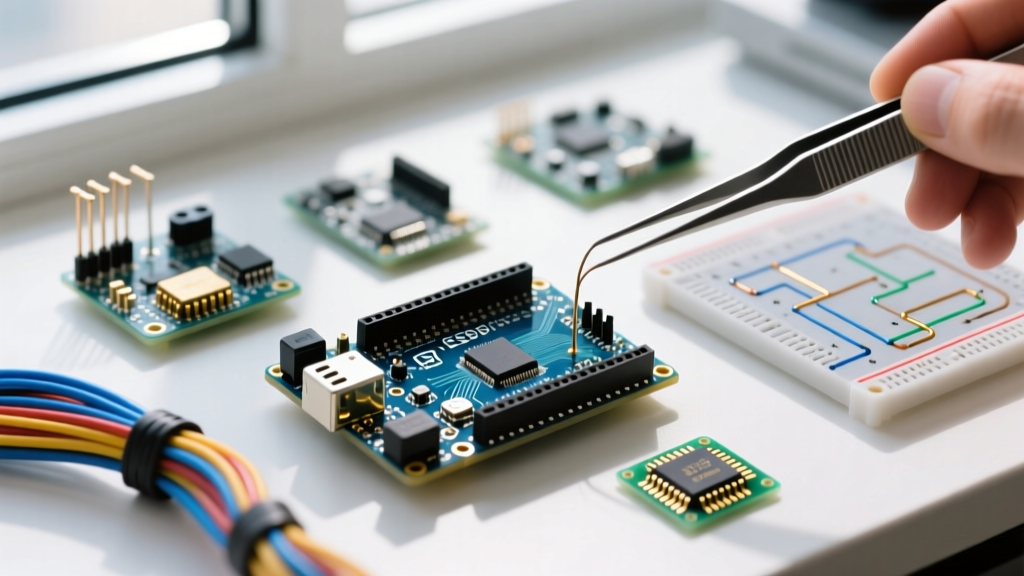
Starting your journey into programming in Arduino requires selecting the right hardware. While the classic boards remain popular, the ecosystem has evolved significantly. For beginners in 2026, the choice usually comes down to three primary microcontroller boards, each with distinct pricing, architecture, and memory profiles.
| Board Model | Microcontroller | SRAM / Flash | Approx. Price (2026) | Best For |
|---|---|---|---|---|
| Arduino Uno R3 | ATmega328P (8-bit AVR) | 2 KB / 32 KB | $27.00 | Legacy tutorials, basic I/O, strict budget |
| Arduino Uno R4 Minima | Renesas RA4M1 (32-bit ARM Cortex-M4) | 32 KB / 256 KB | $20.00 | Complex math, larger codebases, DAC output |
| Arduino Uno R4 WiFi | Renesas RA4M1 + ESP32-S3 | 32 KB / 256 KB | $45.00 | IoT projects, LED matrix debugging, wireless |
Expert Tip: If you are following older tutorials, the Uno R3 is the safest bet for 1:1 compatibility. However, the Uno R4 Minima offers vastly superior memory and processing power for just a few dollars less, making it the modern standard for new learners.
Setting Up the Arduino IDE 2.x
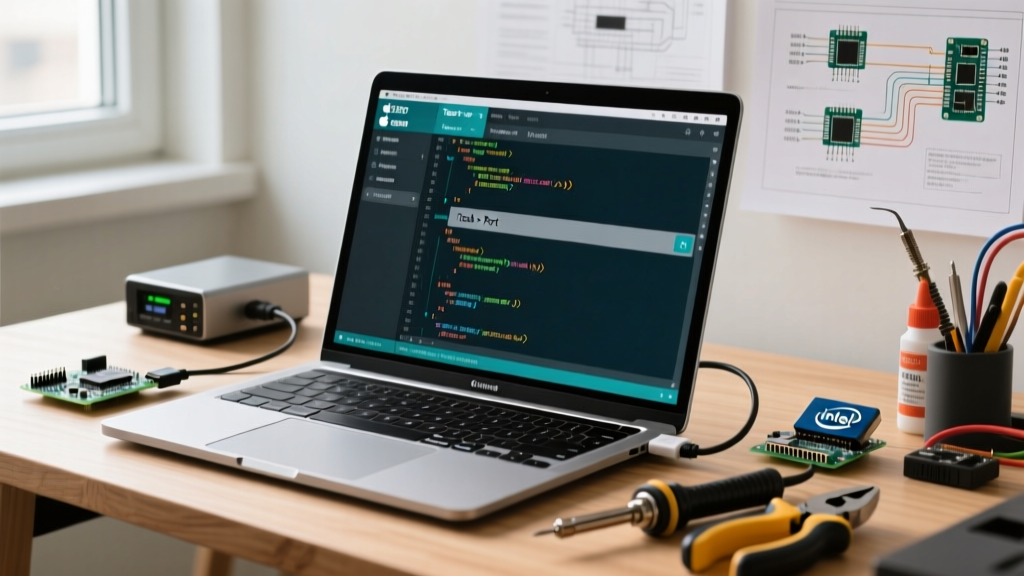
The days of the clunky, text-only Arduino IDE 1.8 are behind us. The current Arduino IDE 2.x provides a modern development environment featuring autocomplete, real-time error highlighting, and an integrated Serial Plotter.
- Download and Install: Grab the latest IDE from the official Arduino website. Ensure you install the USB drivers when prompted during the setup wizard (critical for Windows users).
- Board Manager: Navigate to Tools > Board > Boards Manager. If you are using an R4 board, search for and install the 'Arduino Renesas RA4M1 Boards' package.
- Port Selection: Plug your board into a high-quality data USB cable (many cheap cables are charge-only and will cause port detection failures). Select the correct COM port under Tools > Port.
Anatomy of an Arduino Sketch
In the Arduino ecosystem, a program is called a sketch. Every sketch relies on a 'superloop' architecture consisting of two mandatory functions: setup() and loop().
// Global variables are declared here
int ledState = LOW;

void setup() {
  // Runs exactly ONCE when the board powers on or resets
  pinMode(LED_BUILTIN, OUTPUT);
  Serial.begin(115200);
  Serial.println("System Initialized.");
}

void loop() {
  // Runs continuously, thousands of times per second
  ledState = !ledState; // Toggle state
  digitalWrite(LED_BUILTIN, ledState);
  delay(1000); // Pause for 1000 milliseconds
}
Why 115200 Baud? While older tutorials default to 9600 baud for Serial communication, modern USB-to-Serial chips (like the ATmega16U2 on the Uno R3 or the hardware UART on the R4) handle 115200 baud effortlessly. This higher speed prevents serial buffer overflows when printing large amounts of sensor data.
Understanding Data Types and Memory Constraints
When programming in Arduino, you are interacting directly with hardware memory. Unlike Python or JavaScript, C++ (the language underlying Arduino) requires strict data typing. Mismanaging these types is the #1 cause of crashes in beginner projects.
| Data Type | Size (AVR / ARM) | Value Range | Use Case |
|---|---|---|---|
bool |
1 byte | true or false | Flags, button states, limit switches |
byte |
1 byte | 0 to 255 | Raw I2C/SPI data, PWM values (0-255) |
int |
2 bytes (AVR) / 4 bytes (ARM) | -32,768 to 32,767 (AVR) | General math, sensor readings, pin numbers |
float |
4 bytes | ~7 decimal digits | Temperature, voltage calculations |
The SRAM Bottleneck and the F() Macro
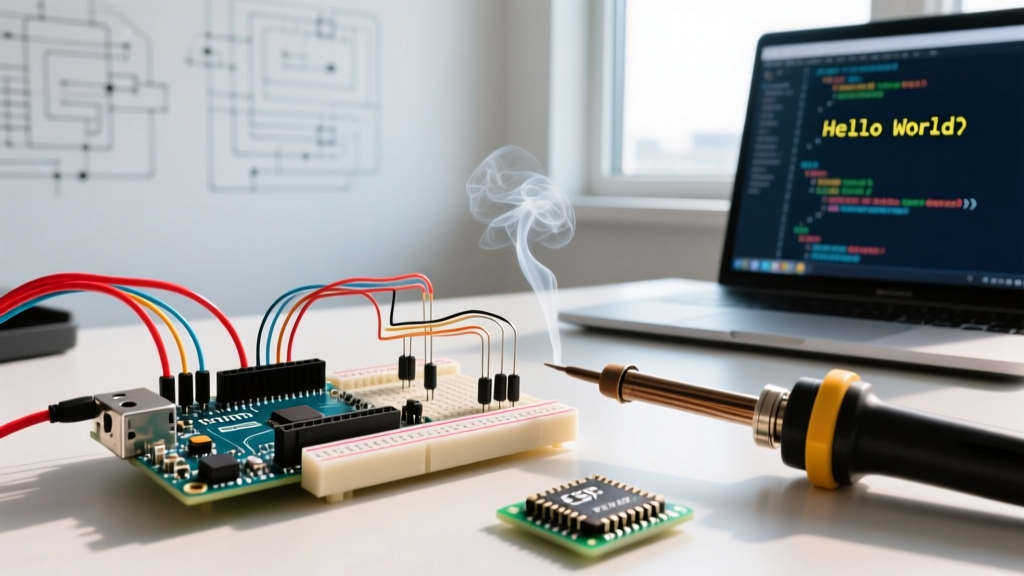
According to the official Arduino memory guide, the ATmega328P has only 2,048 bytes of SRAM. Every time you use Serial.print("Hello World");, that string is copied from Flash memory into SRAM before being transmitted. If you have dozens of print statements for debugging, you will silently exhaust your SRAM, leading to random reboots and erratic behavior.
The Fix: Wrap your string literals in the F() macro. This forces the microcontroller to read the string directly from Flash memory, bypassing SRAM entirely.
// BAD: Consumes SRAM
Serial.println("System temperature is nominal.");

// GOOD: Reads directly from Flash, saves SRAM
Serial.println(F("System temperature is nominal."));
The 'Delay' Trap: Writing Non-Blocking Code
The most common mistake when programming in Arduino is relying heavily on the delay() function. While delay(1000) is easy to understand, it completely halts the microcontroller. During that one second, the Arduino cannot read buttons, monitor sensors, or maintain network connections.
To write professional-grade firmware, you must use the millis() function to track time without blocking the main loop.
unsigned long previousMillis = 0;
const long interval = 1000;

void setup() {
  pinMode(LED_BUILTIN, OUTPUT);
}

void loop() {
  unsigned long currentMillis = millis();

  // Check if the interval has passed
  if (currentMillis - previousMillis >= interval) {
    previousMillis = currentMillis; // Save the last time you blinked
    digitalWrite(LED_BUILTIN, !digitalRead(LED_BUILTIN)); // Toggle LED
  }

  // The CPU is free to do other tasks here!
  // e.g., readSensors(); checkButtons();
}
Real-World Debugging: 3 Common Beginner Failure Modes
Even with perfect code, hardware realities often cause frustration. Keep these edge cases in mind:
1. The 'Ghost' Serial Port (Clone Boards)
If you purchase a third-party Uno clone (often $8-$12 online), it likely uses a CH340 USB-to-Serial chip instead of the official ATmega16U2. Windows and macOS often lack native drivers for the CH340, resulting in the board not appearing in your Port menu. Solution: Download and install the latest CH340 signed drivers from the chip manufacturer's repository before plugging the board in.
2. Floating Input Pins
If you wire a pushbutton to a digital pin and use digitalRead(), you might see random HIGH/LOW flickering even when the button isn't pressed. This is caused by electromagnetic interference hitting a 'floating' (disconnected) pin. Solution: Activate the internal pull-up resistor in your setup: pinMode(BUTTON_PIN, INPUT_PULLUP);. Note that this inverts the logic (LOW means pressed).
3. USB Brownouts and Servo Jitter
Beginners often attempt to power 5V servos directly from the Arduino's 5V pin while plugged into a standard PC USB port. A standard USB 2.0 port supplies a maximum of 500mA. A single micro servo can draw 700mA+ under load, causing a voltage brownout that resets the Arduino or corrupts the serial connection. Solution: Always power inductive loads (motors, servos, relays) from an external power supply, ensuring you connect the external ground (GND) to the Arduino GND to establish a common reference voltage.
Next Steps in Your Programming Journey
Mastering the basics of programming in Arduino opens the door to the vast library ecosystem. Once you are comfortable with non-blocking code and memory management, explore the official Arduino libraries for I2C communication, interrupts, and hardware timers. Remember to always sketch your circuit on paper or use a tool like Fritzing before wiring, and utilize the Serial Monitor as your primary debugging window.