
The 'Blink' Trap: Why delay() Fails in Production
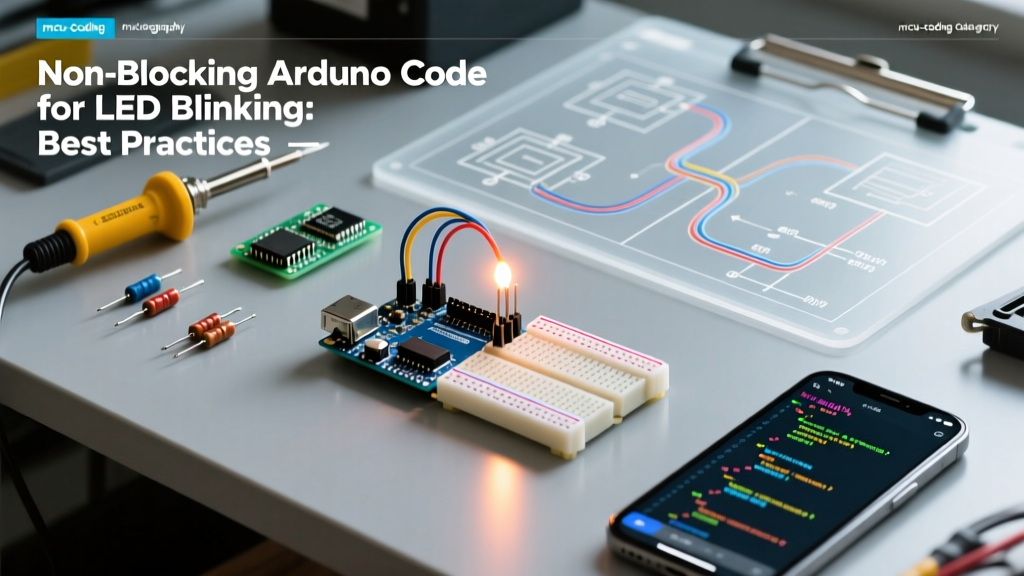
Every maker's journey begins with the same rite of passage: uploading the default Blink sketch. While delay(1000) is an excellent pedagogical tool for understanding digital output, it instills a dangerous habit. When writing robust arduino code for led blinking in real-world applications, blocking functions are the enemy of responsiveness.
In 2026, the microcontroller landscape has evolved. Modern boards like the Arduino Uno R4 WiFi ($27.50) and the Nano ESP32 ($21.00) feature powerful 32-bit ARM Cortex-M4 and dual-core Xtensa processors, respectively. These chips are designed to handle concurrent operations, background networking stacks, and RTOS (Real-Time Operating System) tasks. Using a blocking delay() starves the background watchdog timers and network stacks, frequently leading to spontaneous reboots, missed sensor interrupts, or disconnected MQTT clients.
The Gold Standard: Non-Blocking millis() Patterns
The foundational best practice for non-blocking timing relies on the millis() function, which tracks the milliseconds elapsed since the board booted. The official Arduino BlinkWithoutDelay documentation outlines the basic implementation, but understanding the underlying modular arithmetic is what separates hobbyists from embedded engineers.
The Golden Rule of millis(): Never add to the previous timestamp. Always subtract the previous timestamp from the current time.
Incorrect:if (currentMillis >= previousMillis + interval)
Correct:if (currentMillis - previousMillis >= interval)
The 49.7-Day Rollover Edge Case
The millis() function returns an unsigned long (a 32-bit unsigned integer). The maximum value is 4,294,967,295. At roughly 49.7 days of continuous uptime, this value overflows and wraps back to zero. If your code uses the "Incorrect" addition method above, previousMillis + interval will overflow into a small number, and your LED will lock up or behave erratically. The "Correct" subtraction method leverages unsigned integer underflow mathematics to yield the correct elapsed time, even across the rollover boundary.
A common catastrophic failure mode occurs when developers mistakenly declare their timing variables as standard int (signed 16-bit on AVR, 32-bit on ARM). A signed 16-bit integer overflows at 32,767 (about 32 seconds), causing immediate timing failures. Always consult the Arduino unsigned long reference to verify your data types.
Scaling Up: Object-Oriented State Machines
Managing multiple LEDs or combining blinking with sensor polling using global variables quickly devolves into spaghetti code. The professional approach is to encapsulate the blinking logic into a C++ struct or class. This creates a reusable, non-blocking state machine.
struct NonBlockingBlinker {
  uint8_t pin;
  unsigned long interval;
  unsigned long previousMillis;
  bool ledState;

  void init() {
    pinMode(pin, OUTPUT);
    previousMillis = 0;
    ledState = LOW;
  }

  void update() {
    unsigned long currentMillis = millis();
    if (currentMillis - previousMillis >= interval) {
      previousMillis = currentMillis;
      ledState = !ledState;
      digitalWrite(pin, ledState);
    }
  }
};

NonBlockingBlinker statusLED = {13, 500, 0, LOW};
NonBlockingBlinker errorLED = {12, 150, 0, LOW};

void setup() {
  statusLED.init();
  errorLED.init();
}

void loop() {
  statusLED.update();
  errorLED.update();
  // Add sensor reading, Serial parsing, or WiFi handling here
}
This pattern ensures that your loop() executes thousands of times per second, keeping the microcontroller highly responsive to external interrupts and serial commands.
Hardware Realities: Timing Methods Compared
While millis() is perfect for standard visual indicators (1Hz to 100Hz), it is not suitable for high-frequency PWM or microsecond-precision pulse generation. Below is a comparison matrix of timing paradigms available on modern 2026 development boards.
| Method | Best Use Case | Precision | CPU Impact | Complexity |
|---|---|---|---|---|
delay() | Simple boot sequences | Low | 100% Blocking | Very Low |
millis() Polling | UI indicators, state machines | ~1ms | Non-Blocking | Low |
| Hardware Timers (e.g., TimerOne) | PWM, encoder sampling | Microsecond | Interrupt Driven | Medium |
| RTOS Tasks (FreeRTOS) | Concurrent networking & control | Tick-based | Scheduled | High |
Implementing RTOS Tasks on the Nano ESP32
When upgrading to the $21.00 Nano ESP32, you gain access to FreeRTOS. Instead of polling millis() in the main loop, you can offload the blink routine to a dedicated core. This is particularly useful when your main core is heavily loaded with cryptographic operations for TLS-secured MQTT connections.
void blinkTask(void *pvParameters) {
  const uint8_t pin = (uint8_t)pvParameters;
  pinMode(pin, OUTPUT);
  for (;;) {
    digitalWrite(pin, !digitalRead(pin));
    vTaskDelay(pdMS_TO_TICKS(500)); // Non-blocking RTOS delay
  }
}

void setup() {
  xTaskCreatePinnedToCore(blinkTask, "StatusLED", 1000, (void*)13, 1, NULL, 0);
}
Note that vTaskDelay is fundamentally different from the standard Arduino delay(). It yields control back to the RTOS scheduler, allowing higher-priority tasks (like WiFi stack management) to execute seamlessly. For deeper integration, review the Espressif FreeRTOS documentation.
Debugging Common Failure Modes
Even with non-blocking patterns, embedded systems present unique edge cases. Keep this troubleshooting checklist handy:
- Interrupt Starvation: If you are using hardware interrupts (e.g.,
attachInterrupt) to trigger an LED state change, ensure the ISR (Interrupt Service Routine) only sets avolatile boolflag. Never calldigitalWrite()ormillis()inside an ISR on AVR boards, as it can cause system lockups. - Watchdog Resets: On the Uno R4 WiFi, the Renesas RA4M1 chip includes a strict watchdog. If your
loop()gets trapped in awhile()waiting for a sensor, the watchdog will reset the board. Non-blocking LED code won't save you if the rest of your loop is blocking. - Variable Scope Leaks: Avoid declaring
previousMillisinside theloop()function without thestatickeyword. A local variable re-initializes to zero on every iteration, causing the LED to flicker at the CPU clock speed rather than your intended interval. - I2C Bus Blocking: If your LED blink rate is tied to an I2C sensor reading (e.g., a BME280), remember that the default Wire library has a 1-second timeout. If the sensor is disconnected,
Wire.endTransmission()will block your entire non-blocking LED routine for 1000ms. Always implement I2C timeout overrides or check device presence before polling.
Mastering non-blocking architecture is the definitive bridge between uploading tutorials and engineering reliable, production-grade embedded systems. By adopting struct-based state machines and respecting unsigned integer mathematics, your projects will remain stable long past the 49-day rollover mark.