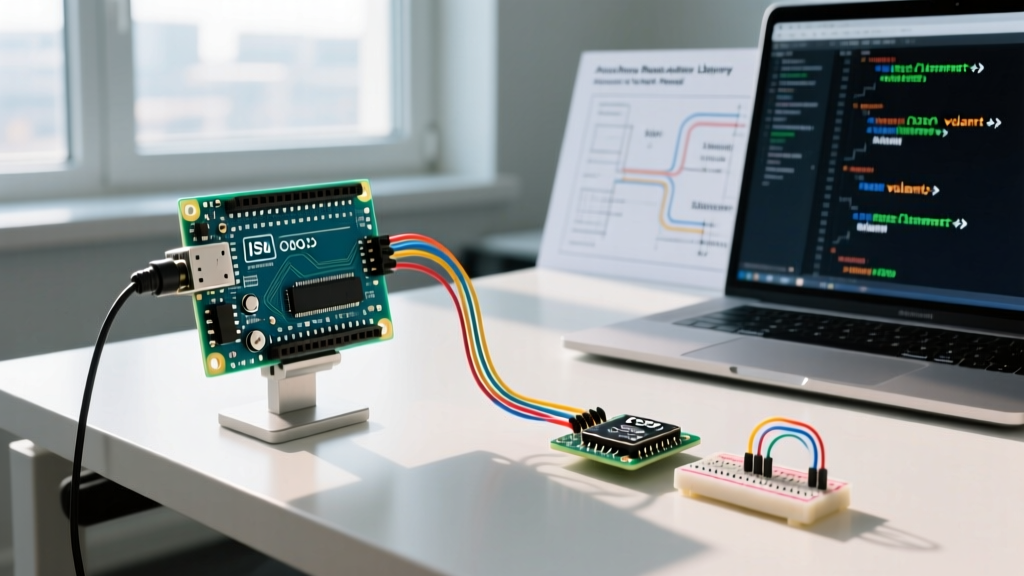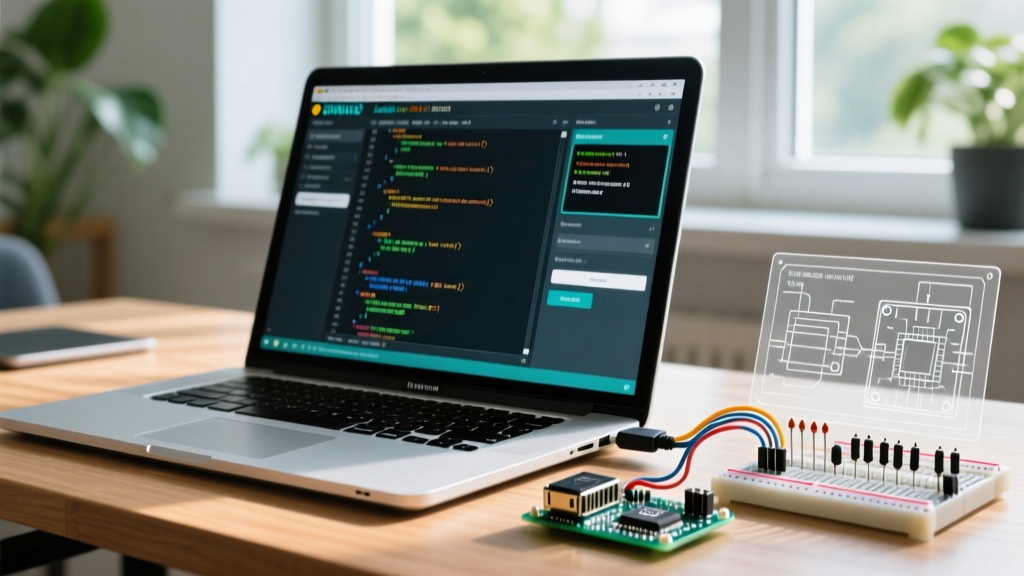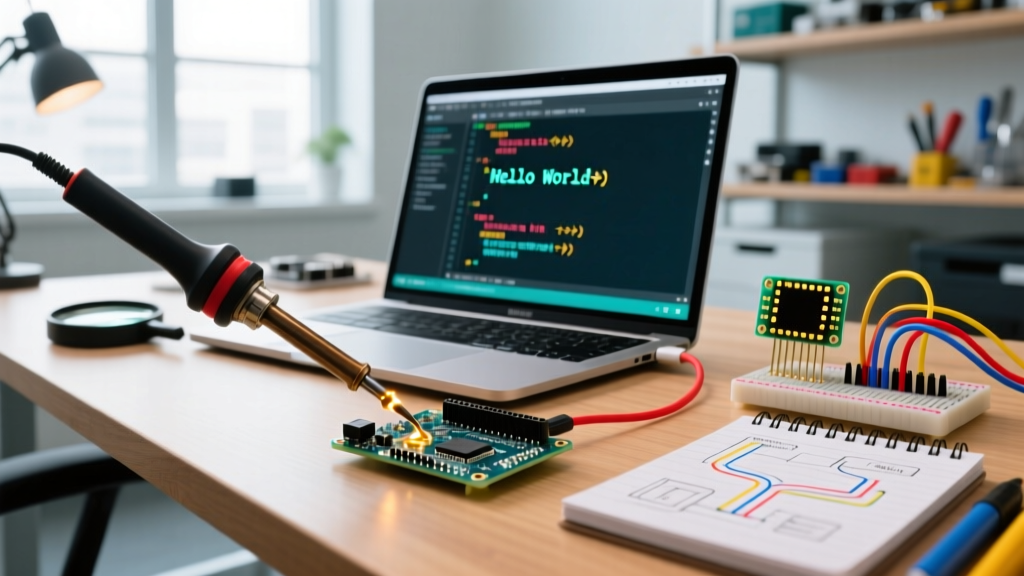

The 2026 Standard: Why We Start with the Uno R4 WiFi
For over a decade, the ATmega328P-based Uno R3 was the undisputed king of beginner electronics. However, as of 2026, the Arduino Uno R4 WiFi has firmly taken the crown for new developers. Learning how to code an Arduino now means working with a 32-bit Renesas RA4M1 Arm Cortex-M4 microcontroller running at 48 MHz, paired with an ESP32-S3 co-processor for wireless connectivity.
This hardware leap fundamentally changes the beginner experience. You are no longer constrained by the 2 KB of SRAM found on older boards; the R4 boasts 32 KB of SRAM and 256 KB of Flash memory. Furthermore, the R4 WiFi includes a built-in 12x8 LED matrix, eliminating the need for messy breadboard wiring just to get visual feedback from your first sketch.
Expert Insight: Many outdated tutorials still reference theavrdude bootloader and ATmega registers. While those concepts remain valid for legacy hardware, modern Arduino coding relies on the Renesas RA4M1 architecture and the ESP32-S3 for IoT tasks. This guide focuses strictly on the modern R4 ecosystem.
Essential Hardware Checklist
Before writing your first line of C++, ensure you have the correct hardware. The transition to USB-C and native HID support means older cables and drivers often cause unnecessary friction.
| Component | Specific Model / Spec | Est. Price (2026) | Purpose |
|---|---|---|---|
| Microcontroller | Arduino Uno R4 WiFi (ABX00087) | $27.50 | Core processing & wireless |
| Data Cable | USB-C to USB-A (Data + Power rated) | $6.00 | Flashing code & serial monitoring |
| Starter Kit (Optional) | Elegoo Upgraded R4 Starter Kit | $55.00 | Sensors, jumper wires, breadboard |
Configuring Arduino IDE 2.3 for the R4
To code an Arduino effectively, you need the right environment. The legacy 1.8.x IDE is officially deprecated. You must use Arduino IDE 2.3 (or newer), which features an integrated debugger, autocomplete, and live serial plotter.
- Download & Install: Grab the latest IDE from the official Arduino software page.
- Open Boards Manager: Click the Board Manager icon on the left sidebar.
- Install Core: Search for
Arduino UNO R4 Boardsand install the latest Renesas package (v1.2.0 or higher). - Connect & Select: Plug in your Uno R4 WiFi via USB-C. Go to Tools > Board and select
Arduino Uno R4 WiFi. Select the correct COM port (Windows) or/dev/cu.usbmodem(macOS).
Anatomy of an Arduino Sketch
Every Arduino program, known as a 'sketch', requires two fundamental C++ functions. Understanding the execution flow is critical before you start writing complex logic.
1. The setup() Function
This block runs exactly once when the board powers on or resets. It is used to initialize variables, configure pin modes (INPUT/OUTPUT), and start communication protocols like I2C or Serial.
2. The loop() Function
After setup() finishes, the microcontroller enters an infinite loop. This is where your main logic lives—reading sensors, updating displays, and calculating motor speeds. On the 48 MHz RA4M1 chip, this loop can execute thousands of times per second if not constrained by delay() functions.
Your First Code: Driving the 12x8 LED Matrix
Forget the generic 'Blink' tutorial. The Uno R4 WiFi features a built-in 12x8 LED matrix. We will use the native Arduino_LED_Matrix library to render a custom frame. This tests your IDE setup, board connection, and library management simultaneously.
#include <Arduino_LED_Matrix.h>

// Instantiate the matrix object
ArduinoLEDMatrix matrix;

void setup() {
  // Initialize the serial monitor for debugging
  Serial.begin(115200);

  // Start the LED matrix hardware
  matrix.begin();
  Serial.println("Matrix initialized successfully.");
}

void loop() {
  // Define a 32-bit array representing the 12x8 grid
  // Each bit corresponds to an LED (1 = ON, 0 = OFF)
  uint32_t heartbeat[] = {
    0x00000000,
    0x00181800,
    0x003c3c00,
    0x00181800
  };

  // Load the frame into the matrix buffer
  matrix.loadFrame(heartbeat);

  // Wait 500ms before looping
  delay(500);
}
Uploading the Sketch
Click the Upload button (the right-pointing arrow). The IDE will compile the C++ code into ARM machine code via the GCC toolchain, then push it to the Renesas chip via the native USB-C connection. Within 4 seconds, the onboard matrix should illuminate your pattern.
Common Beginner Compilation & Upload Failures
When learning how to code an Arduino, errors are inevitable. The R4's dual-chip architecture (Renesas + ESP32) introduces specific failure modes not found on older boards. Use this troubleshooting matrix to resolve them quickly.
| Error Message | Root Cause | Actionable Fix |
|---|---|---|
Serial port not found |
USB-C cable is power-only, or native USB driver hung. | Swap to a verified data cable. Double-tap the reset button to force bootloader mode. |
Arduino_LED_Matrix.h: No such file |
Library missing from local IDE cache. | Go to Sketch > Include Library > Manage Libraries. Search and install 'Arduino_LED_Matrix'. |
Sketch too big for board |
Exceeding 256KB Flash (rare for beginners, common with heavy assets). | Move large string literals to Flash using the F() macro, e.g., Serial.print(F("text")); |
ESP32-S3 not responding |
Attempting WiFi functions without initializing the ESP32 co-processor. | Ensure you include <WiFiS3.h> and call WiFi.begin() correctly in setup. |
Memory Management: SRAM vs. Flash
A critical concept in embedded C++ is understanding where your data lives. The Renesas RA4M1 architecture separates memory into distinct zones.
- Flash Memory (256 KB): Where your compiled code and constant variables live. It survives power loss.
- SRAM (32 KB): Where dynamic variables, arrays, and the call stack reside. It is wiped on reset.
Critical Warning: Never use theStringobject (capital 'S') in yourloop(). The capital-S String class dynamically allocates and deallocates SRAM, causing memory fragmentation that will crash your R4 within minutes. Always use standard C-style character arrays (e.g.,char myText[] = "Hello";) for stable, professional-grade firmware.
Next Steps in Your Coding Journey
Now that you know how to code an Arduino Uno R4 and push visual feedback to the LED matrix, your next milestones should focus on external communication. Explore the Wire.h library to master I2C communication, allowing you to read data from BME280 environmental sensors or control SSD1306 OLED displays. The 48 MHz processing speed of the R4 means you can poll these sensors hundreds of times per second without blocking the main loop, setting a strong foundation for advanced IoT projects.